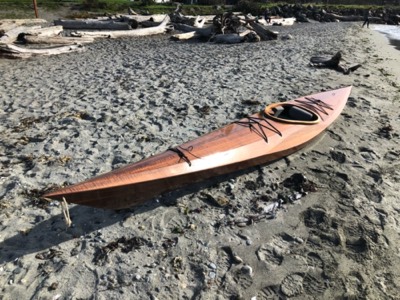
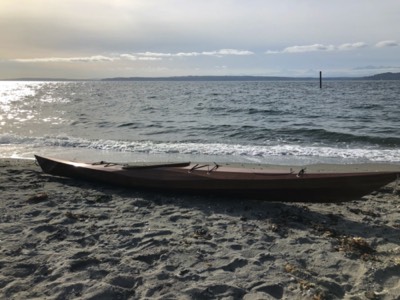
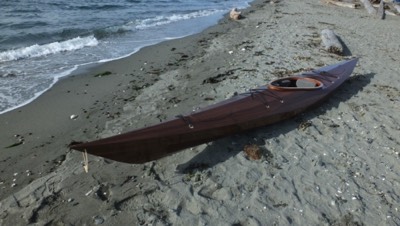
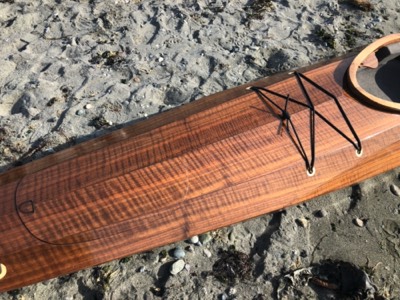
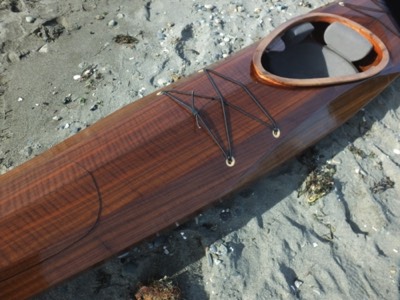
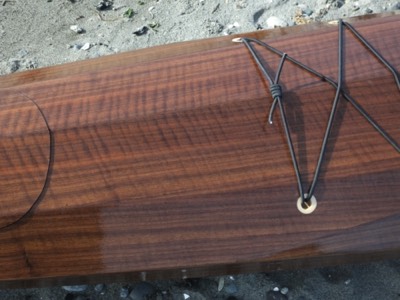
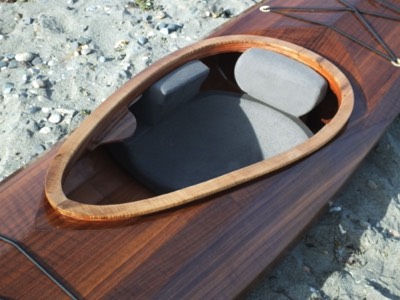
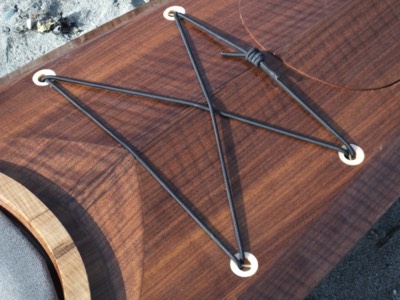
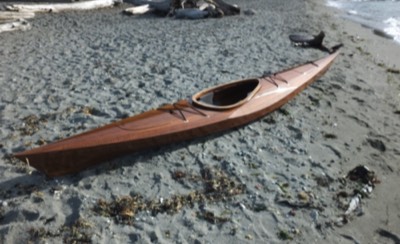
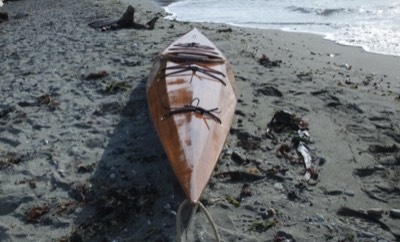
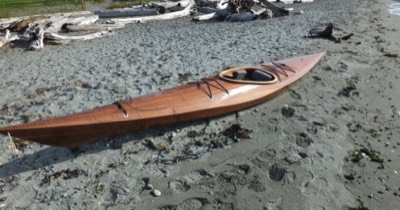
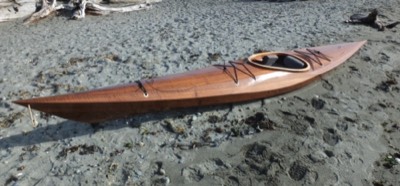
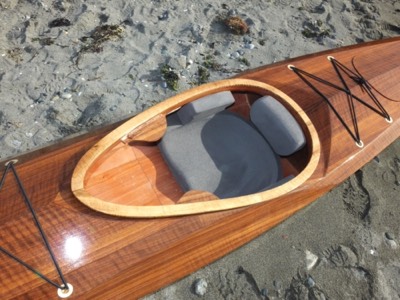
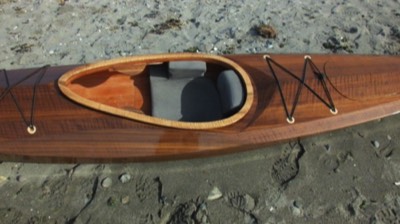
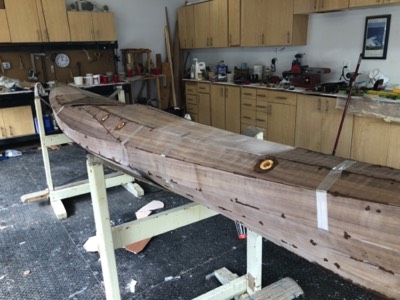
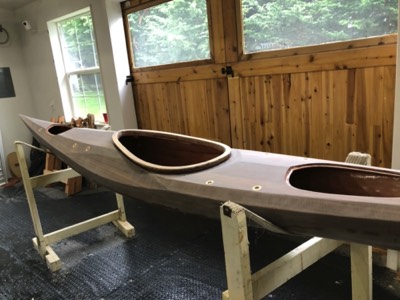
I built this Pinguino from start to finish. This special boat has a layer of walnut veneer added to the plywood to give it a unique look, and the cockpit coaming lip is made from solid myrtle. It has a custom seat, recessed deck fittings, footbrace studs, bulkheads, and strapless hatches.
Length: 15 feet
Beam: 23.7 inches
Weight: 36 lbs.
Click on photos for slideshow
-
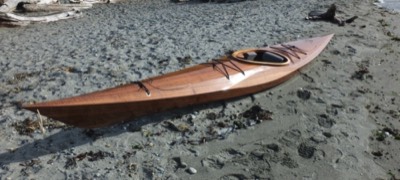
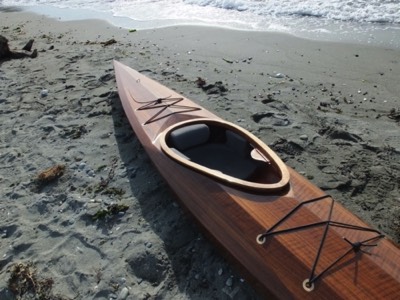
10/23/19 - The boat is complete!
-
Pygmy Pinguino 150 Pro
-
Pygmy Pinguino 150 Pro
-
Pygmy Pinguino 150 Pro
-
Pygmy Pinguino 150 Pro
-
Pygmy Pinguino 150 Pro
-
Pygmy Pinguino 150 Pro
-
Pygmy Pinguino 150 Pro
-
Pygmy Pinguino 150 Pro
-
Pygmy Pinguino 150 Pro
-
Pygmy Pinguino 150 Pro
-
Pygmy Pinguino 150 Pro
-
Pygmy Pinguino 150 Pro
-
Pygmy Pinguino 150 Pro
-

Pygmy Pinguino 150 Pro
-
Pygmy Pinguino 150 Pro
-
Pygmy Pinguino 150 Pro
-
Pygmy Pinguino 150 Pro


-
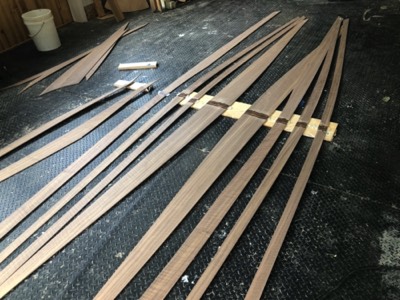
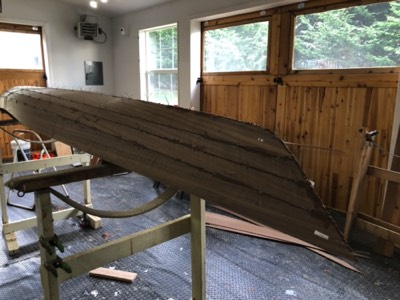
8/16/19 - The flipside of the panels are epoxied together.
-
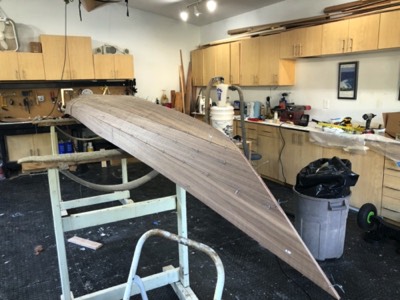
8/18/19 - The hull is fully wired.
-
8/19/19 - The seams are filled with thickened epoxy.
-
8/20/19 - The seams on the other side are filled with epoxy.
-
The cloth is saturated with epoxy.
-
Excess cloth is trimmed.
-
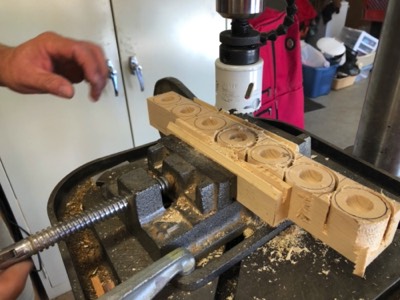
8/27/19 - The recessed deck fittings are cut out.
-
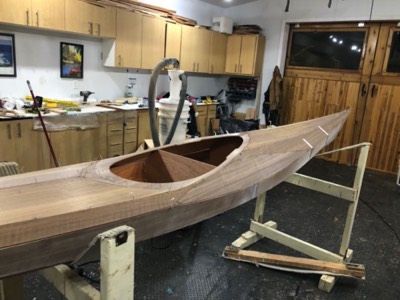
The deck is fully wired together.
-
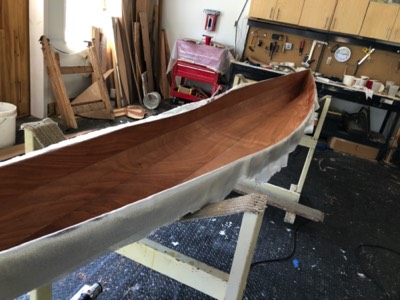
The underside of the deck is ready for epoxy.
-
The fiberglass and wood are saturated with epoxy.
-
Gaps in the deck seams are filled with epoxy.
-

8/30/19 - The recessed deck fittings are epoxied in place.
-
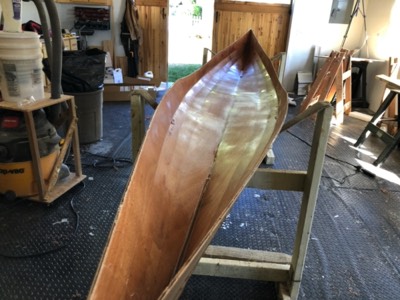
The deck is epoxied to the hull.
-
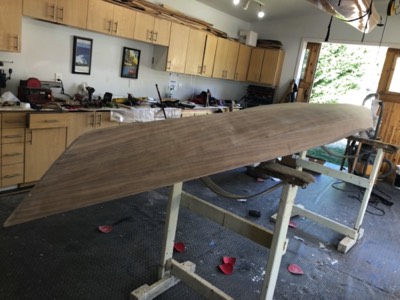
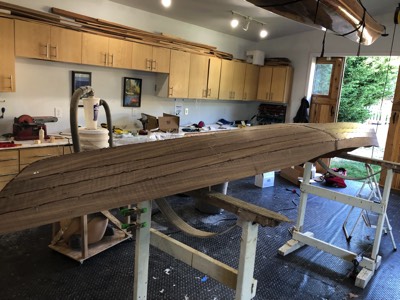
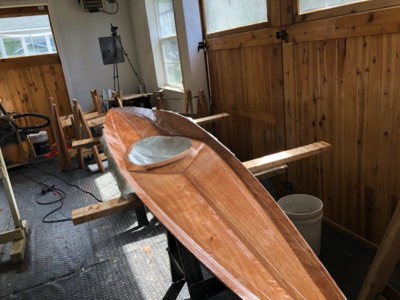
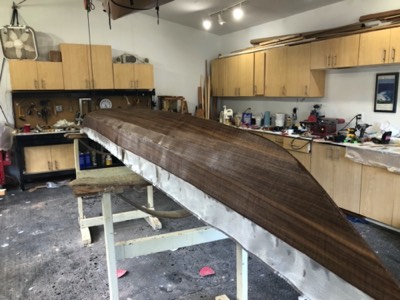
9/1/19 - The hull is sanded smooth.
-
The fiberglass is saturated with epoxy.
-
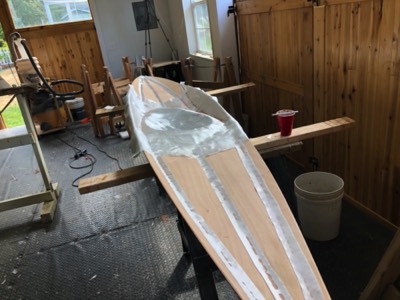
9/3/19 - The deck is fiberglassed.
-
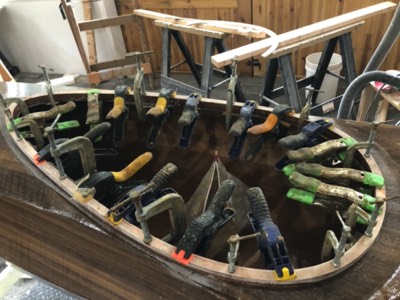
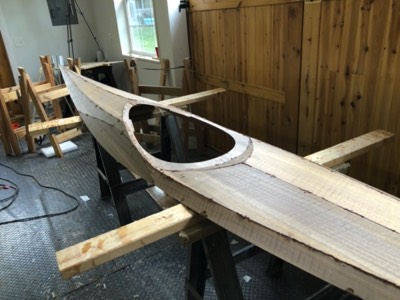
9/4/19 - The coaming riser is epoxied in place.
-
Excess cloth is trimmed.
-
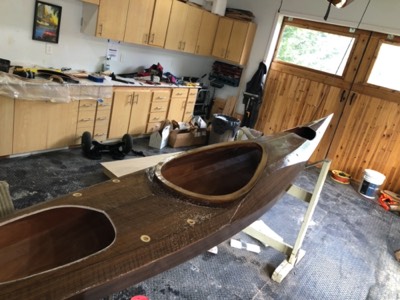
9/9/19 - The hatches are cut out.
-

9/10/19 - The aft hatch lips are epoxied in place.
-
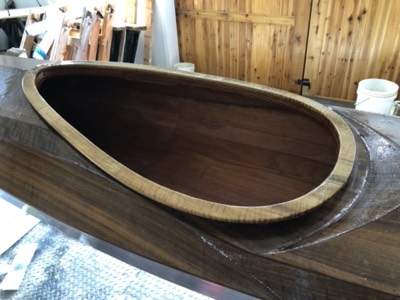
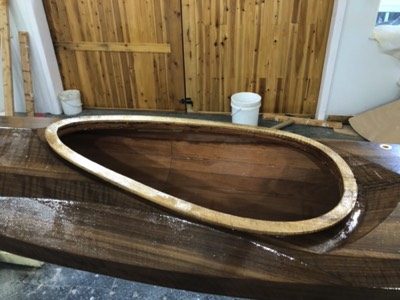
Coaming is cleaned up and sealed with epoxy.
-
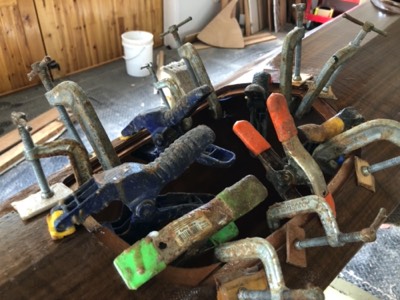
Forward hatch lip is installed.
-
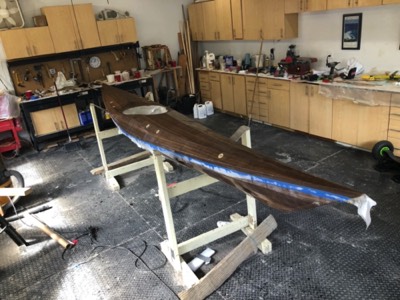
9/22/19 - The boat is washed and ready for varnish.
-

The first coat of varnish is applied.
-
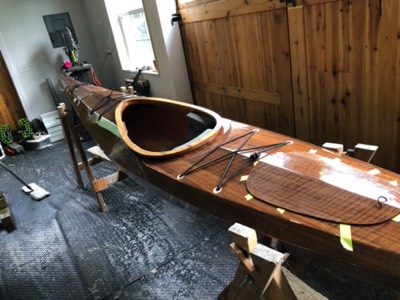
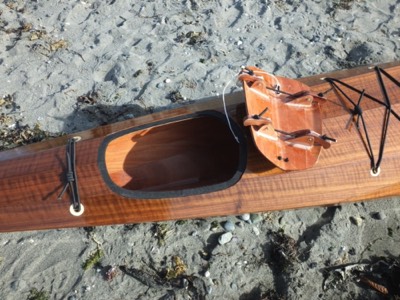
10/23/19 - The hatch gaskets are glued in place and the deck rigging is installed.
-
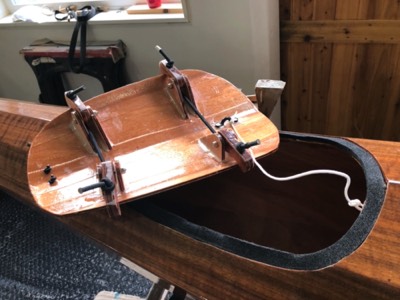
Strapless hatch system is installed.


Link to full construction gallery.

Click on thumbnail to play video.