I am finishing this boat for an owner who started the build and then was unable to get back to it for about 10 years. It will have recessed deck fittings, and upgraded seat, and perimeter lines.
Length: 17.5 feet
Beam: 23 inches
Weight: ~39 pounds
-
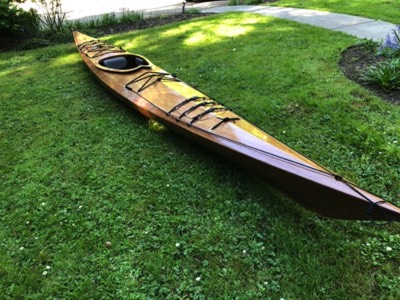
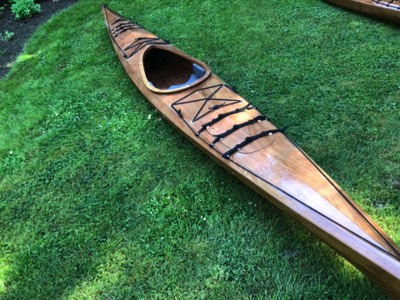
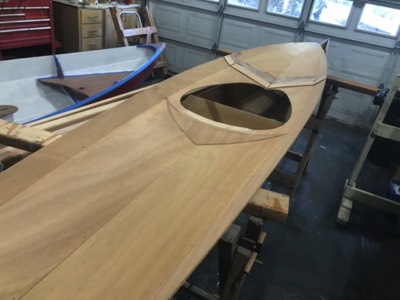
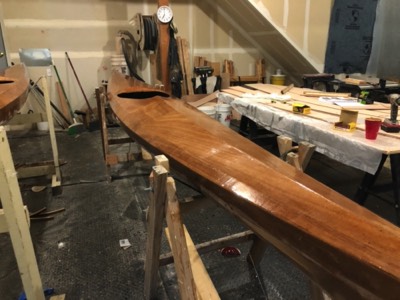
5/9/20 - The boat is done!
-
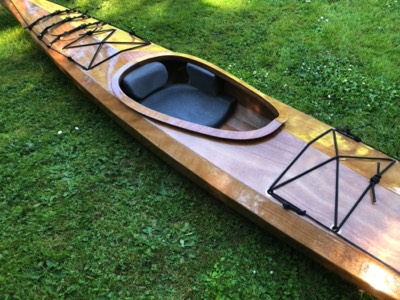
Pygmy Coho
-
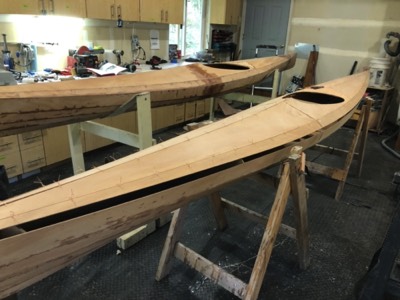
Pygmy Coho
-
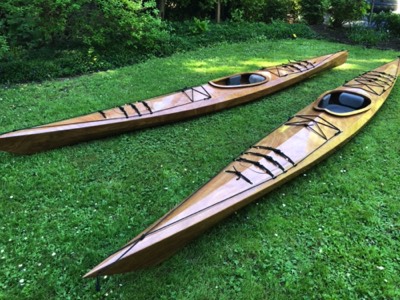
Pygmy Cohos


-
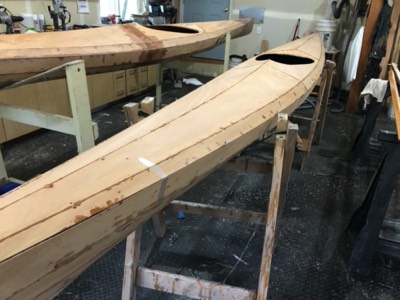
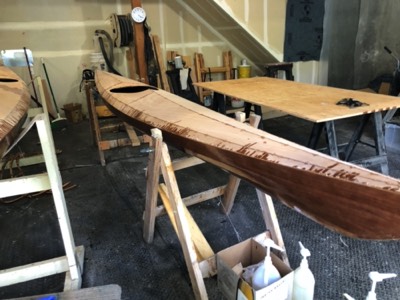
3/14/20 - The original state of the boat.
-
3/16/20 - The deck panels are epoxied together.
-
3/17/20 - The deck is wired up.
-
3/19/20 - The deck is removed and flipped.�
-
The underside of the deck is reinforced with fiberglass tape and sealed with epoxy.�
-
3/23/20 - Fiberglass cloth is laid out on the interior.
-
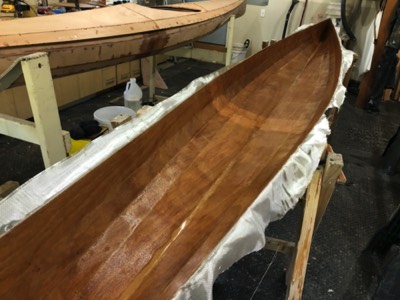
The cloth has been saturated with epoxy.
-
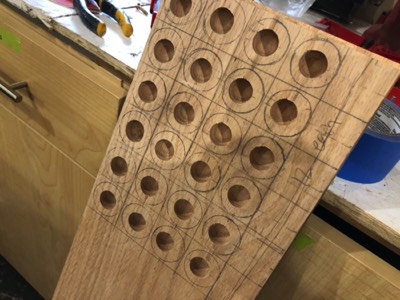
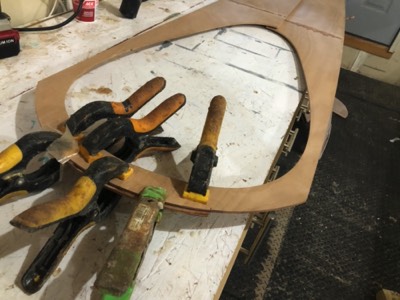
Recessed deck fittings are fabricated.
-
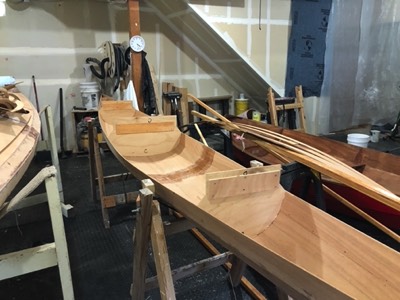
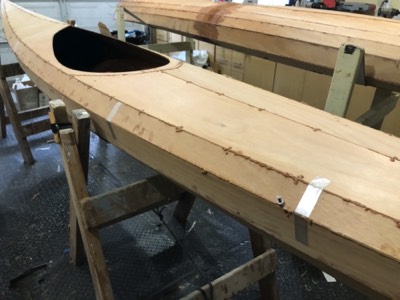
3/30/20 - The deck is fit to the hull.
-
The sheer joint is filled with epoxy.
-

4/4/20 - A thick bead of epoxy is applied to the bow.
-
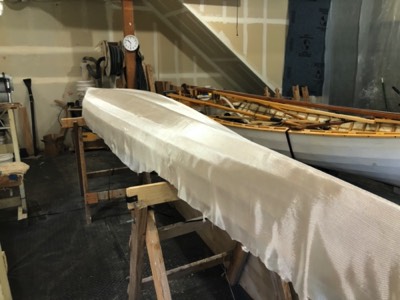
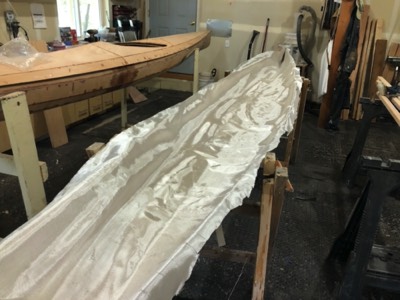
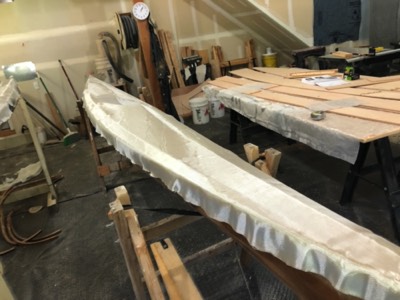
4/6/20 - Fiberglass cloth is laid on the hull.
-
The cloth is saturated with epoxy.
-
4/9/20 - Time to work on the deck.
-
4/13/20 - Fiberglass cloth is laid on the deck.
-
The extra cloth is cut off along the tape.
-
4/14/20 - The glass is trimmed and fill coats or epoxy have been applied.
-
4/16/20 - The hatch shapes are drawn on the deck.
-
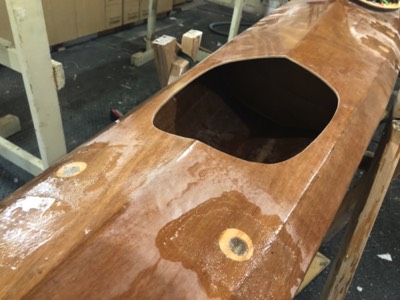
Holes for recessed deck fittings are cut out.
-

Coaming riser is epoxied in place.
-
4/22/20 - The recessed deck fittings are fiberglassed.
-
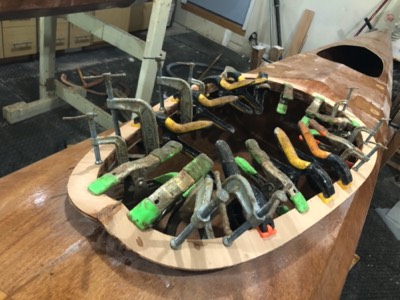
The coaming lip and aft bulkhead are installed.
-
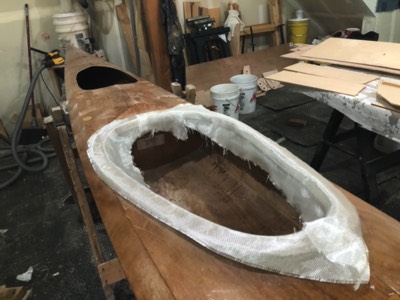
4/23/20 - Fiberglass cloth is laid on the coaming lip.
-
The glass is saturated with epoxy.
-
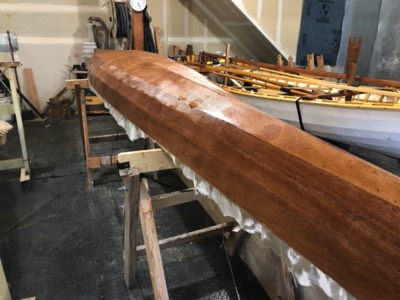
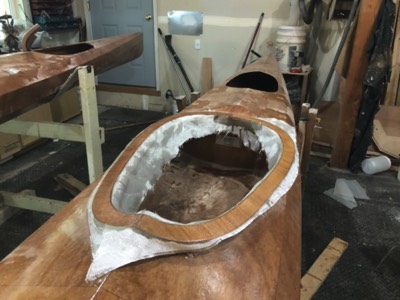
4/24/20 - The fiberglass is trimmed and an epoxy fill coat is added.
-

The aft hatch lip is epoxied in place.
-

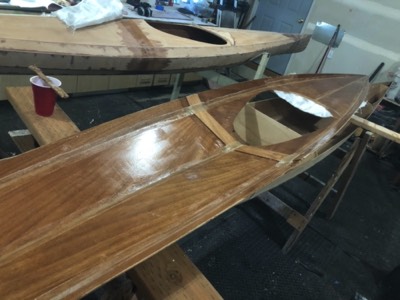
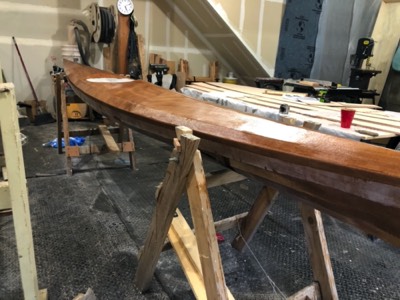
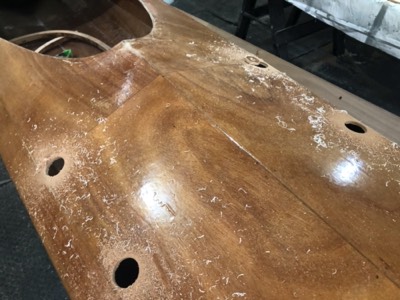
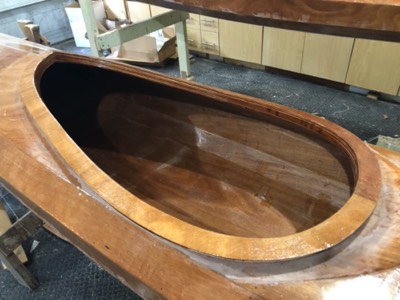
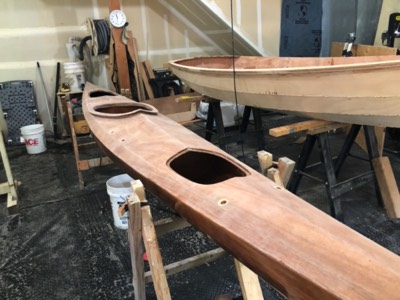
4/29/20 - The boat partially sanded.
-
Once coat of varnish is applied.
-
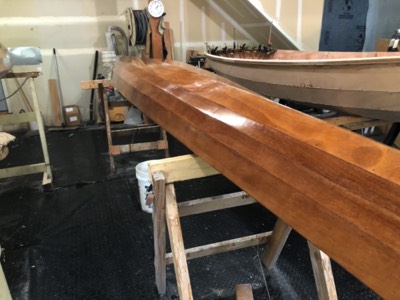
5/4/20 - The deck is ready for varnish.
-
The deck gets the first coat of varnish.
-
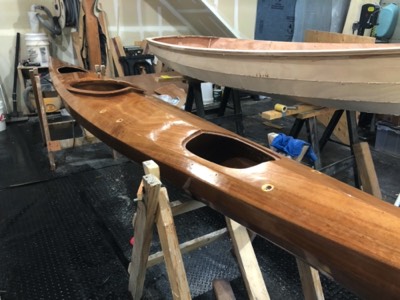
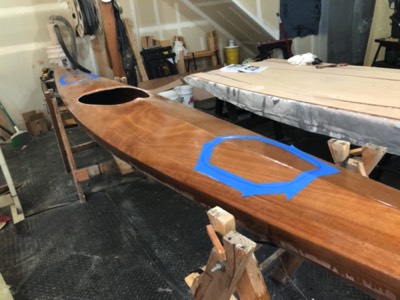
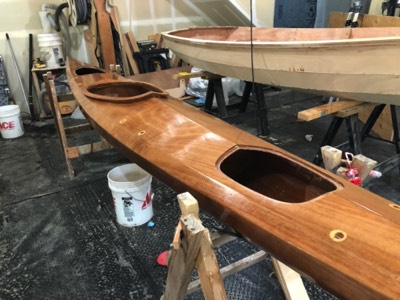
5/7/20 - Several coats of varnish have been applied.
-
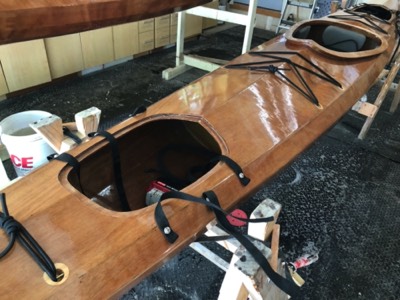
5/8/20 - Deck rigging and hatch straps are installed.


Link to full construction gallery.