-
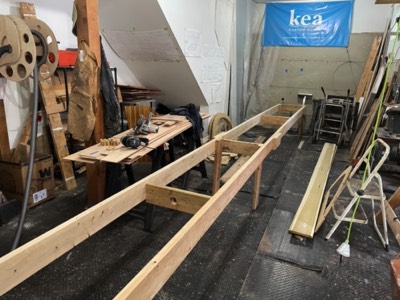
10/5/21 - The strongback is set up.
-
10/7/21 - Jig stringers have been scarfed together and rounded off.
-
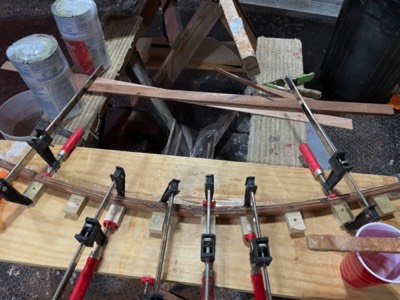
10/8/21 - Rails are epoxied to full length.
-
10/9/21 - The transom stringers are epoxied in place.
-
Scarfs are cut in the hull panels.
-
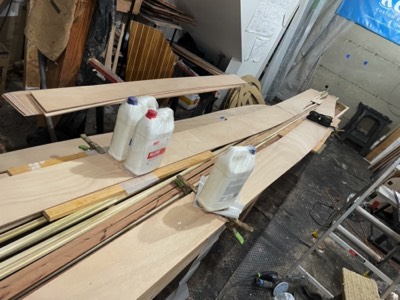
10/11/21 - The panels are glued to full length.
-
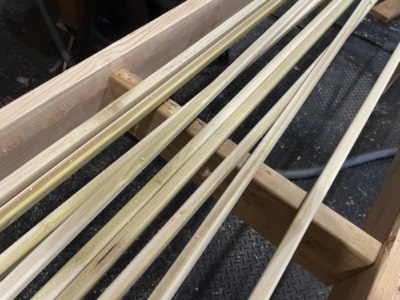
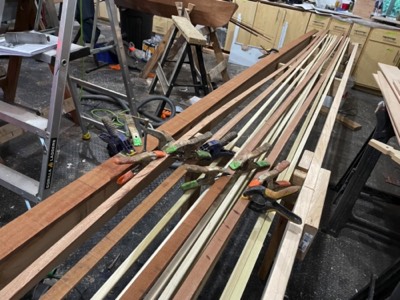
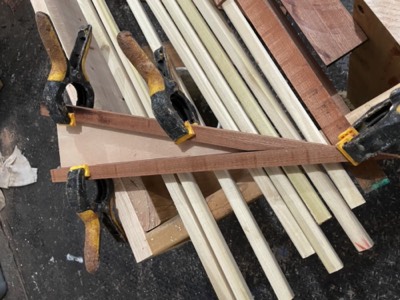
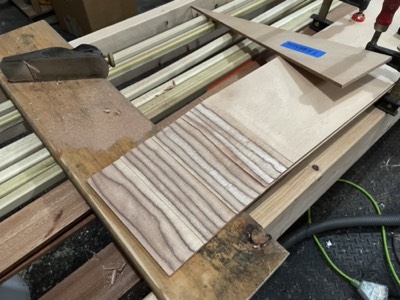
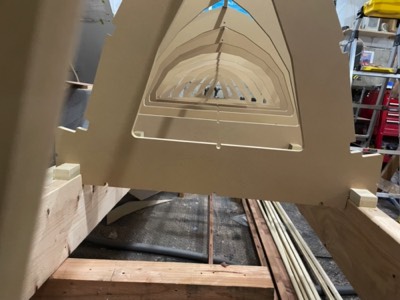
10/12/21 - The first frame is laminated from strips of sapele.
-
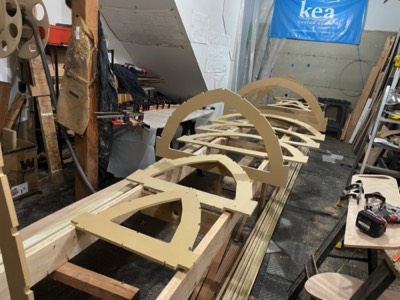
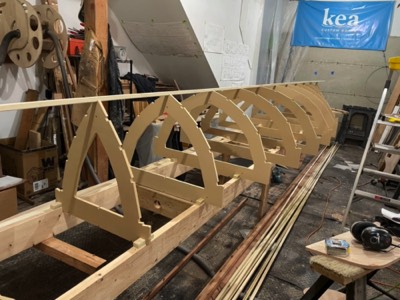
The jig frames are laid out on the strongback.
-
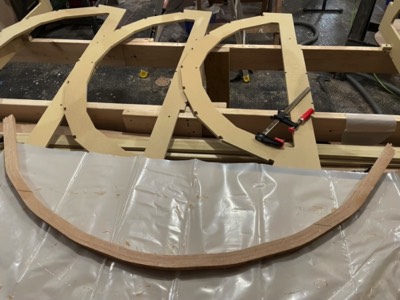
10/13/21 - The first frame is sanded.
-
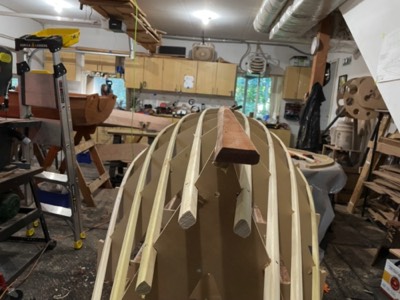
Keelson support stringer is in place.
-
View down the jig frames.
-
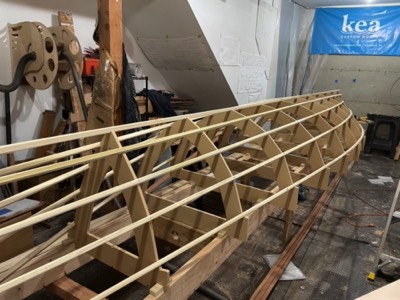
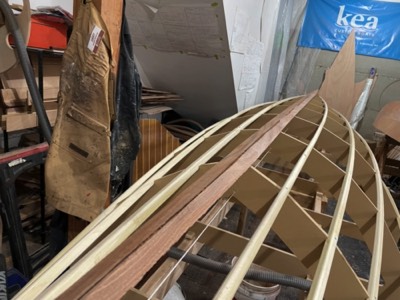
All jig stringers are in place.
-
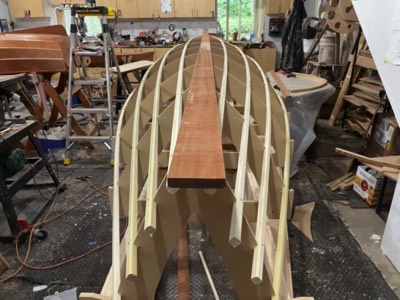
Keelson is test fit.
-
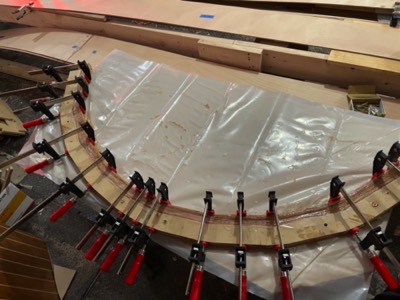
Second frame is laminated.
-
10/18/21 - The keelson is partially planed.
-
11/29/21 - The keelson is planed.
-
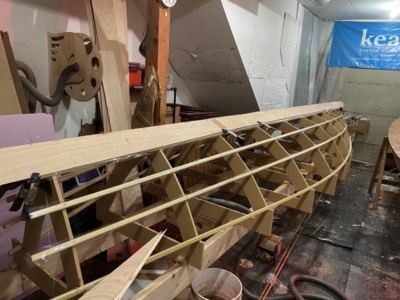
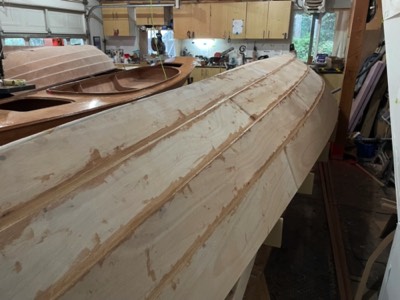
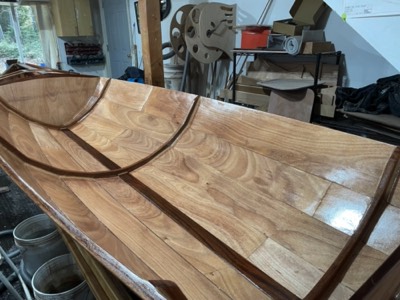
12/14/21 - #1 hull panels are epoxied in plece.
-
12/15/21 - #2 panels are epoxied in place.
-
12/16/21 - Panel #3 is epoxied in place.
-
12/17/21 - Panel #4 is epoxied in place.
-
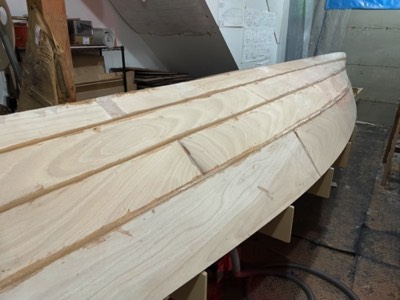
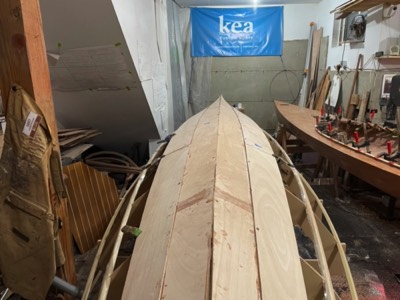
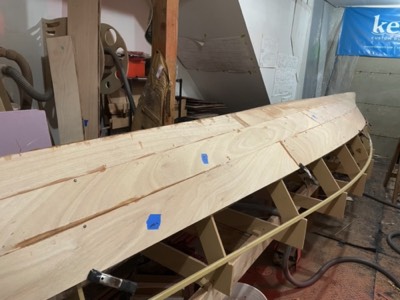
12/20/21 - The gaps between panels are filled on the port side.
-
12/21/21 - The starboard seams are filled.
-
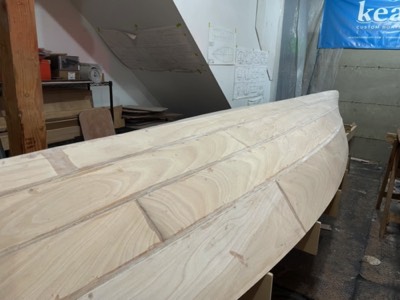
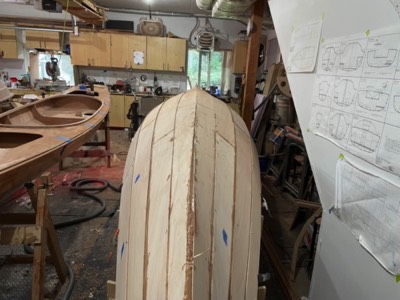
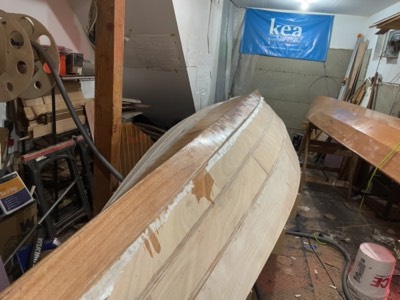
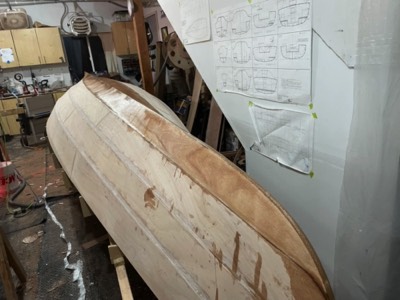
12/22/21 - The boat is sanded.
-
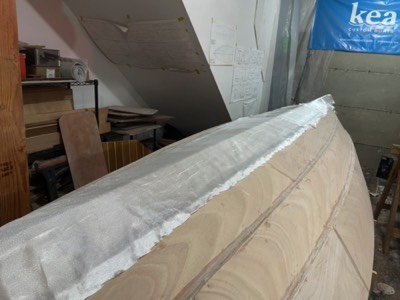
Fiberglass cloth is laid on the #1 panels.
-
The cloth is saturated with epoxy.
-
The extra glass is trimmed off.
-
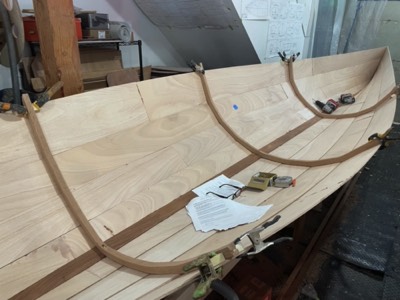
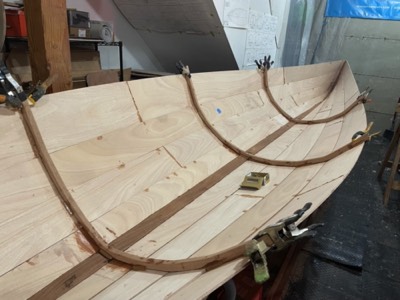
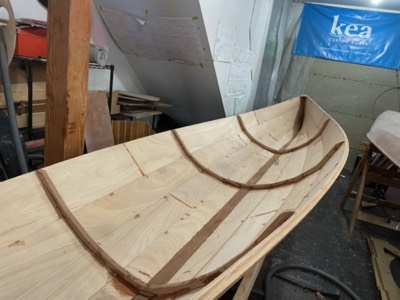
12/26/21 - The boat is removed from the strongback and the frames are test fit.
-
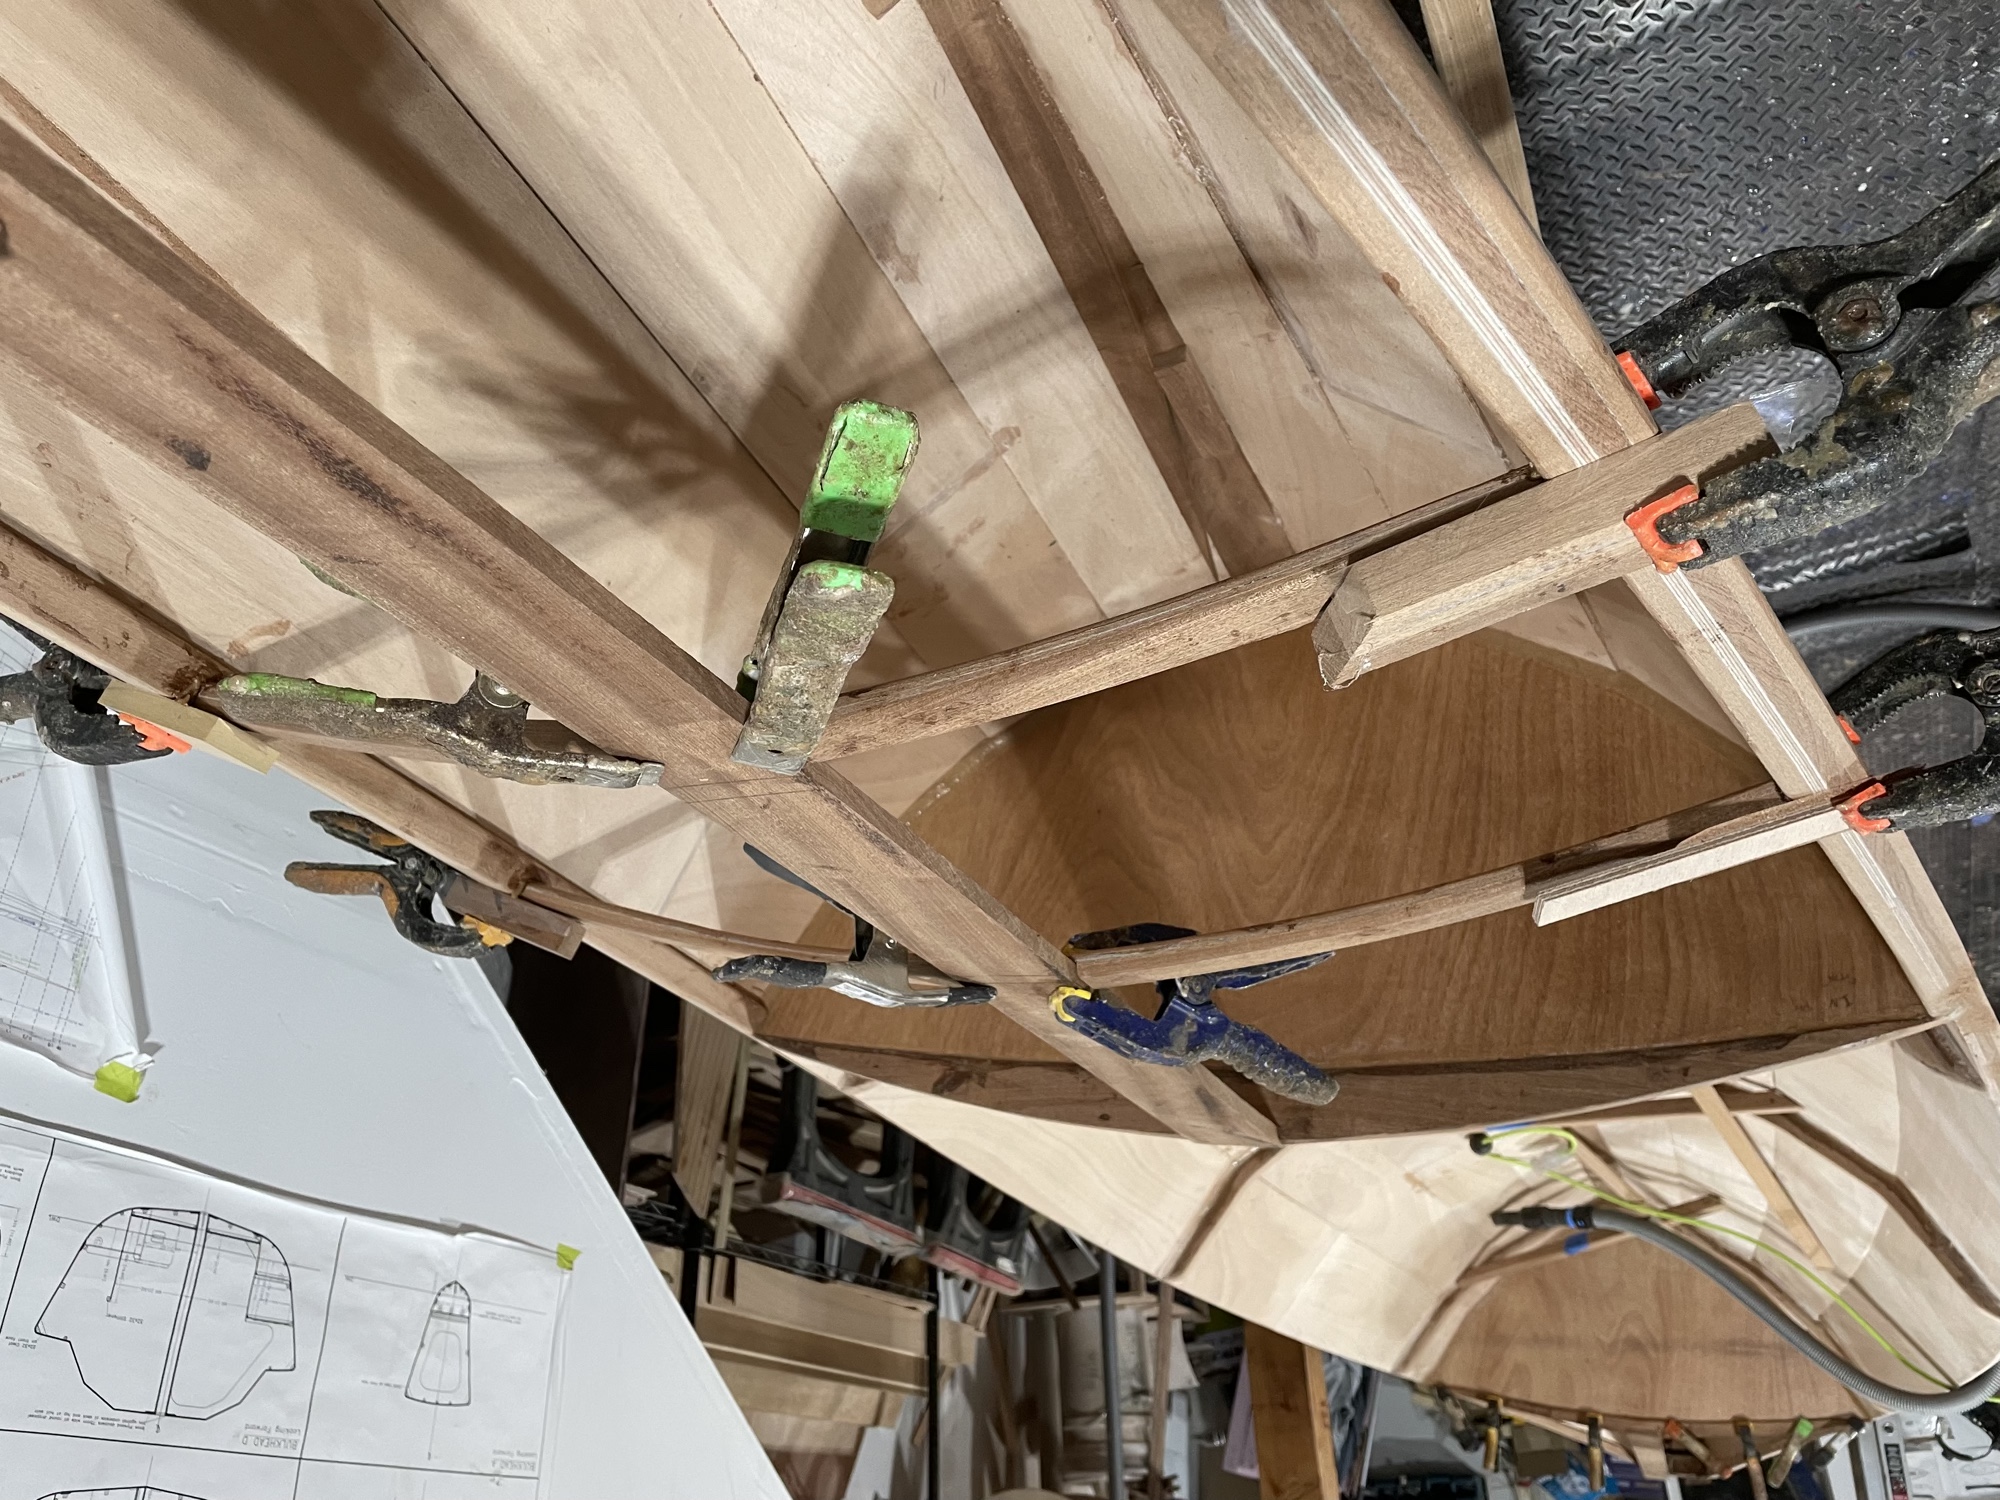
12/27/21 - The frames are epoxied in place.
-
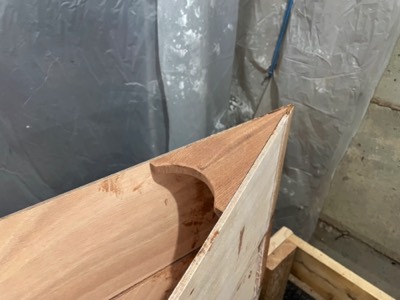
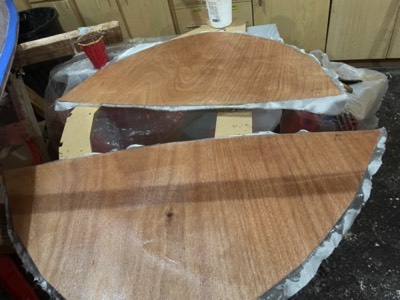
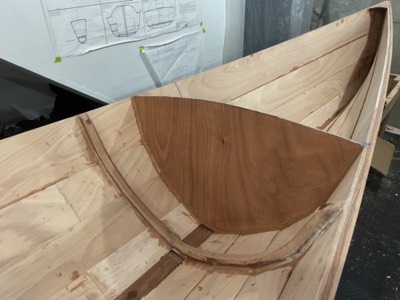
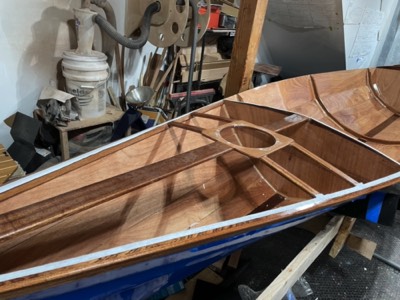
12/28/21 - A custom breasthook is cut and test fit.
-

The starboard rails are epoxied in place.
-
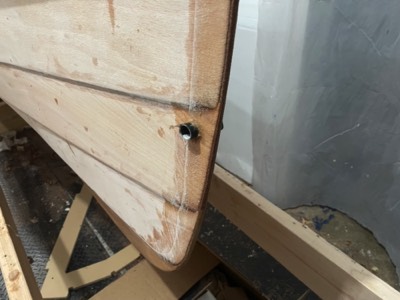
12/30/21 - The rails are sanded.
-
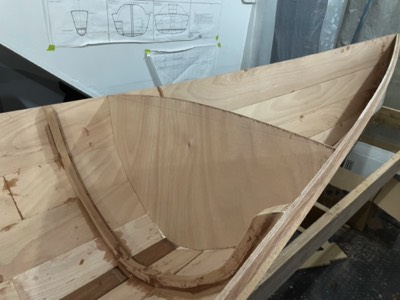
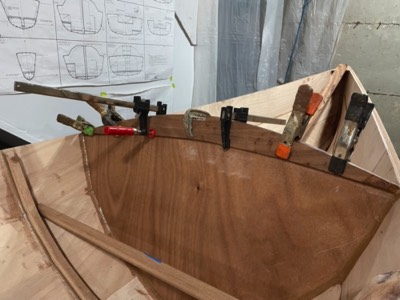
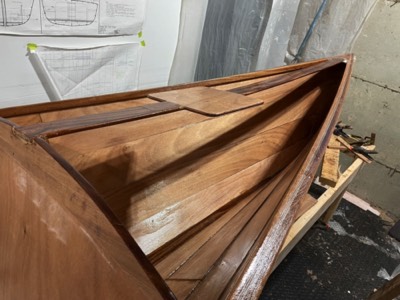
Forward custom bulkhead is test fit.
-
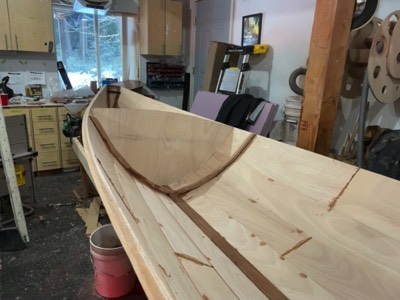
Aft custom bulkhead is test fit.
-
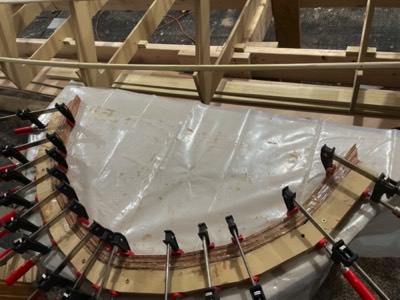
Bulkheads are fiberglassed.
-
A piece of fiberglass tube is embedded in the bow as an attachement point for a bow line.
-
1/1/22 - The bulkheads are epoxied in place.
-
1/9/22 - Upper edge bulkhead reinforcement is epoxied in place.
-
Deck beams are laminated.
-

1/10/22 - Inner rail for storage area is epoxied in place.
-
1/11/22 - Forward deck beams are mounted.
-
1/19/22 - Aft storage section is sealed with epoxy.
-
Forward storage section is sealed with epoxy.
-
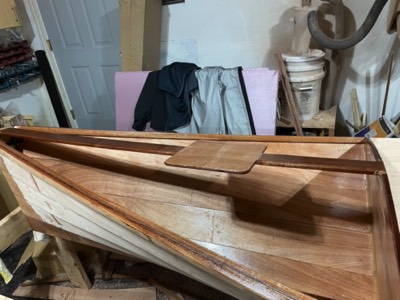
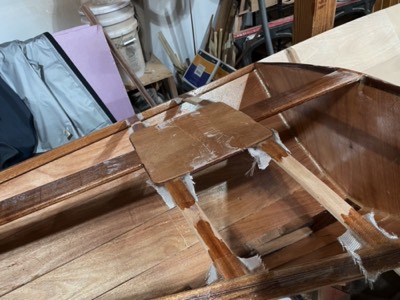
Hatch platform supports are epoxied in place.
-
1/20/22 - The support joints are reinforced with fiberglass patches.
-

1/21/22 - Hole is cut for the hatch.
-
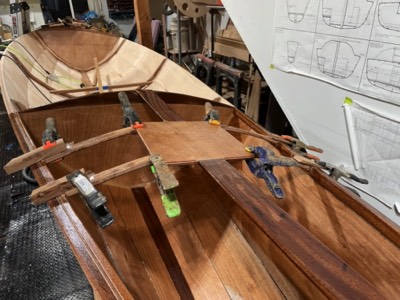
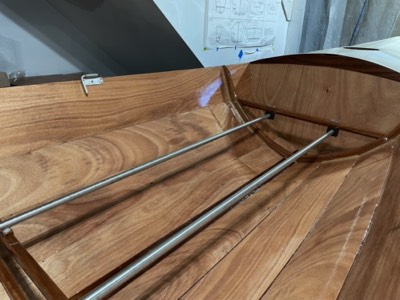
1/25/22 - The stainless rails for the silding seats are test fit.
-
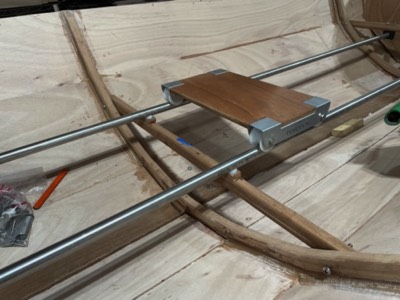
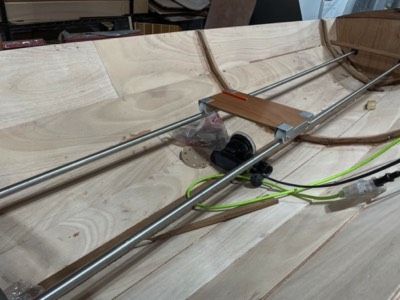
1/26/22 - The center support for the seat rails is test fit.
-
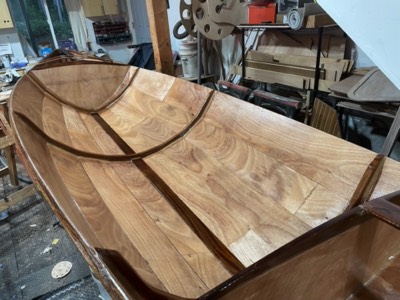
1/31/22 - The inside of the boat is sealed with epoxy.
-
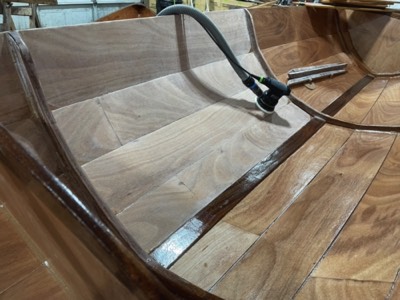
2/4/22 - Interior is partially sanded.
-
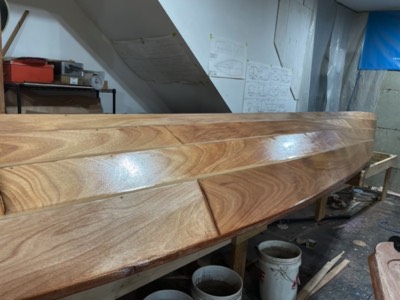
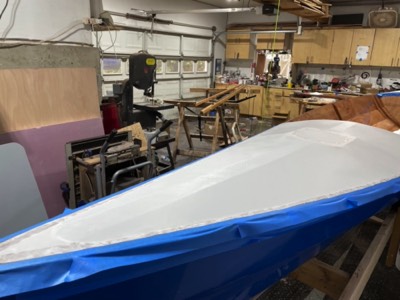
2/7/22 - The hull is sealed with epoxy.
-
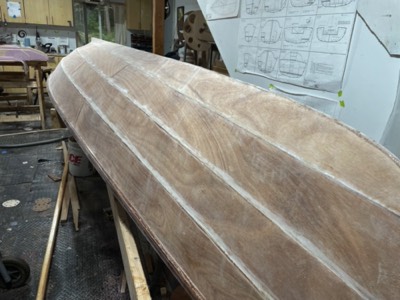
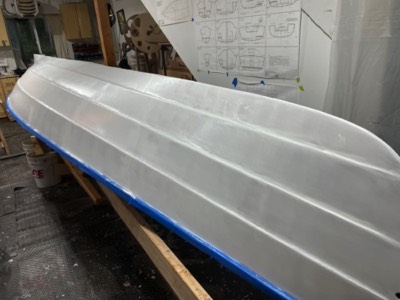
2/9/22 - The hull is sanded and ready for paint.
-
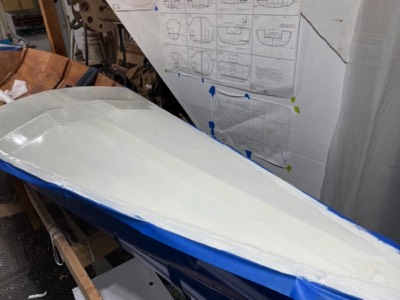
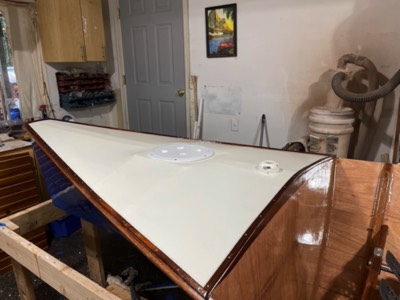
2/11/22 - First coat of primer is applied.
-
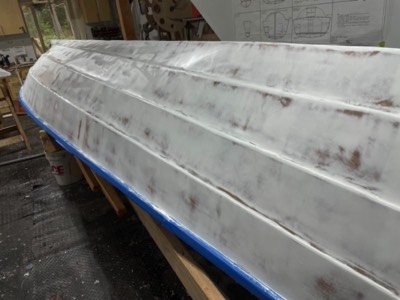
2/15/22 - The primer is sanded.
-
First coat of paint is applied.
-
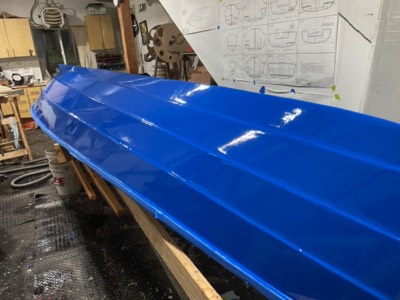
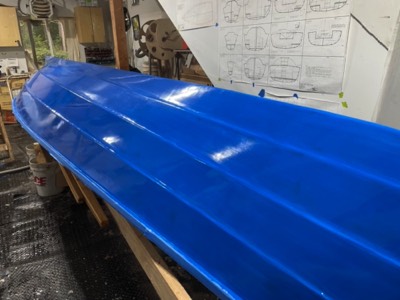
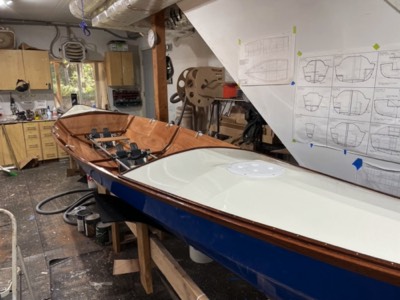
2/17/22 - Several coats of paint have been applied.
-
2/22/22 - First coat of varnish is applied to the interior.
-
2/27/22 - Heat N Bond tape is applied around the edge of the storage area.
-

Heat shrink ceconite is used to create a watertight deck.
-
2/28/22 - Forward deck.
-
The ceconite is painted to waterproof it and protect against UV.
-
3/3/22 - The sliding seat rails are installed.
-
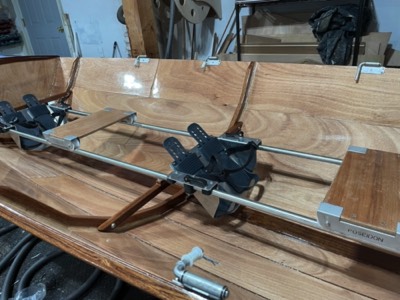
4/3/22 - The rest of the Poseidon sliding seat system is installed.
-
Battens to protect the edge of the fabric deck are installed.
-
3/6/22 - The forward hatch is installed and the boat is complete!


