-
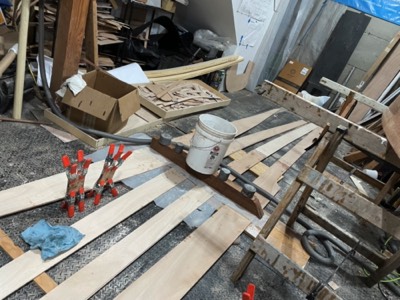
10/10/22 - Construction begins!
-
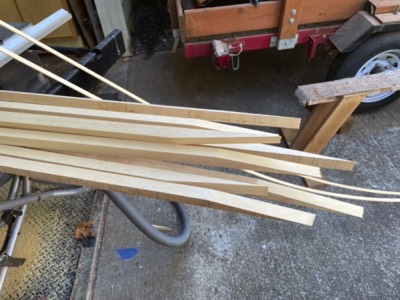
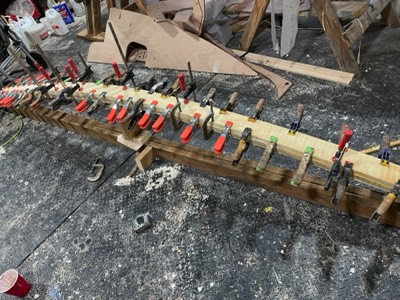
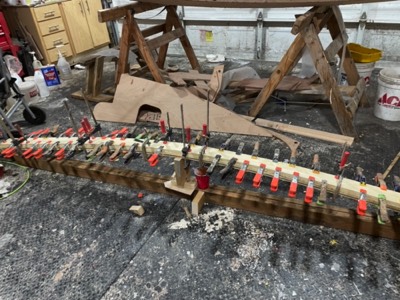
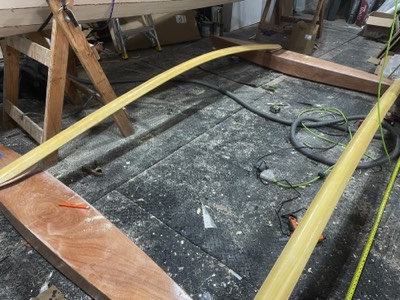
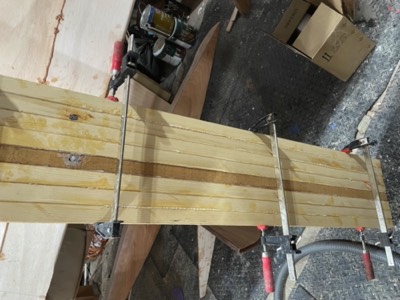
10/11/22 - Sheer clamps are ripped and scarfs are cut.
-
Sheer clamps are epoxied on the Ama #1 panels.
-

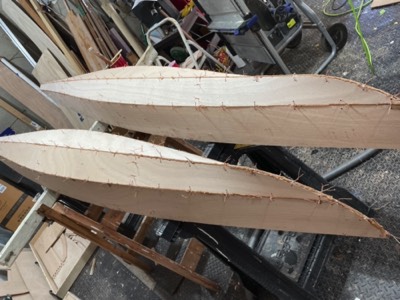
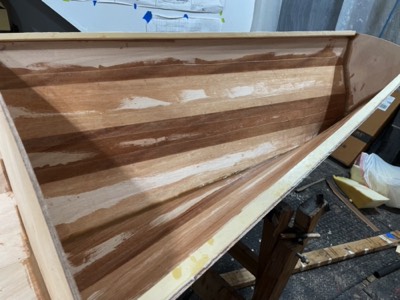
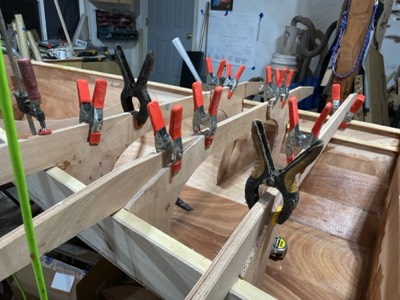
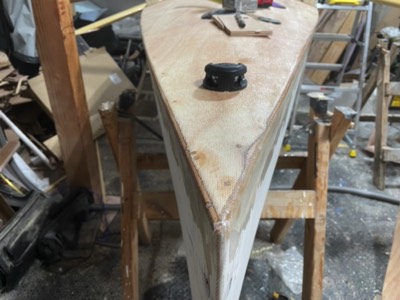
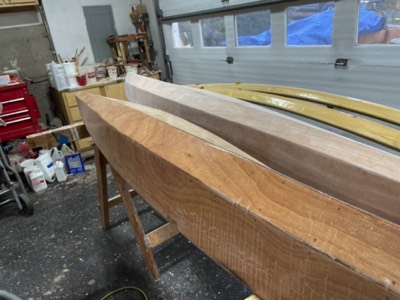
10/12/22 - First ama (outrigger float) is wired up.
-
Second ama is wired up.
-
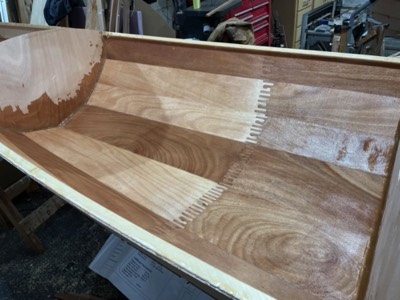
10/13/22 - The seams between panels are filled with epoxy.
-
10/16/22 - The inside of the amas are epoxy sealed. Glue cleats are staged for the tops of the bulkheads.
-

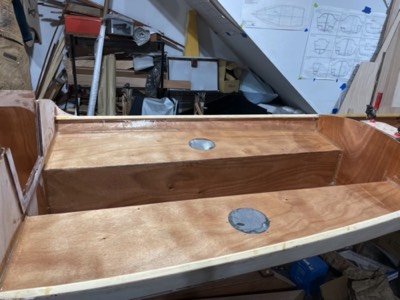
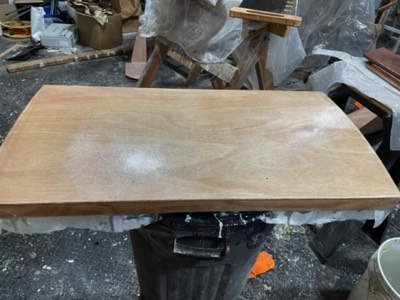
10/18/22 - The ama decks are epoxied in place.
-
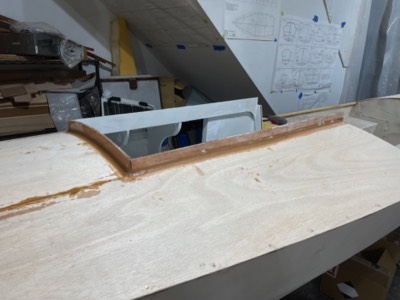
10/19/22 - The decks are trimmed.
-
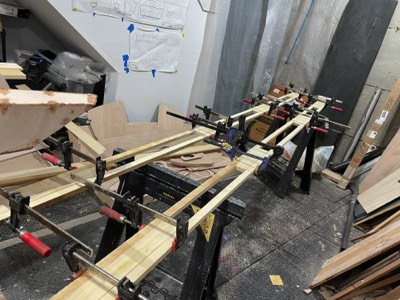
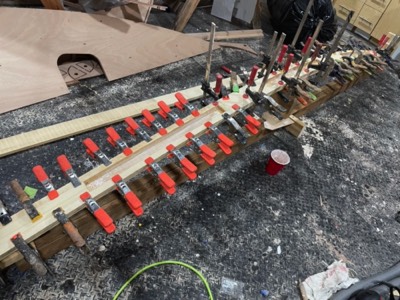
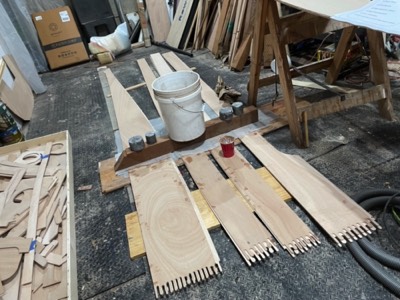
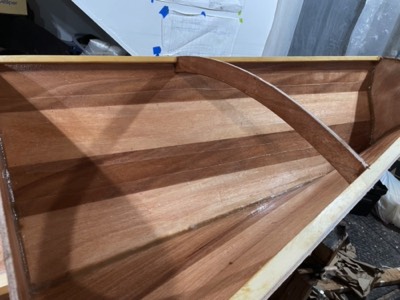
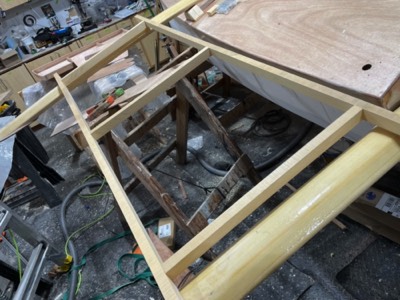
10/20/22 - The aka (crossbeam) cores are epoxied together.
-
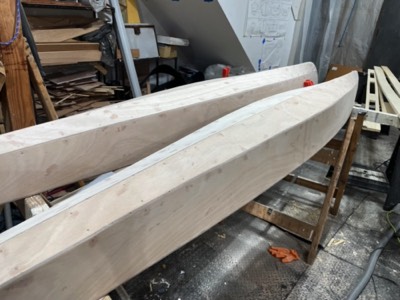
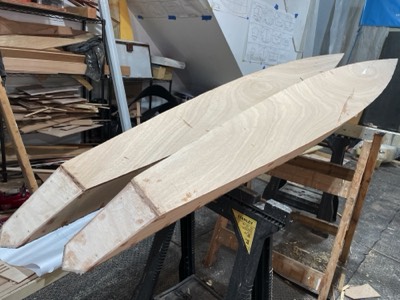
10/21/22 - Both amas are sanded.
-
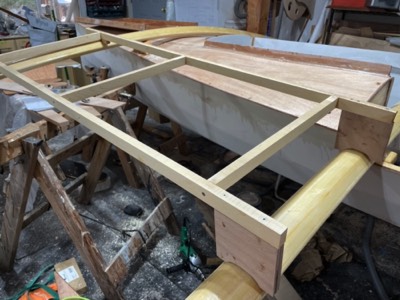
The forward aka is partially epoxied together.
-
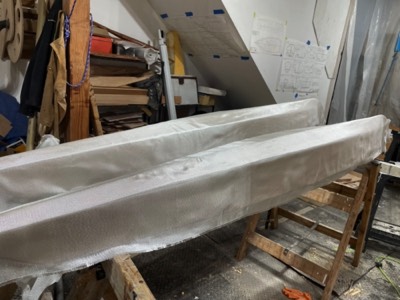
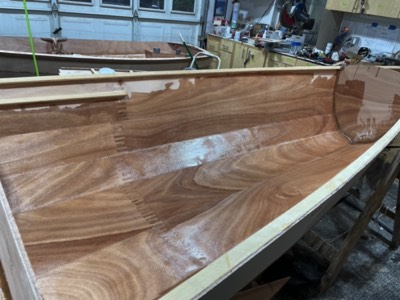
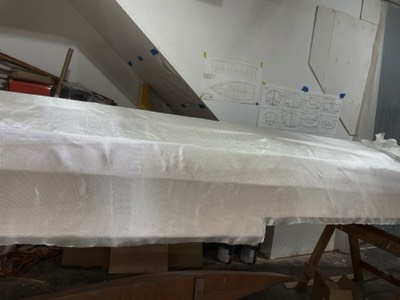
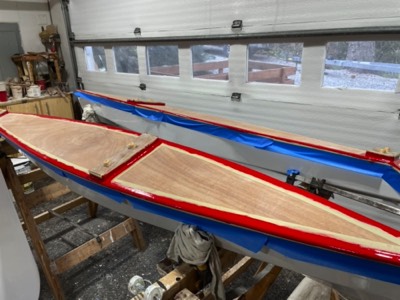
Fiberglass cloth is laid on the amas.
-
The fiberglass is epoxy saturated.
-
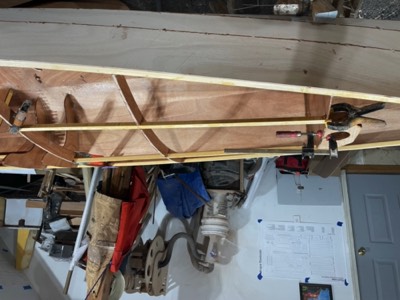
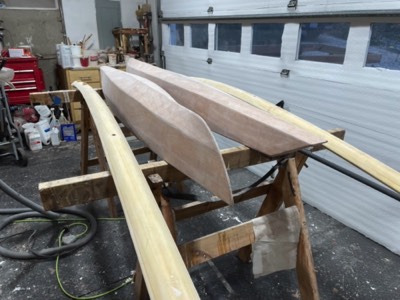
10/23/22 - The third layer of the forward aka is laminted on.
-
10/24/22 - The aft aka is laminated.
-
The tops of the amas are fiberglassed.
-
The main hull panels are partialled epoxied together.
-
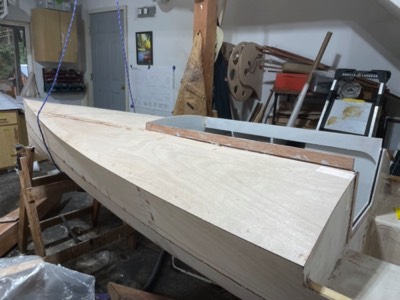
10/26/22 - Hull panels are epoxied to full length.
-
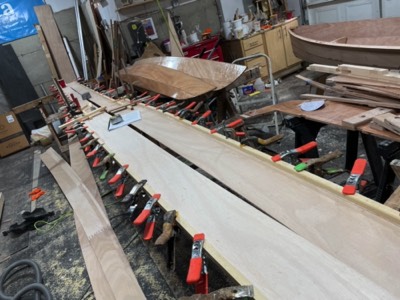
10/27/22 - Sheer clamps are epoxied on the #4 panels.
-
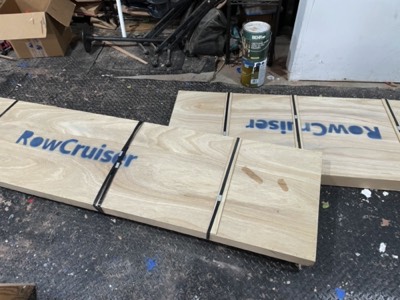
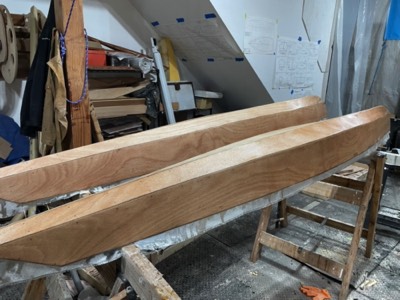
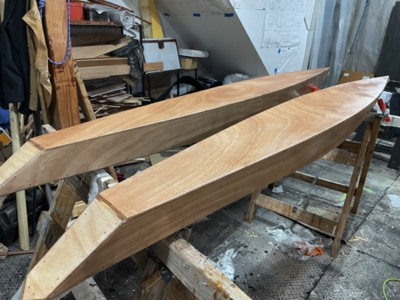
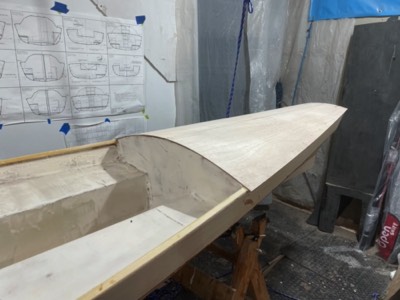
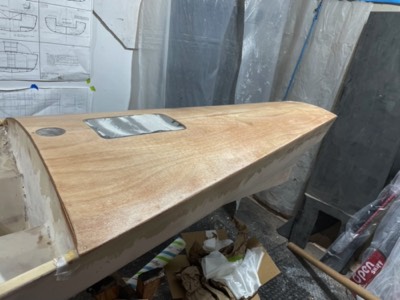
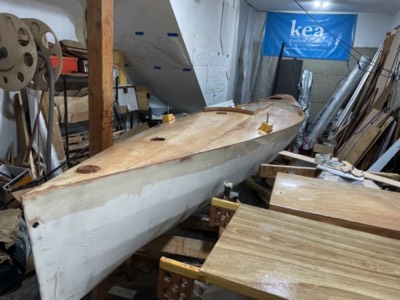
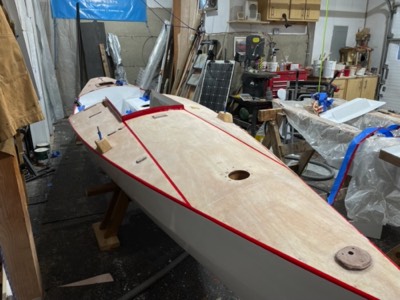
Construction of the amas is complete.
-
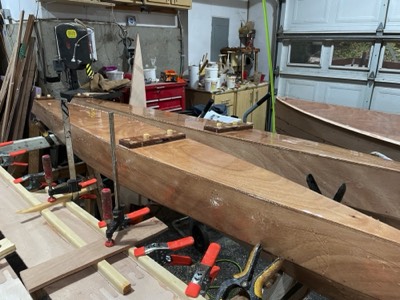
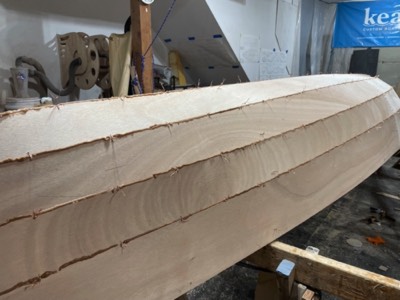
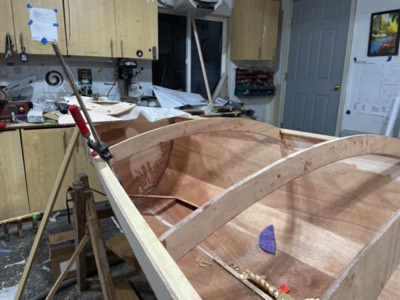
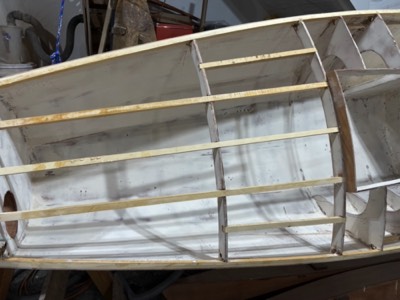
10/28/22 - The main hull is mostly wired up.
-
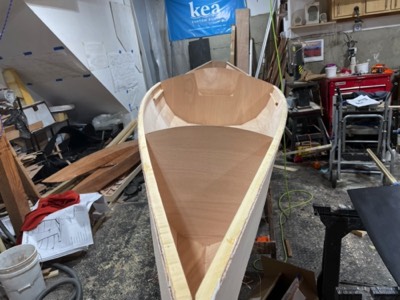
10/29/22 - Wiring the hull is complete.
-
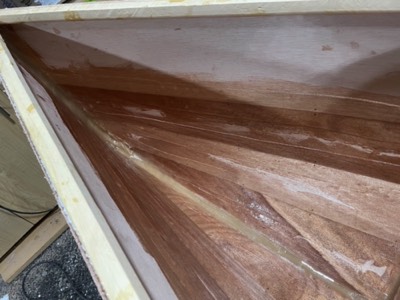
10/31/22 - The hull is flipped and seams are filled with epoxy.
-
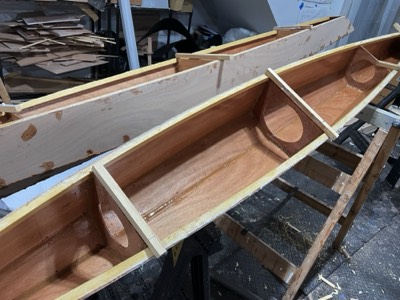
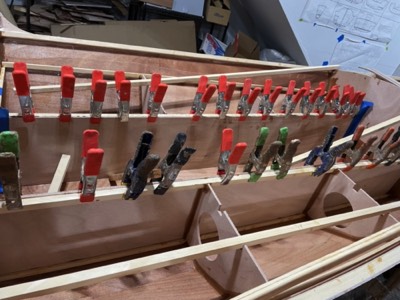
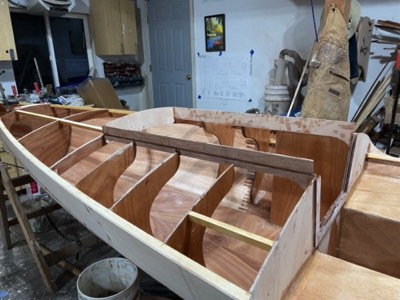
11/1/22 - The wires are pulled and the bulkheads are epoxied in place.
-
11/2/22 - The forward section is fiberglass taped.
-
11/3/22 - The aft section is fiberglass taped.
-
11/4/22 - The cockpit area is fiberglassed.
-
Interior cabin area is fiberglassed.
-
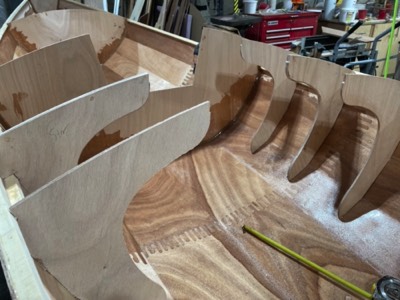
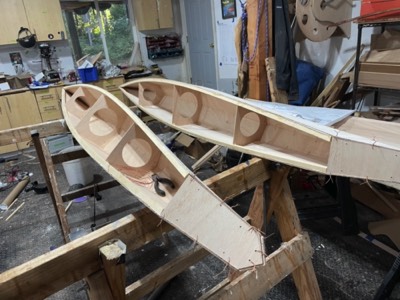
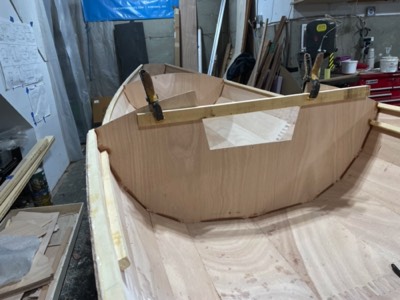
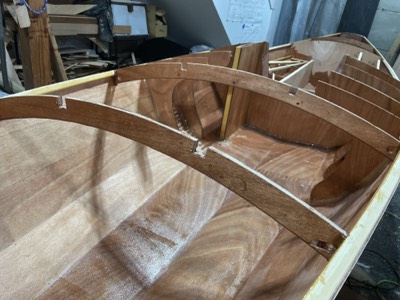
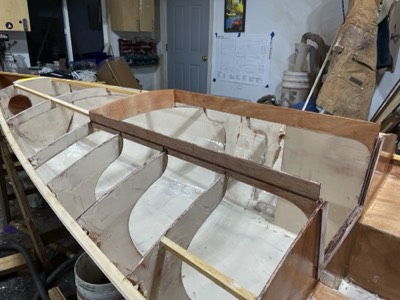
11/7/22 - The knees are test fit.
-
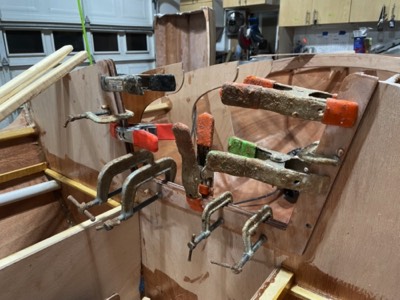
Knees are epoxied in place.
-
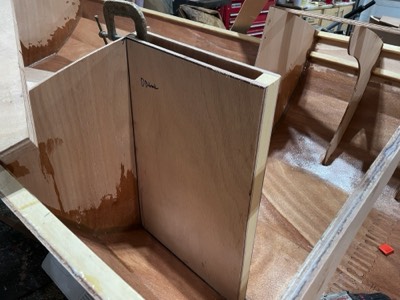
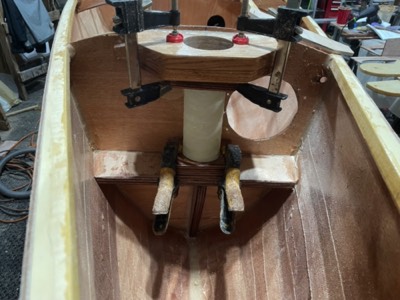
11/8/22 - The daggerboard trunk is test fit.
-
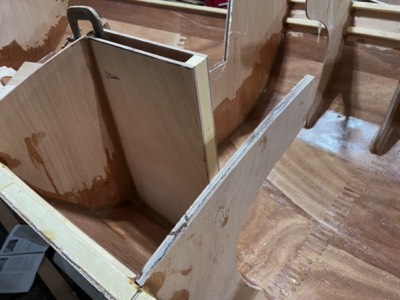
The trunk is epoxied in place.
-
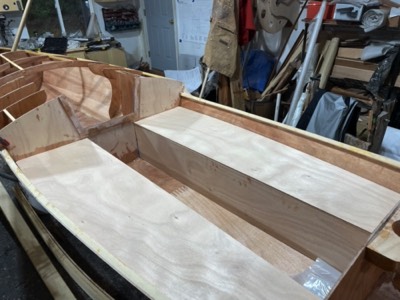
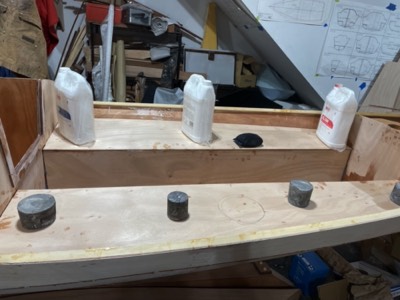
11/15/22 - The cockpit seat structure is started.
-
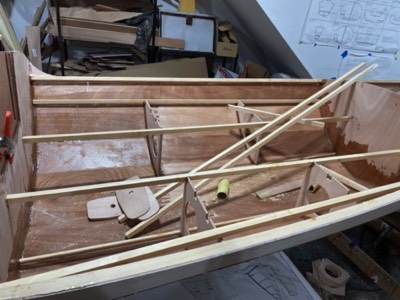
Deck beams are epoxied in place.
-
11/16/22 - The cockpit tanks walls are epoxied in place.
-
11/17/22 - The companionway doublers are epoxied in place.
-
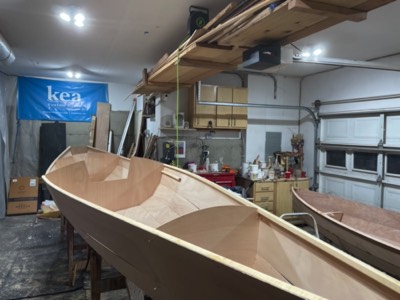
11/18/22 - The interior of the cabin is epoxy sealed.
-
Aft storage is sealed.
-
11/22/22 - Deck reinforcement stringers are added.
-
11/25/22 - Cockpit seat covers are trimmed to fit.
-
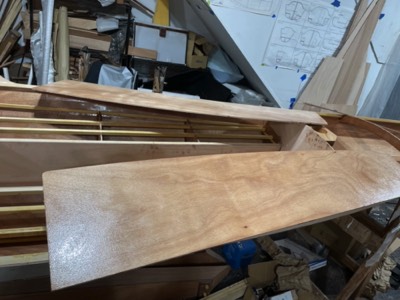
Underside of the covers is epoxy sealed.
-
11/26/22 - Seat tops are epoxied in place.
-

11/28/22 - The seat tops are trimmed.
-
Mast support tubes are installed.
-
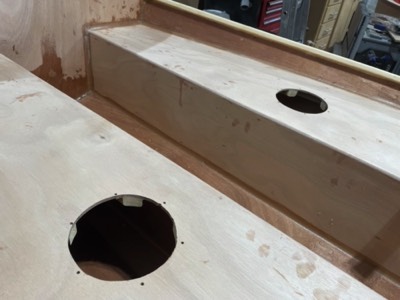
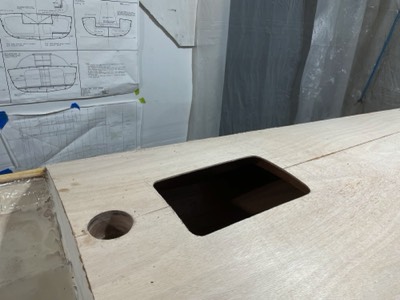
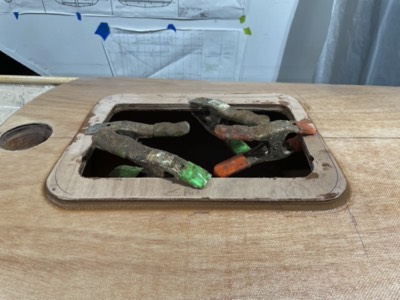
Holes for hatches are cut out.
-
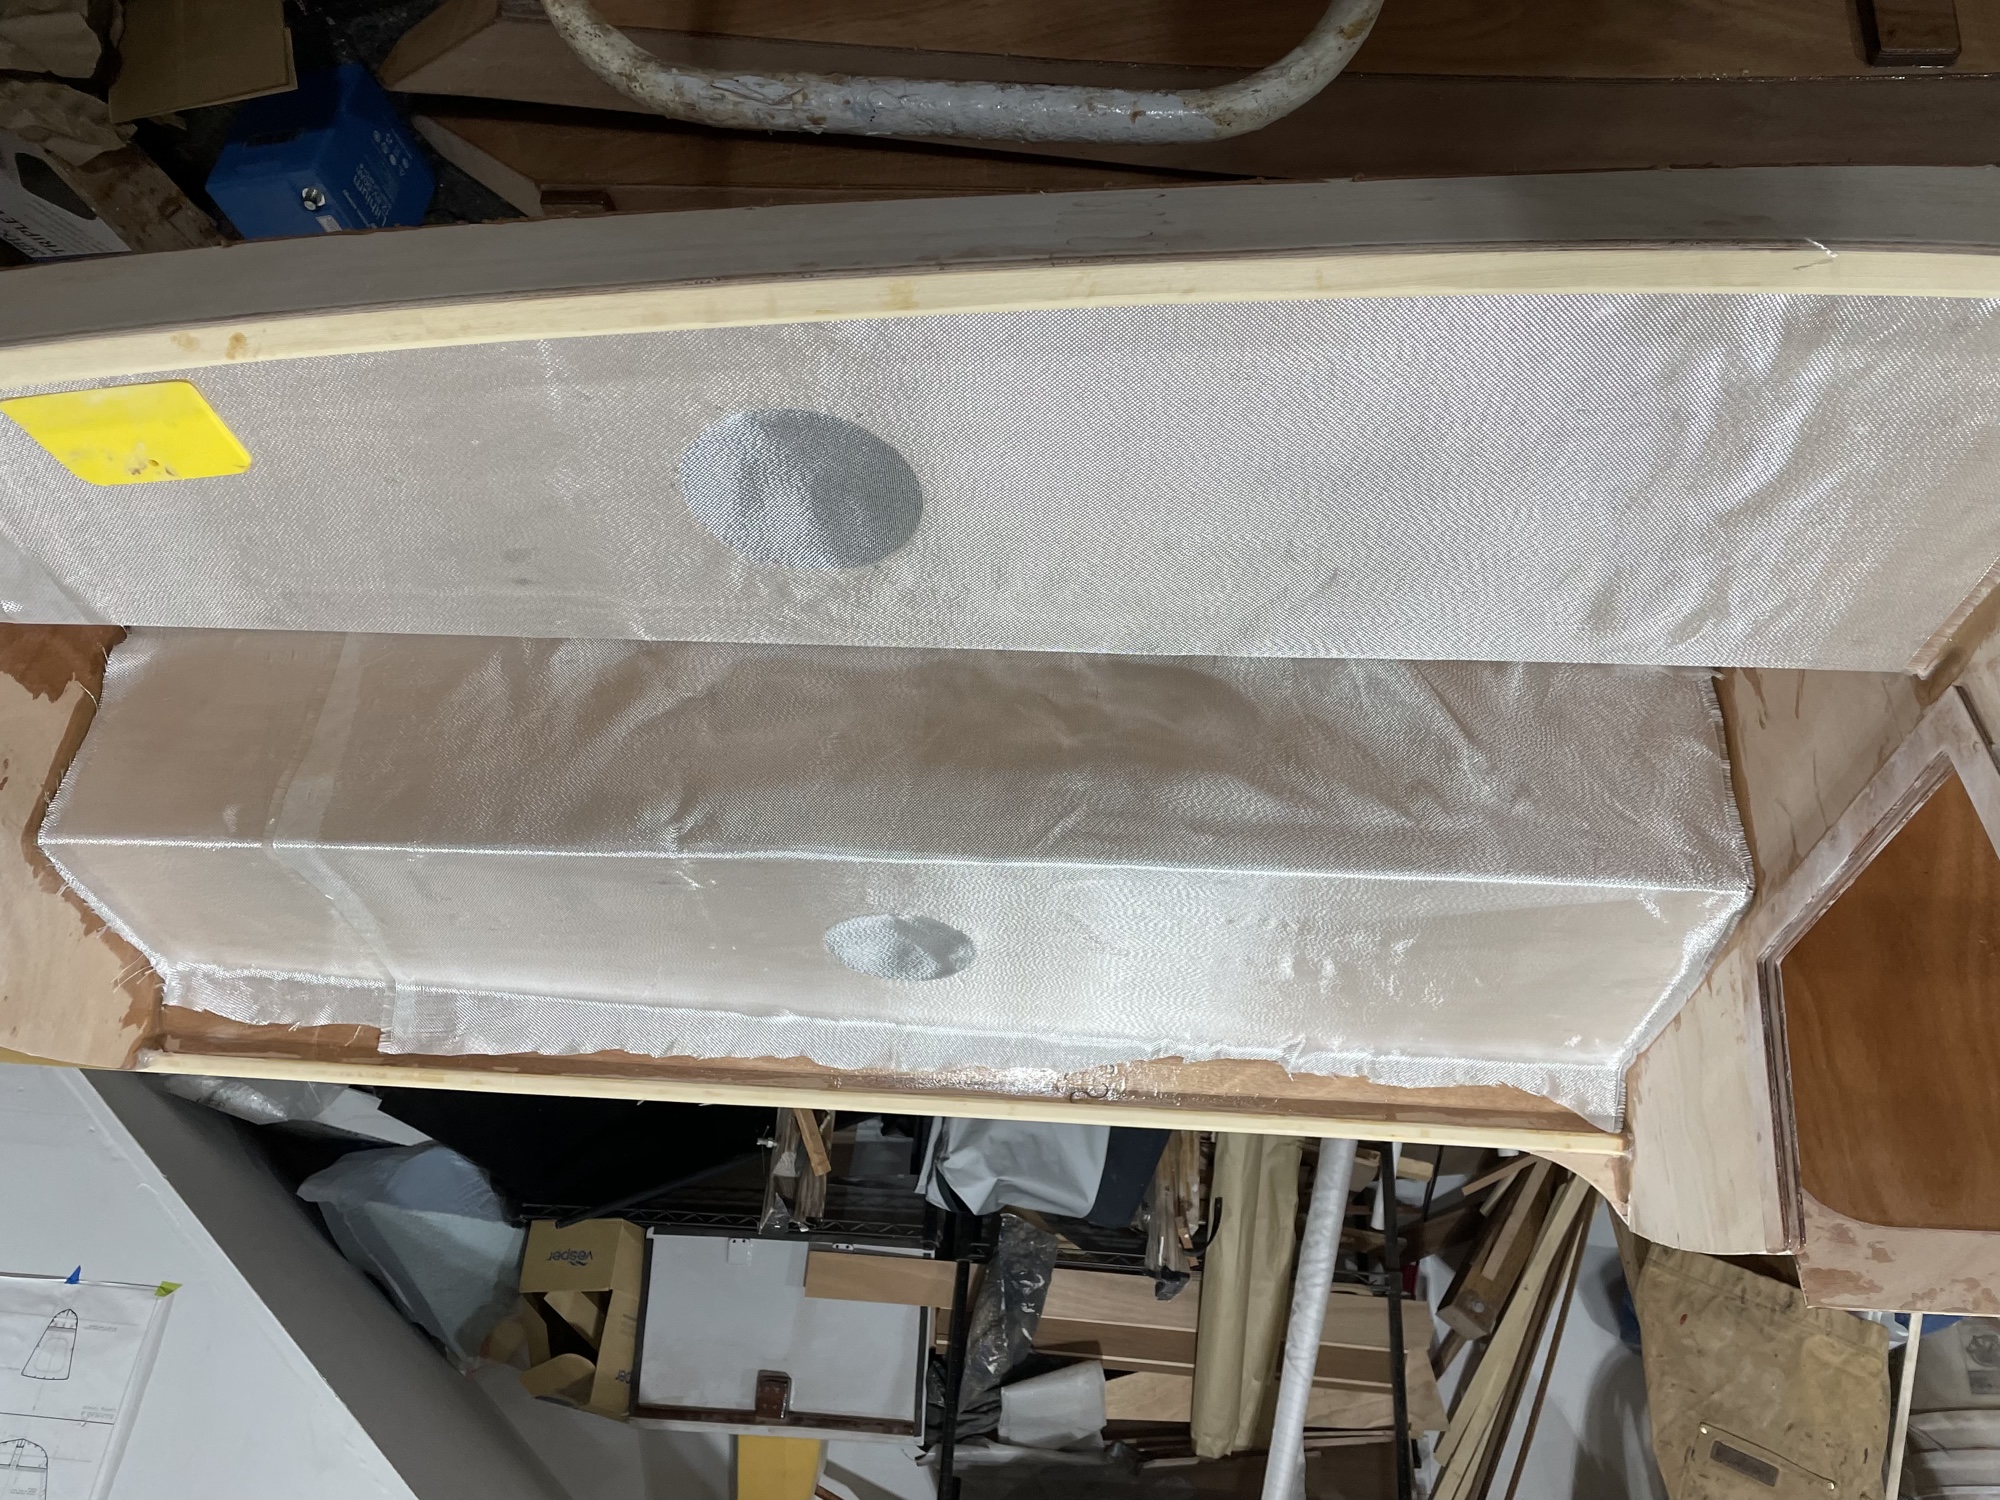
Fiberglass cloth is laid on the seats.
-
The cloth is saturated with epoxy.
-
The companionway hatch surround is epoxied in place.
-
11/29/22 - The rudder trunk is test fit.
-
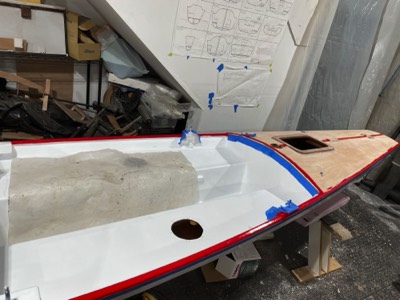
The cabin interior is sealed with epoxy with fairing filler.
-

11/30/22 - The cockpit is faired.
-

12/1/22 - The cabin is sanded in preparation for primer.
-
12/2/22 - Extra deck stringers are test fit.
-
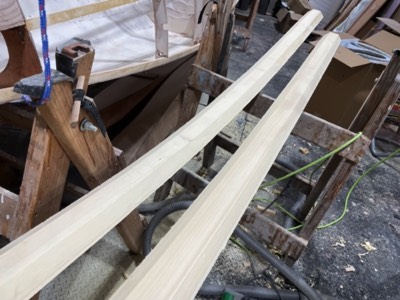
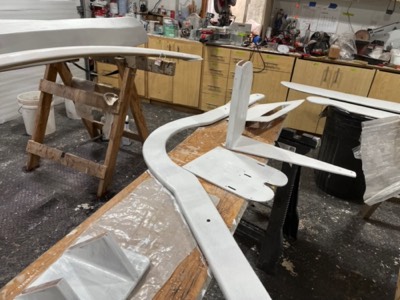
Shaping of the akas is begun.
-
12/5/22 - The cabin interior is primed.
-
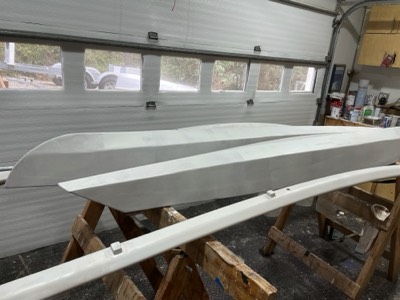
12/6/22 - The undersides of the akas are fiberglassed.
-
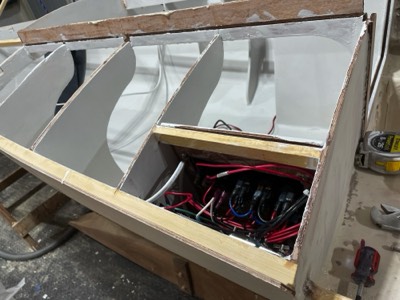
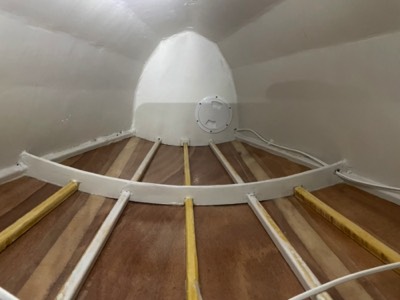
1/2/23 - Most of the electrical wires are installed.
-
View of the panel from the interior.
-
1/3/23 - The aft deck panels are epoxed together.
-
Undersides of the decks are epoxy sealed.
-
1/4/23 - The aka to ama mounts are installed.
-
1/5/23 - the forward deck is epoxied in place.
-
Aft deck is epoxied in place.
-
1/6/23 - The hull is upside down so any gaps between the deck and stringers can be filled.
-
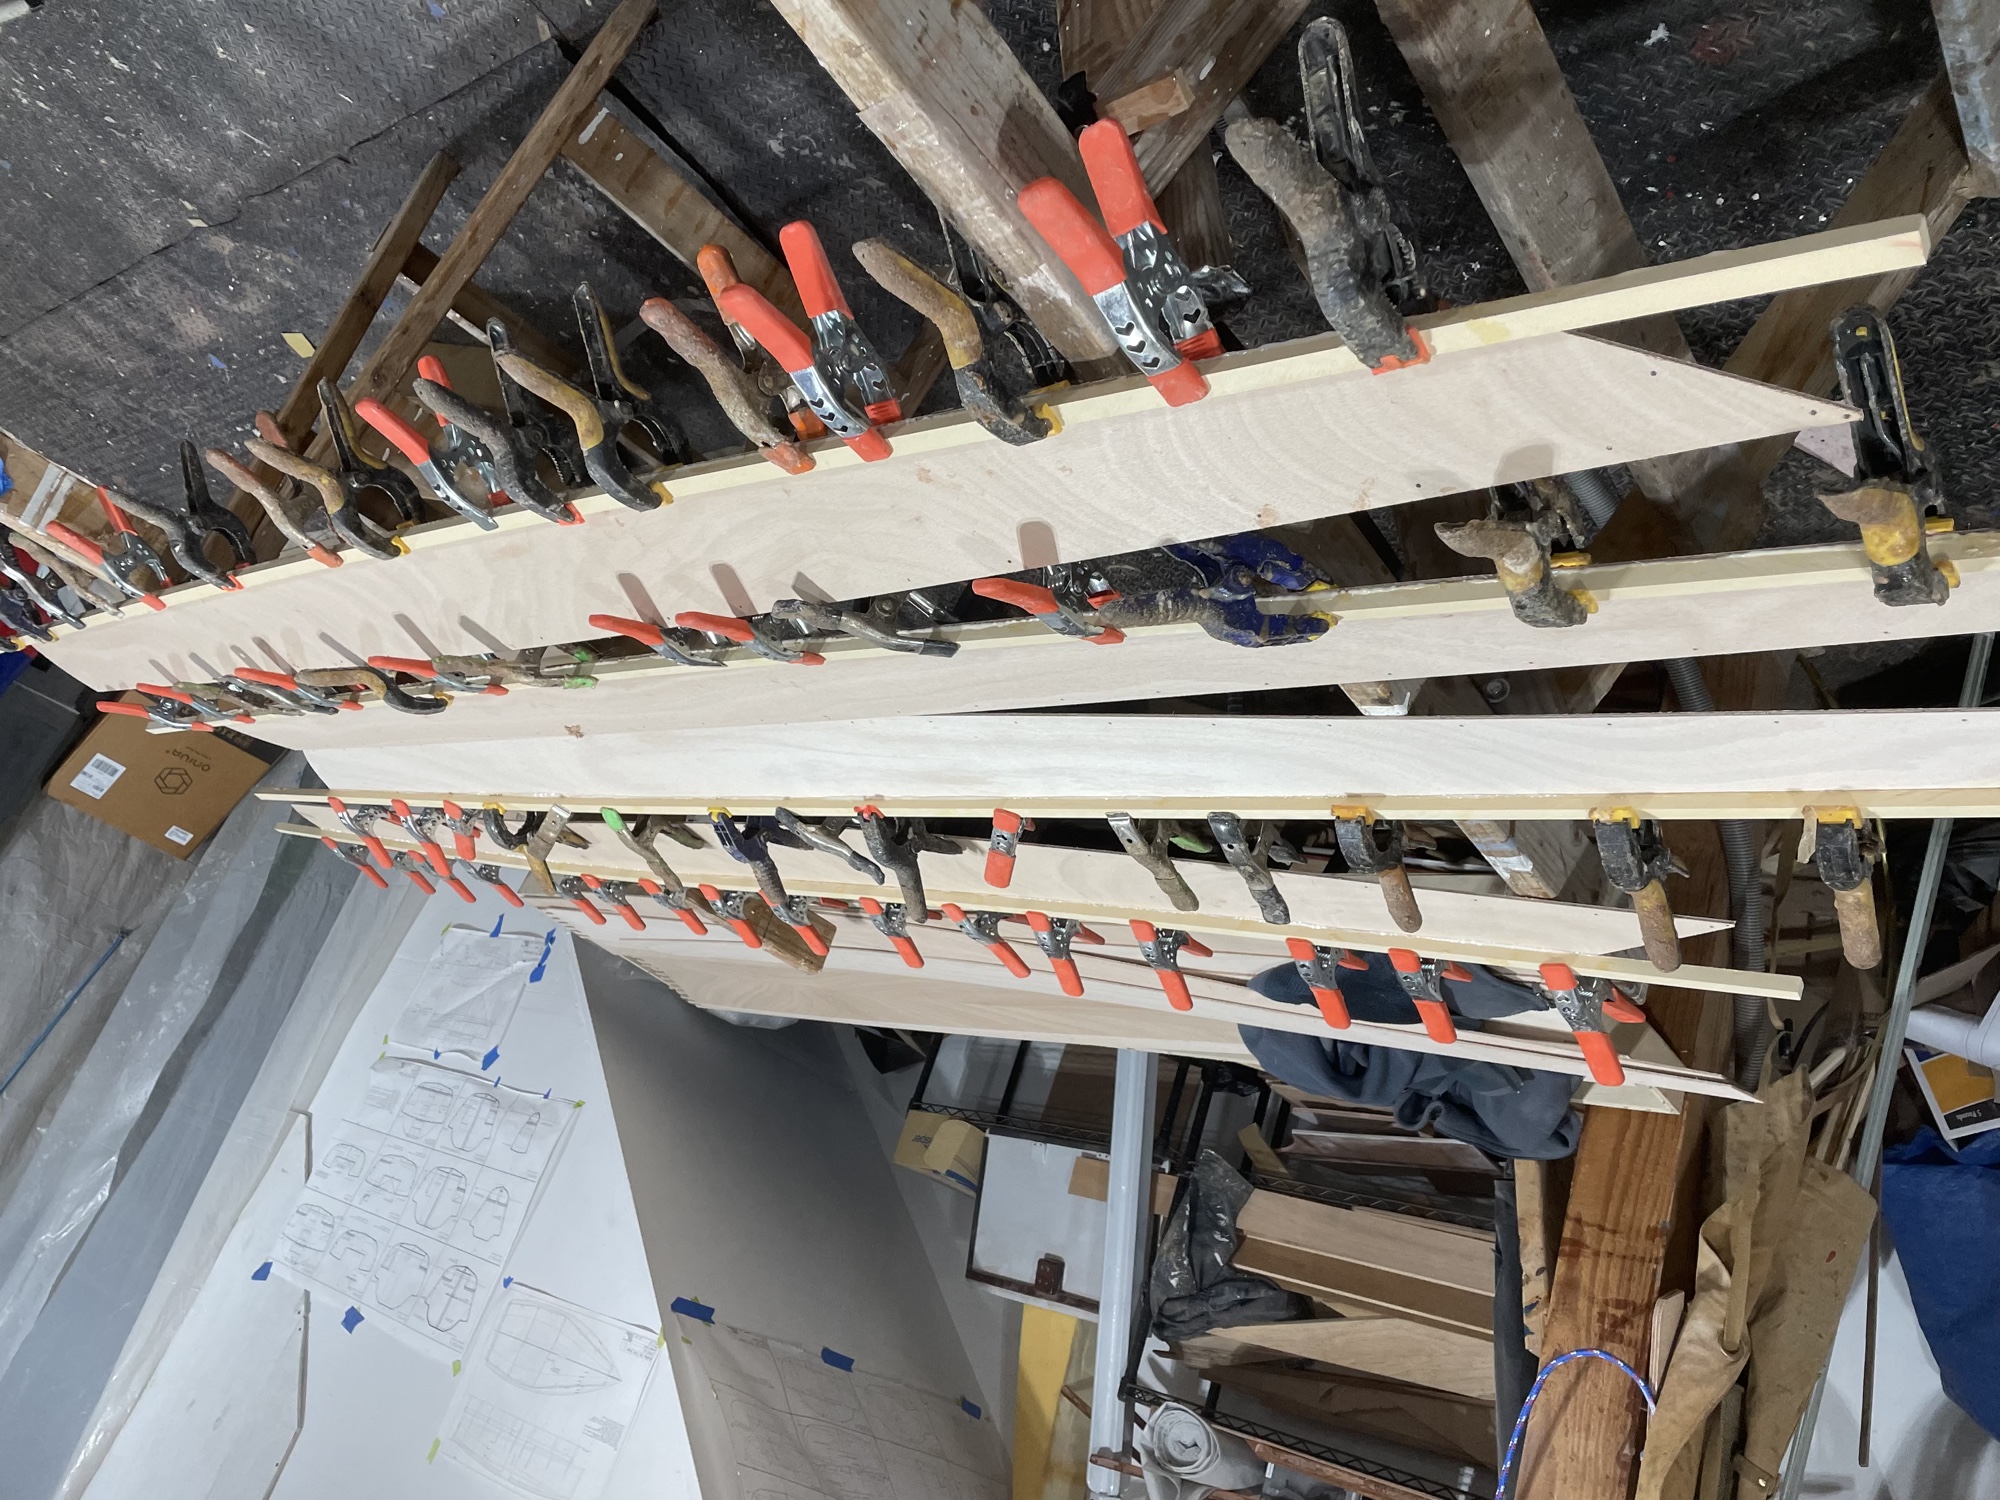
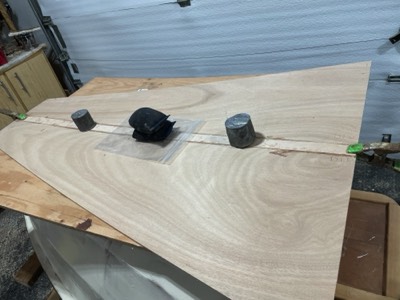
The daggerboard is laminated from strips of Alaskan yellow cedar.
-
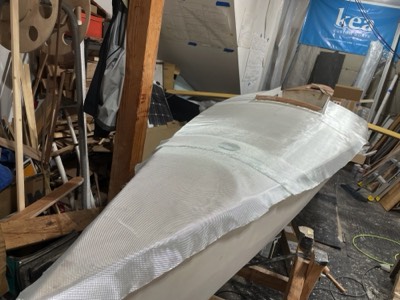
1/9/23 - Fiberglass is laid on the sanded hull.
-

The cloth is saturated with epoxy.
-

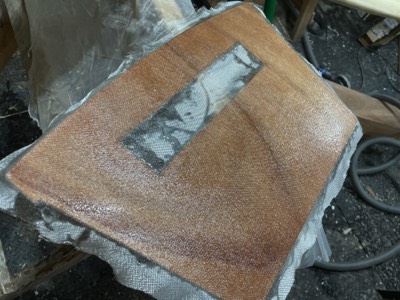
1/10/23 - An extra strip of fiberglass is laminted on the bow.
-
The self bailer is temporarily installed.
-
Daggerboard slot is cut out.
-
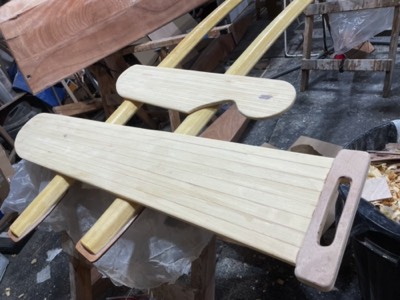
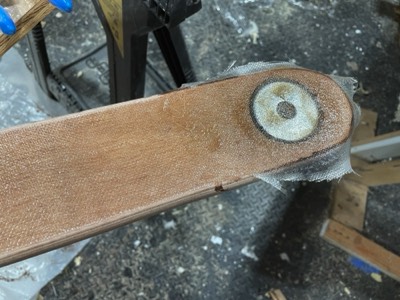
1/11/23 - The daggerboard and rudder have been shaped.
-
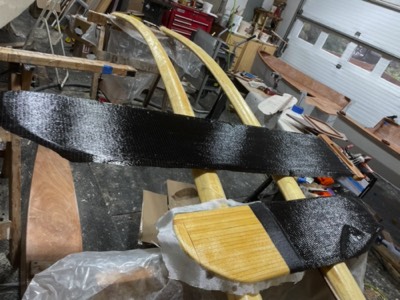
The foils are reinforced with unidirectional carbon fiber and fiberglass.
-
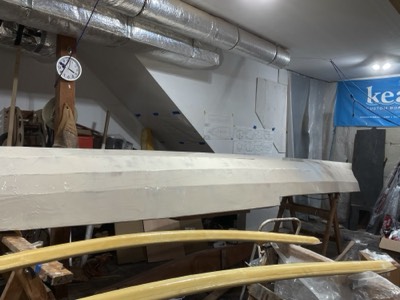
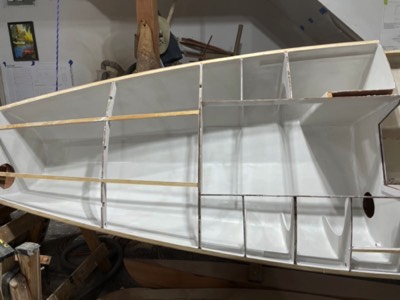
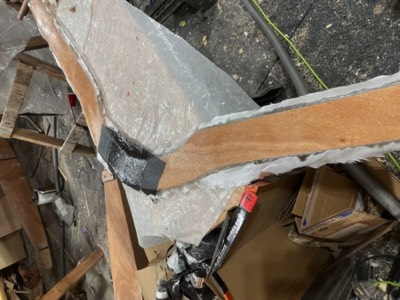
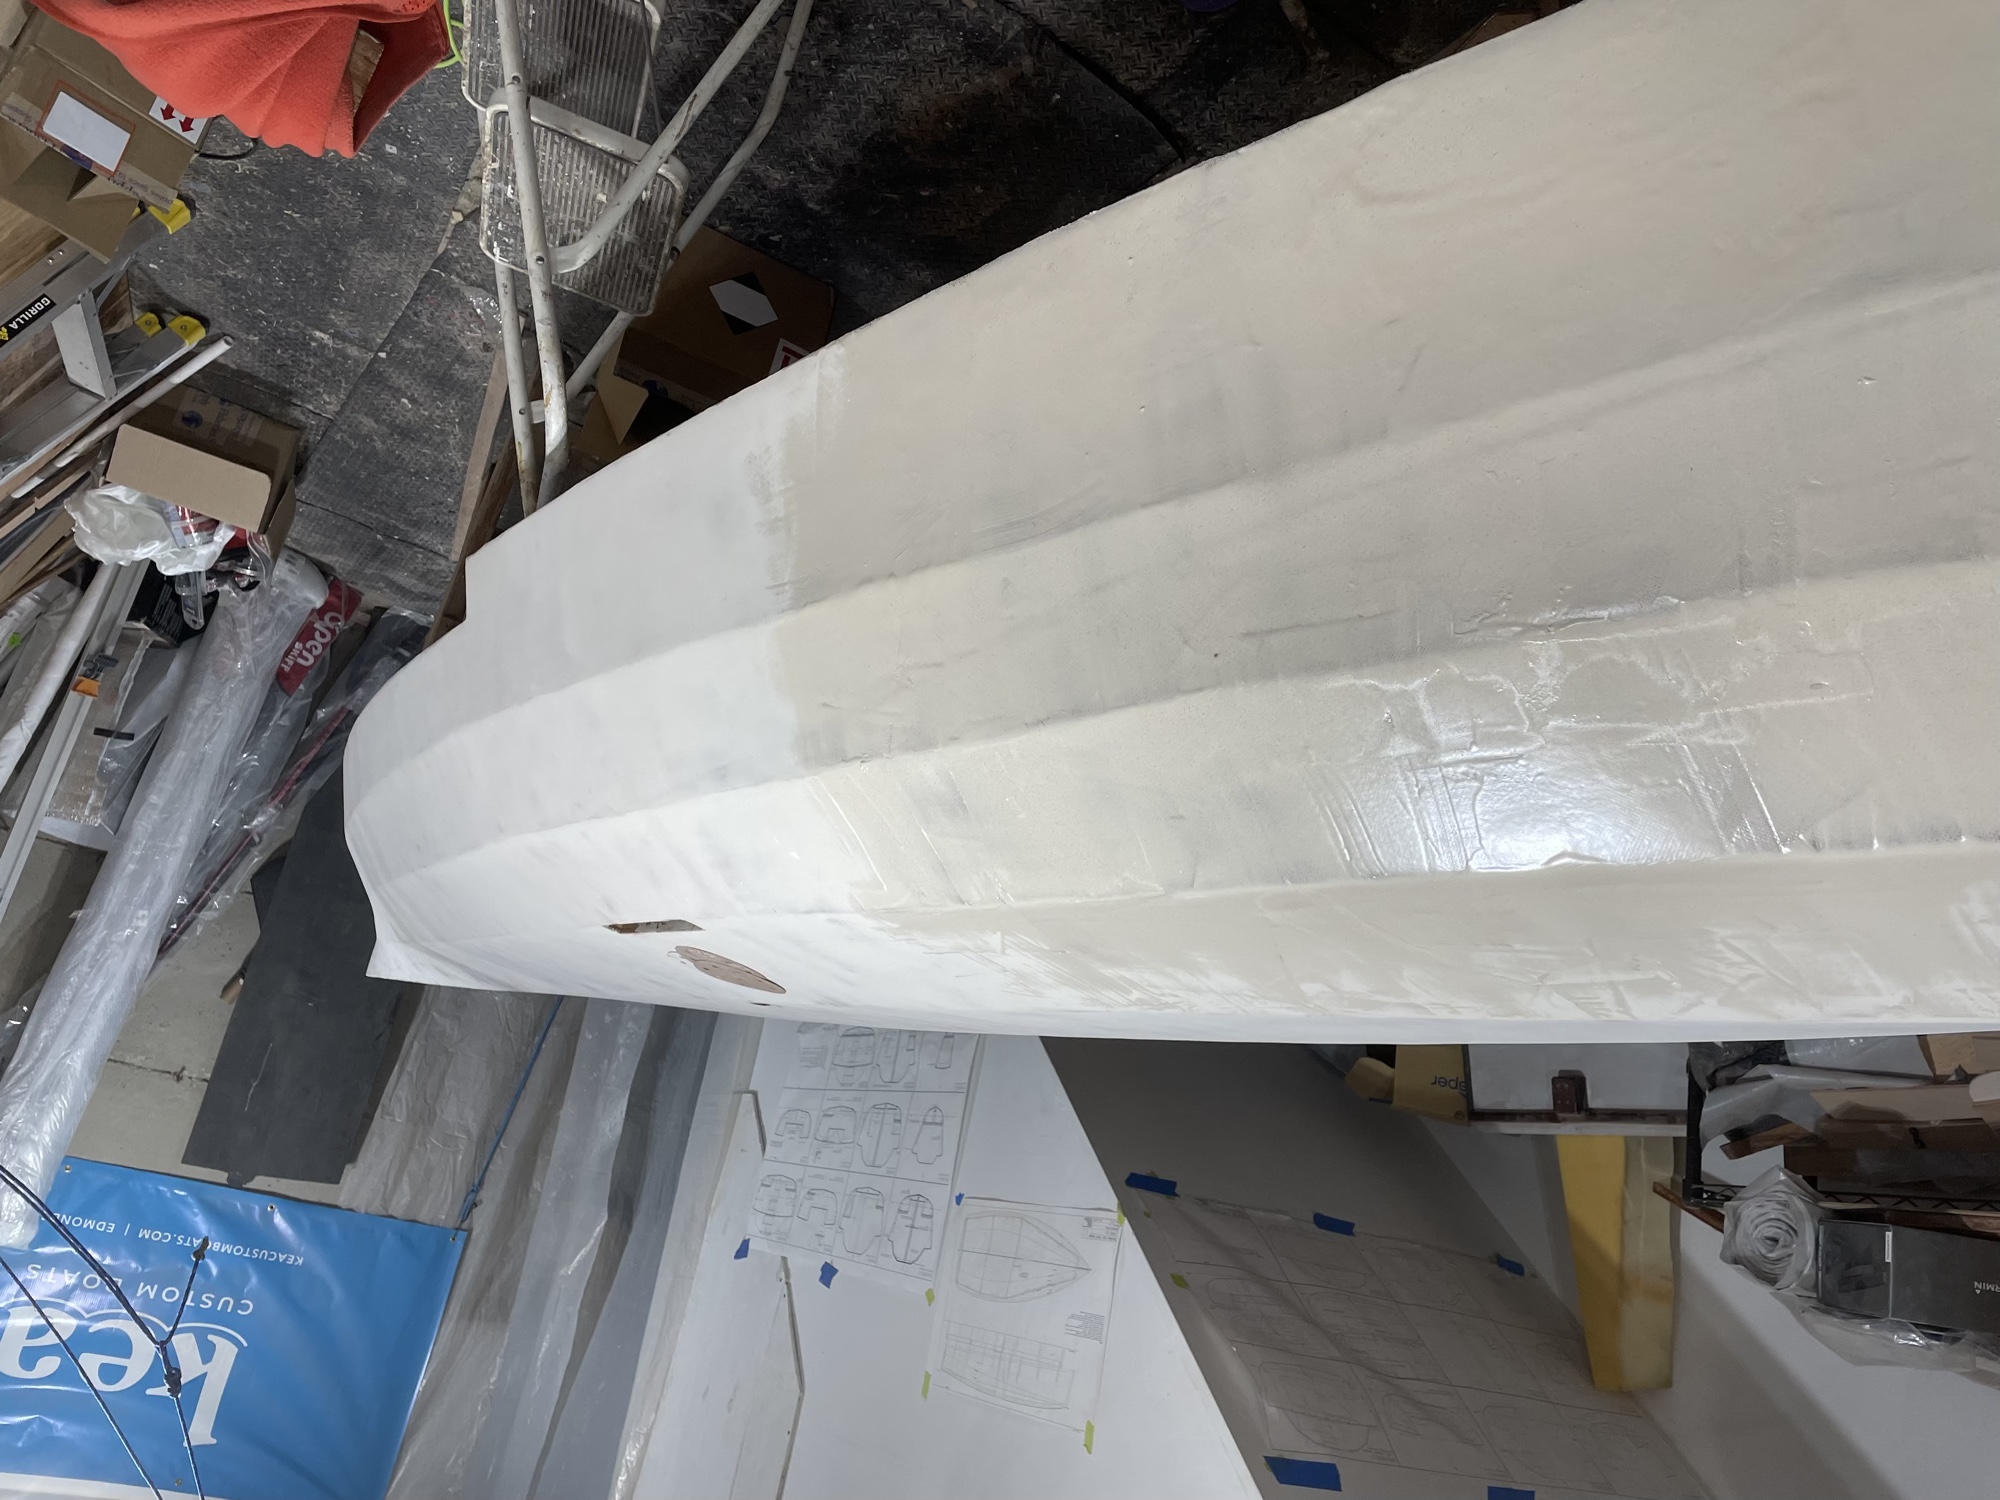
The hull is covered with epoxy and fairing filler.
-
1/12/23 - The rowing rigger is fiberglassed.
-
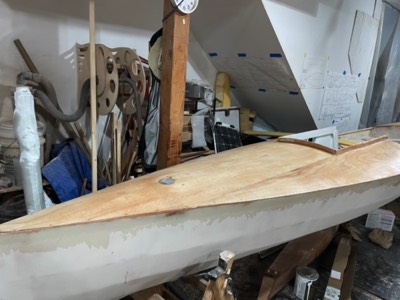
1/17/23 - The hull is partially sanded.
-
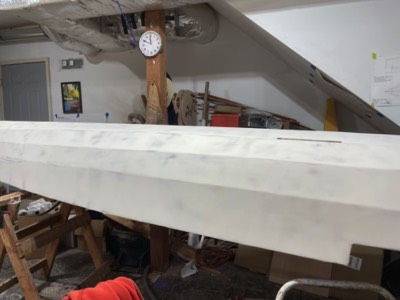
Sanding is complete.
-
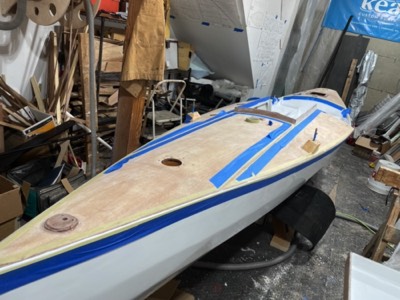
The boat is flipped and holes are cut for aft hatch and mizzen mast.
-
The underside of the rigger is fiberglassed.
-
The coaming is filleted with epoxy.
-
1/19/23 - The aft deck is fiberglassed.
-
1/20/23 - Riser for aft hatch is epoxied in place.
-
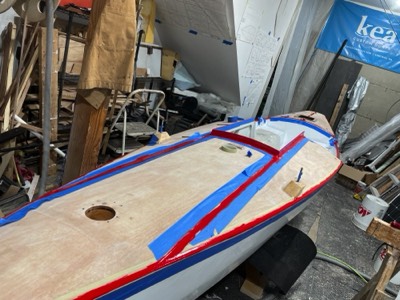
1/21/23 - The forward deck is ready for epoxy.
-

Companionway hatch top is epoxied together.
-
Companionway board is fiberglassed.
-
1/22/23 - The forward deck is fiberglassed.
-
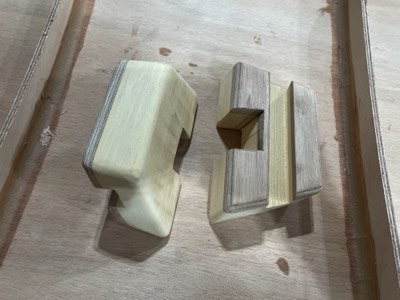
1/23/23 - The rowing rigger mounting blocks are shaped.
-
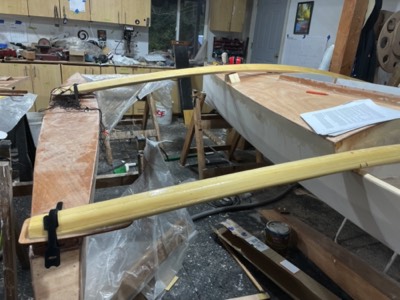
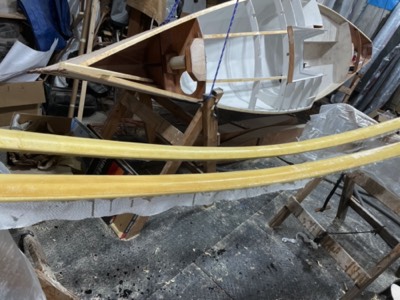
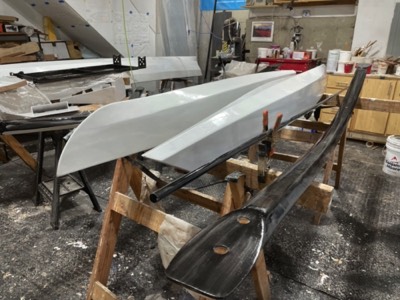
The outriggers are temporarily put together.
-
1/24/23 - Holes are drilled for navigation light.
-
1/26/23 - The companionway hatch top is fiberglassed.
-
1/30/23 - The frame for the solar panel is started.
-
2/2/23 - Mounts for solar panel rack are epoxied in place.
-
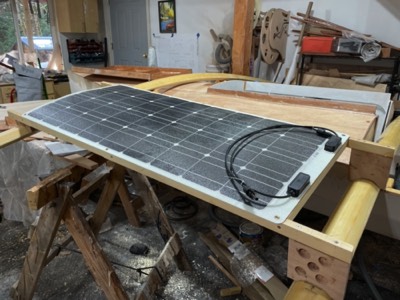
Panel is test fit.
-
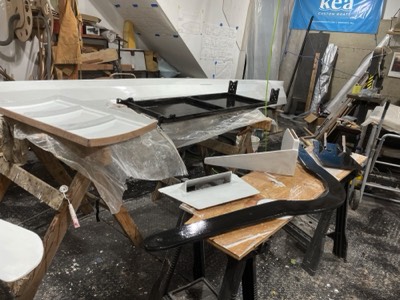
Mounts for sliding seat rails are epoxied in place.
-
2/4/23 - The seat tracks are temporarily mounted.
-
2/6/23 - Epoxy fill coats are applied to the deck, cockpit hatch cover, and solar panel rack.
-
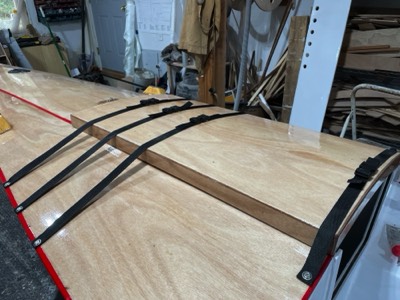
2/10/23 - The outrigger parts are partially sanded.
-
Amas and akas are sanded in preparation for paint.
-
2/13/23 - The outrigger parts are painted with primer.
-
Rowing rigger and other parts are primed.
-
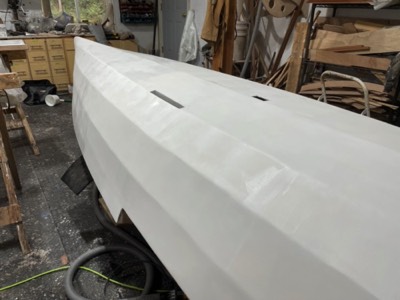
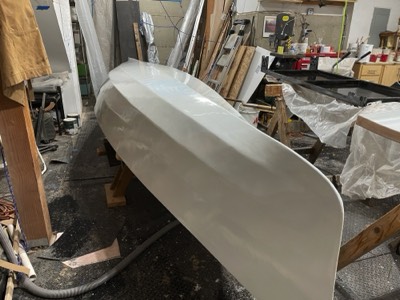
The hull is primed.
-
2/14/23 - The first coat of paint is applied to the outriggers.
-
Other parts are painted.
-
First coat for the hull.
-
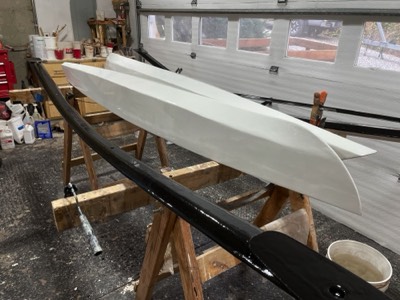
2/15/23 - The outriggers get another coat of paint.
-
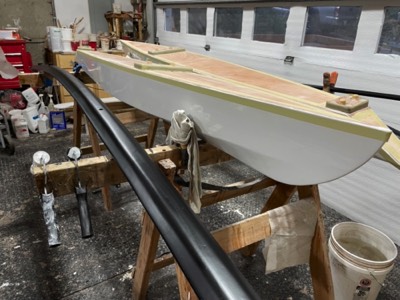
2/20/23 - The amas are taped for deck paint and the akas are given the final coat of satin paint.
-

The cockpit is primed.
-
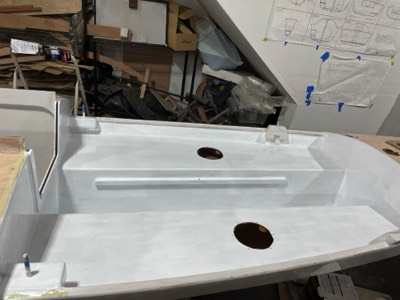
2/21/23 - First coat of paint is applied to cockpit.
-
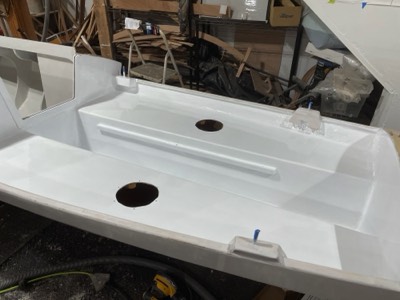
2/22/23 - Second coat of paint.
-
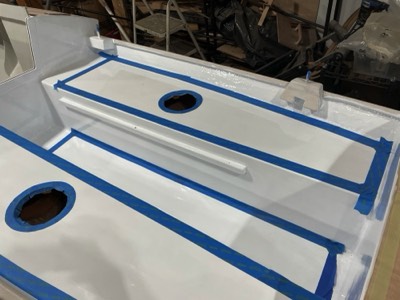
2/23/23 - Areas are taped off for nonskid.
-
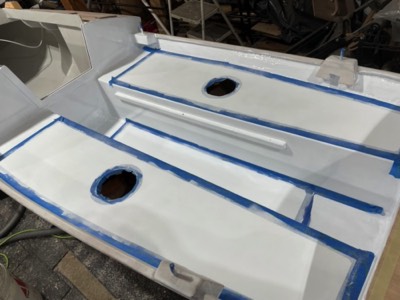
Paint and non-skid is added.
-
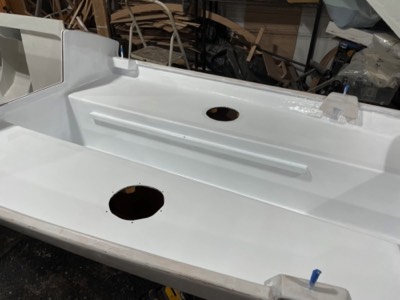
Final coat of paint is applied.
-
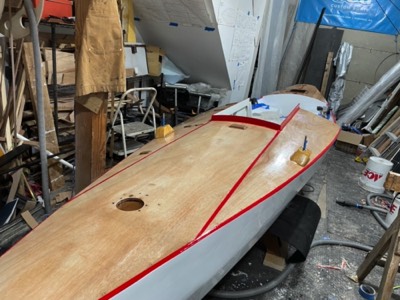
2/24/23 - Lines for red accent stripes are taped off.
-
First coat of red accent on the amas.
-
First coat of red on the main hull.
-
Aft section.
-
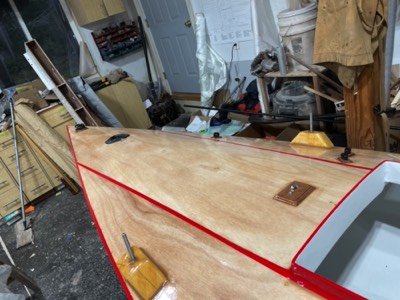
2/26/23 - After several coats of red the tape is pulled.
-

Satin black is added to aka mounts.
-

2/27/23 - First coat of varnish.
-
First varnish coat on main hull.
-
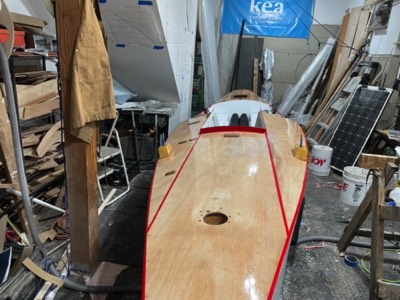
2/28/23 - Several coats of varnish have been applied.
-

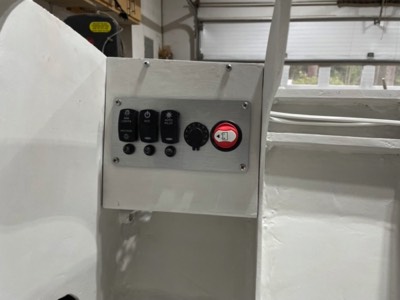
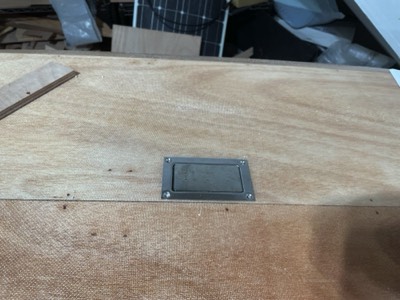
3/1/23 - The finished fuse panel.
-
Aft hatch, mast step, and anchor/all around nav light are installed.
-
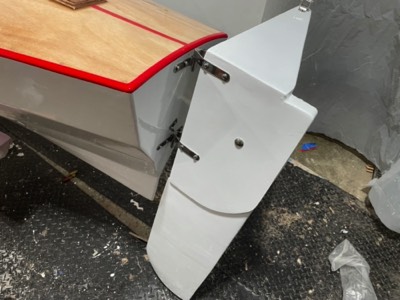
Rudder is mounted.
-

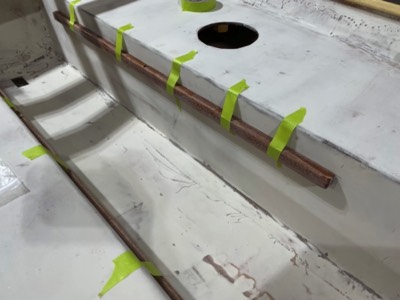
Solar charging cables are installed.
-
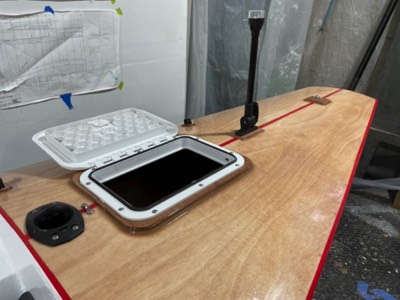
Forward deck hardware is installed.
-
3/2/23 - Hatch straps are installed.
-
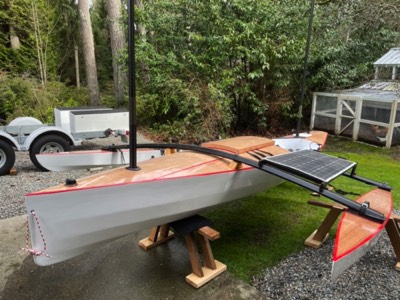
3/5/23 - All the components are assembled.


