-
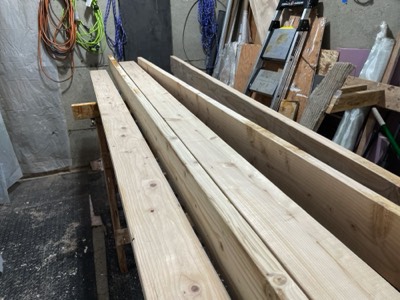
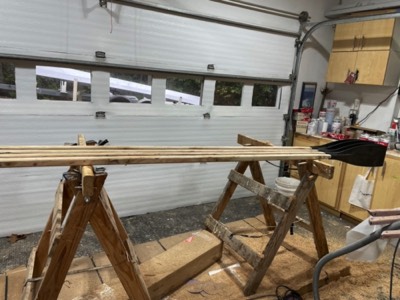
10/9/23 - The lumber for the building frame is ready.
-
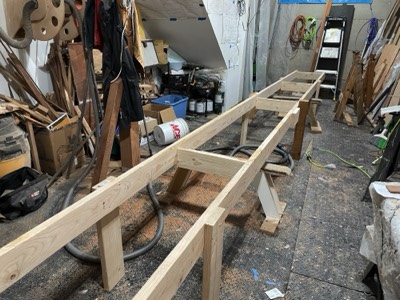
10/10/23 - The building frame is built.
-
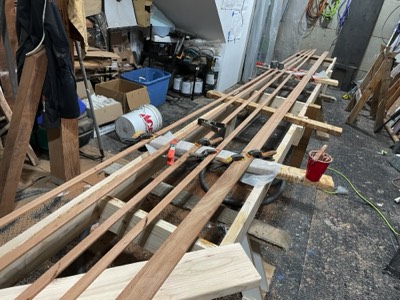
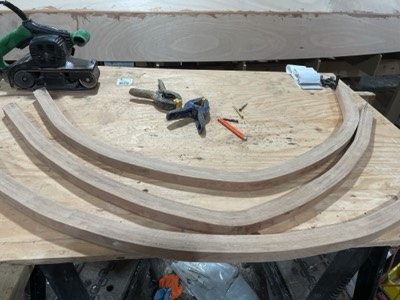
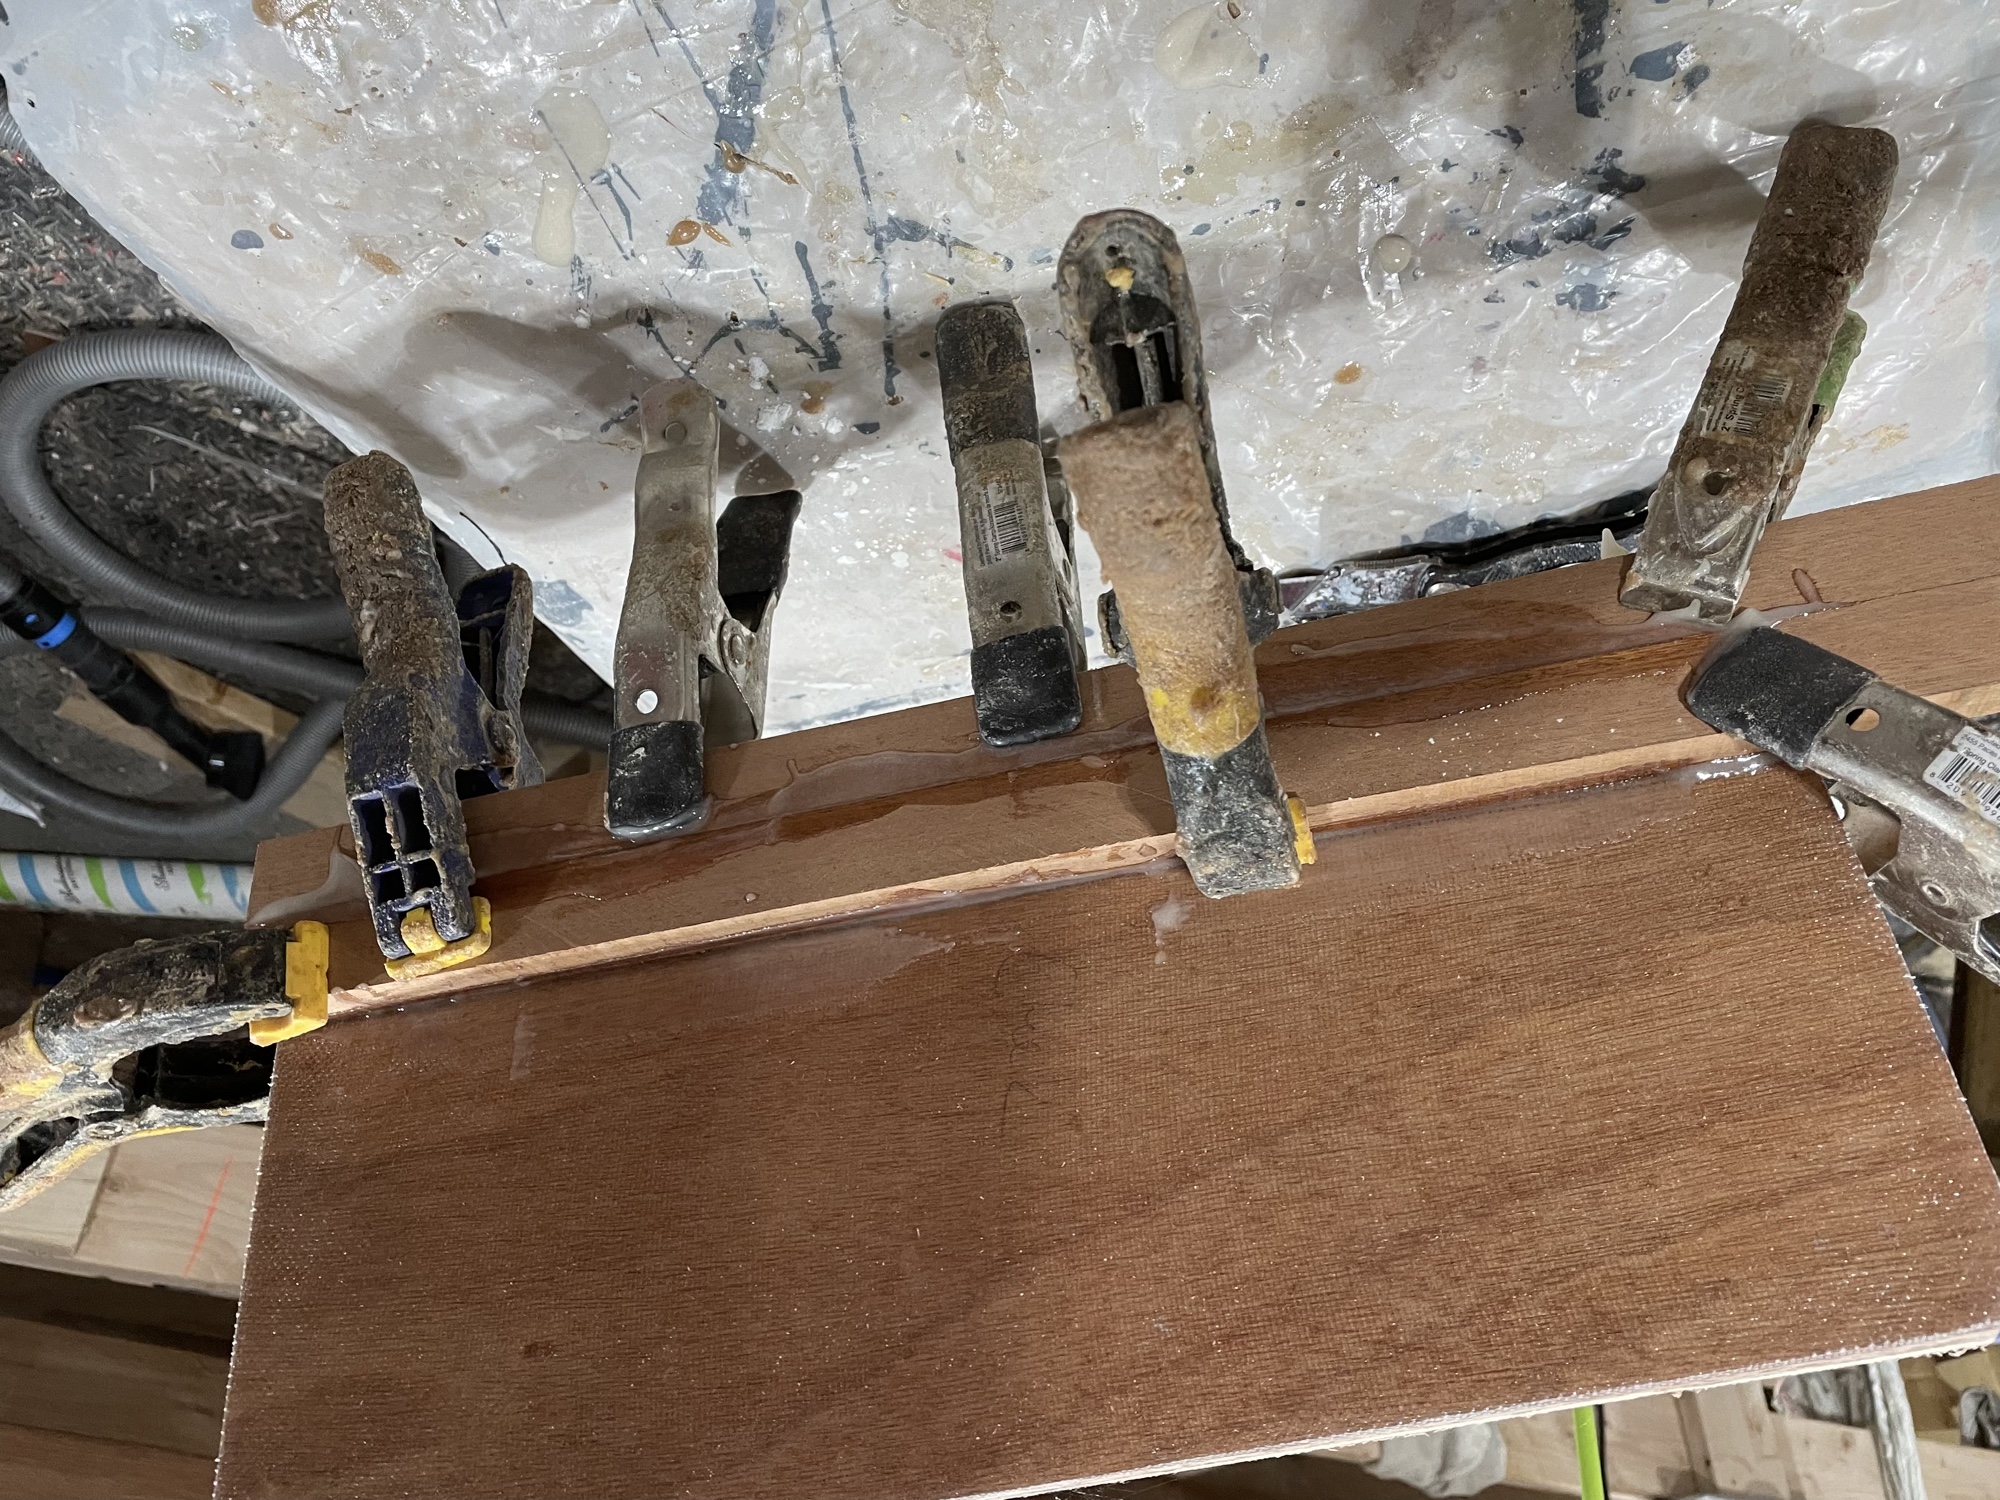
Rails and keelson have been cut and scarfed together.
-
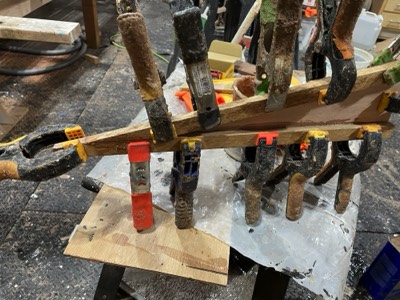
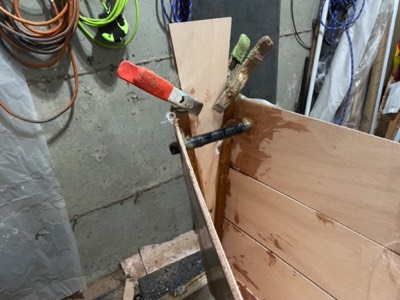
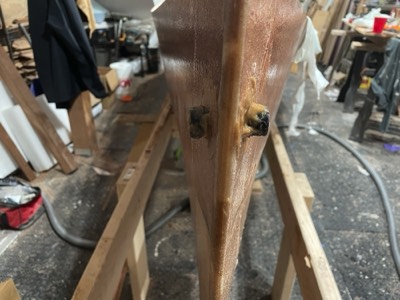
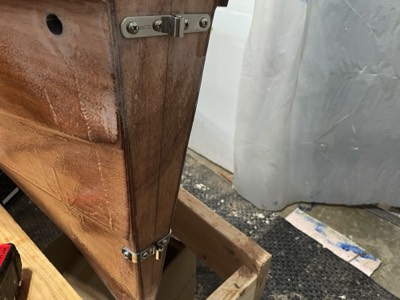
10/11/23 - Transom is epoxied together.
-
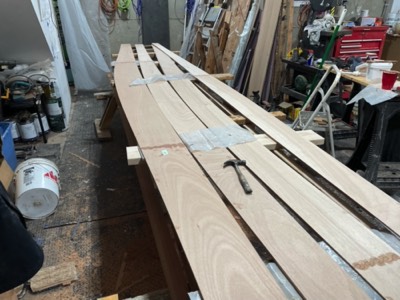
The hull panels are epoxied to full length.
-
10/12/23 - The building frames are fixed in place.
-
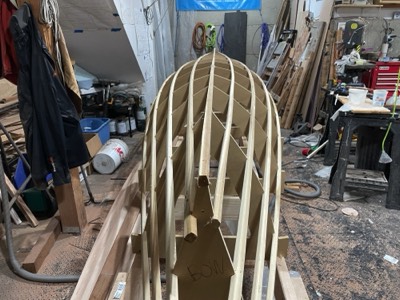
10/13/23 - Stringers are fixed in place.
-
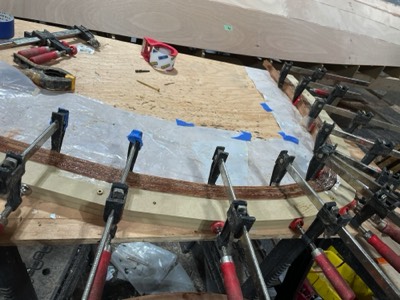
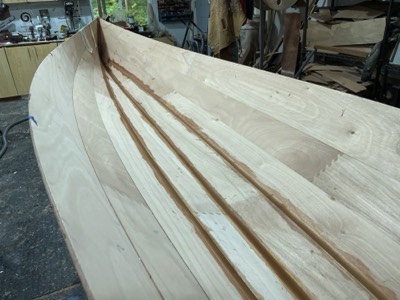
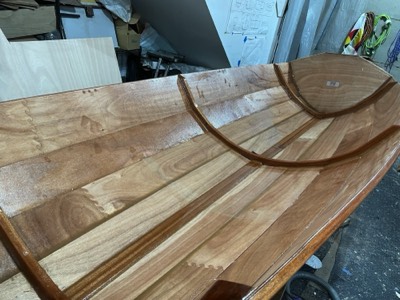
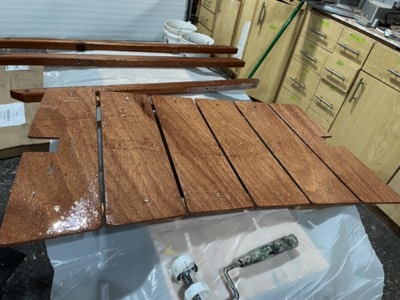
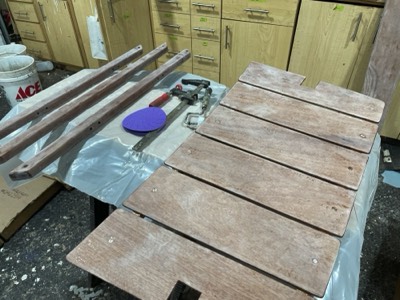
10/16/23 - The bottom planks are wired together and placed on the frame.
-
All of the planks are fixed in place.
-
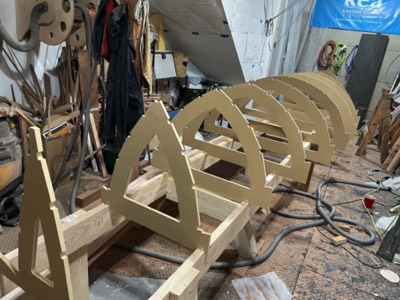
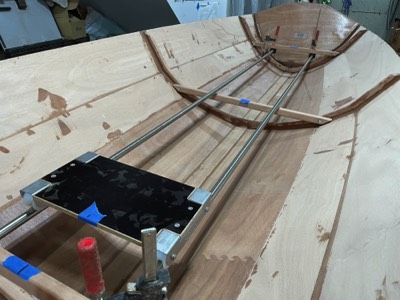
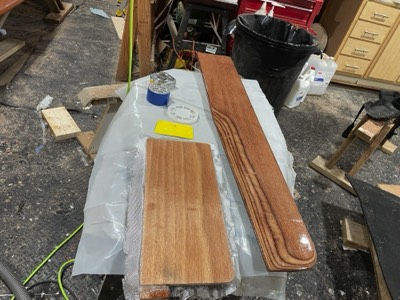
Forms for the permanent frames are prepared.
-
10/17/23 - The first frame is laminated.
-
The planks are epoxied together.
-
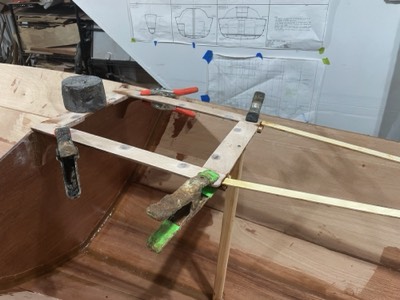
10/19/23 - The third frame is laminated.
-
The chines are filled with epoxy.
-
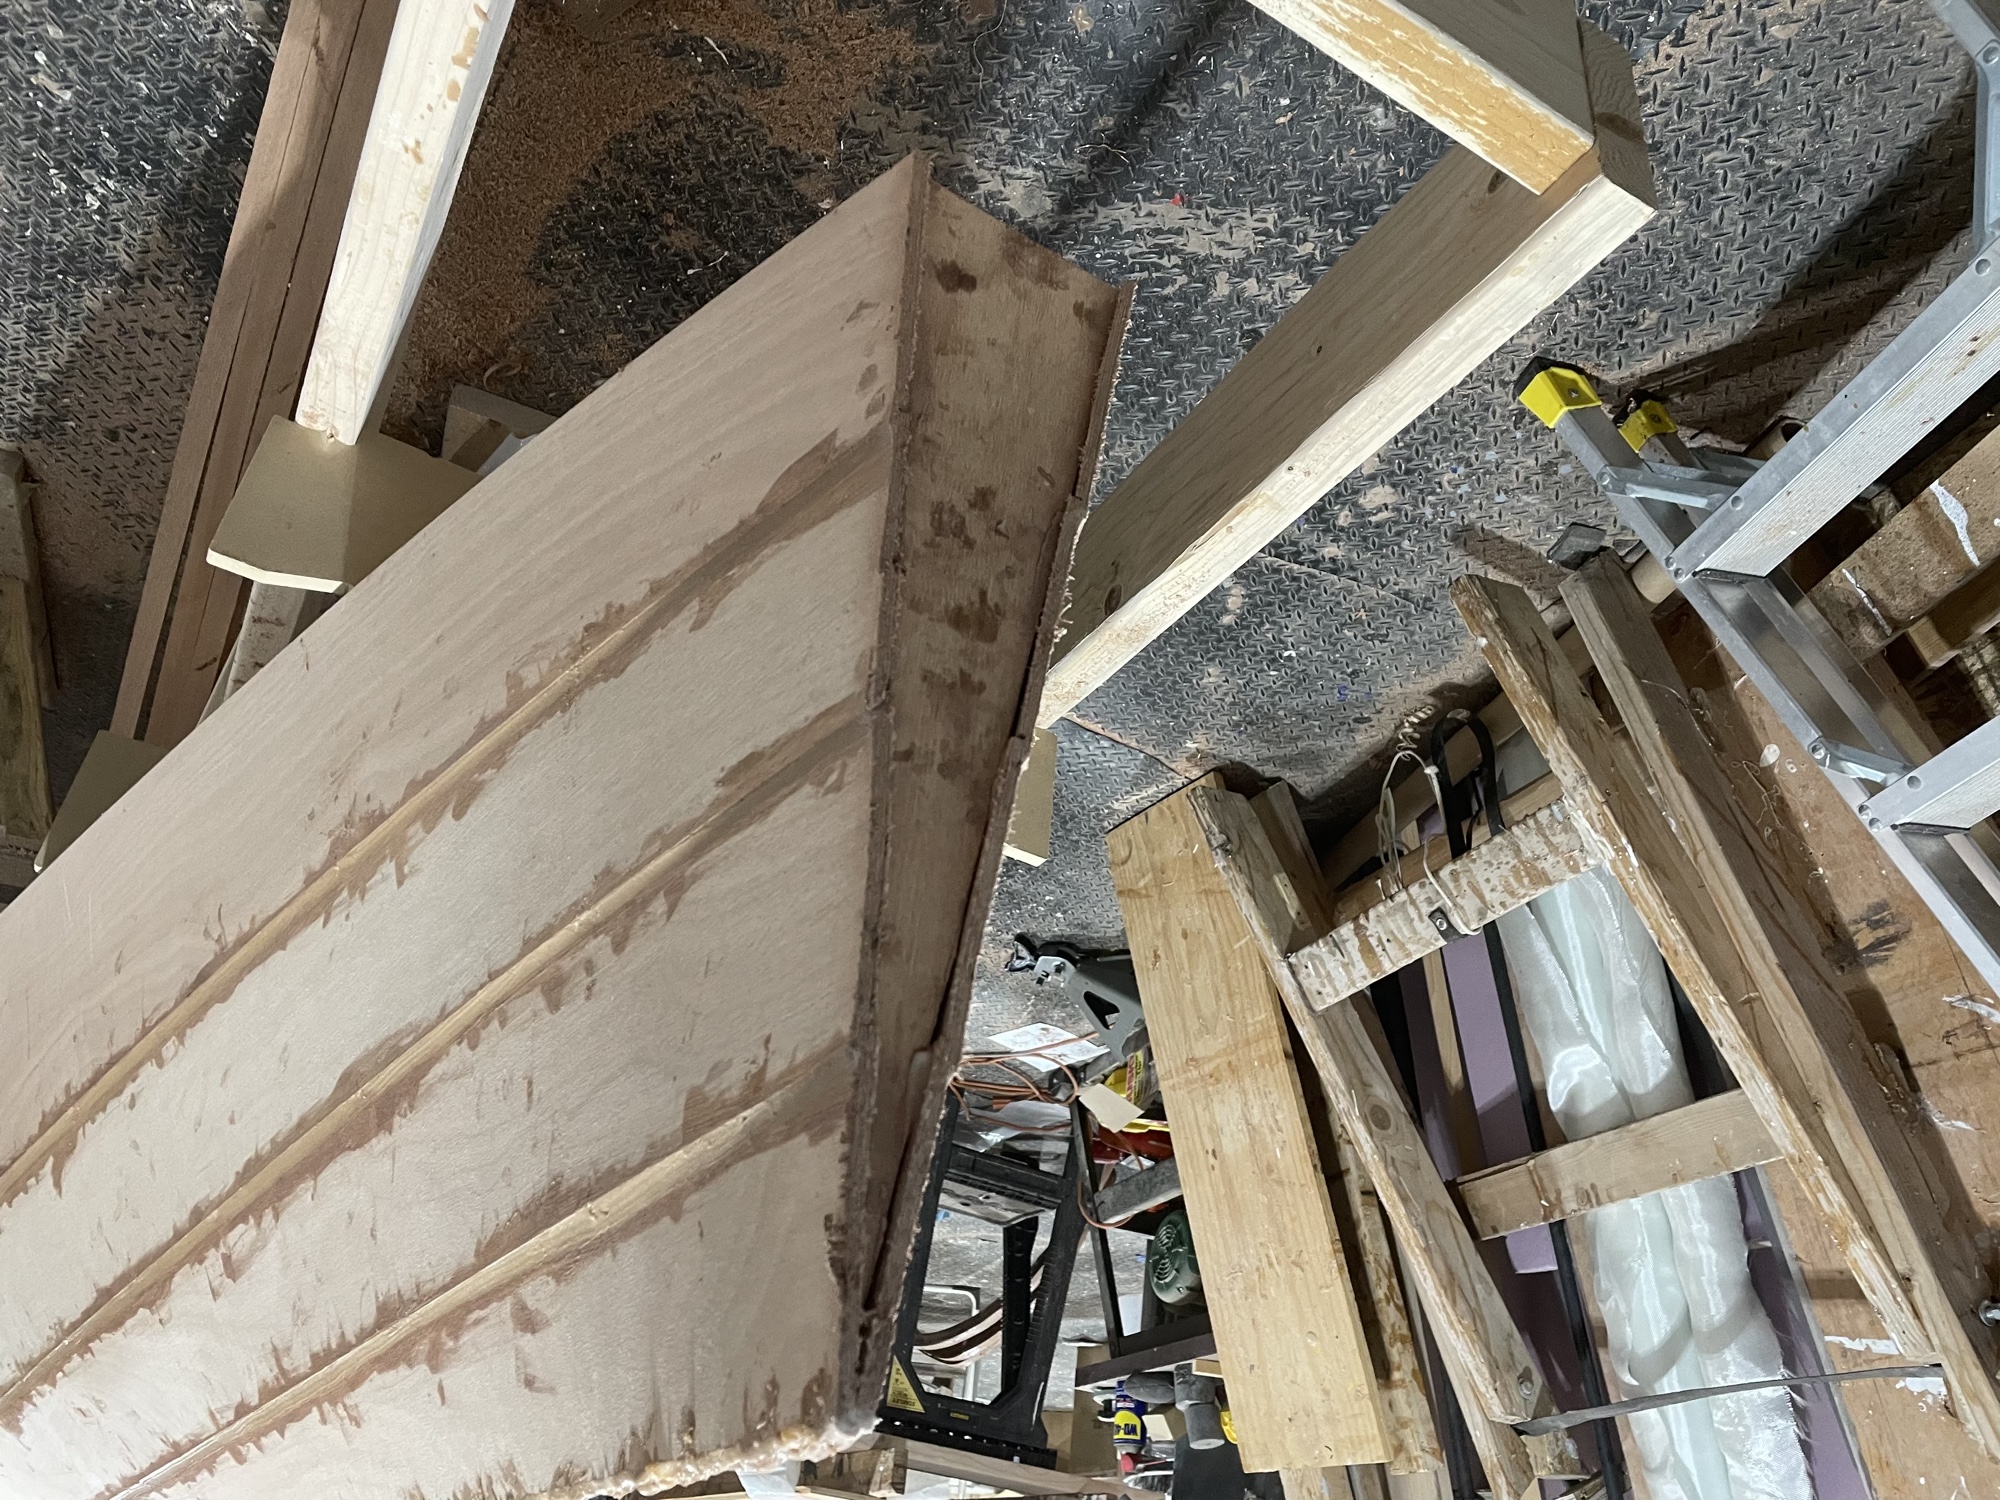
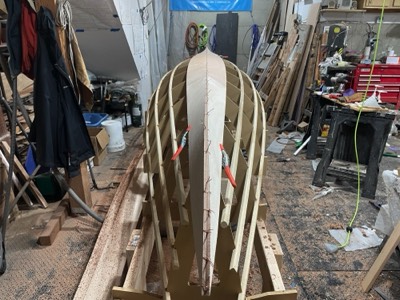
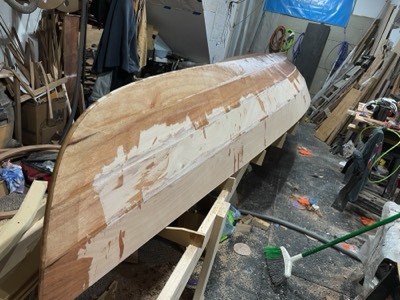
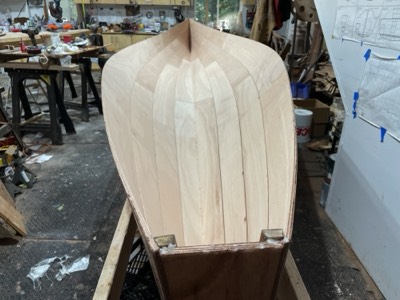
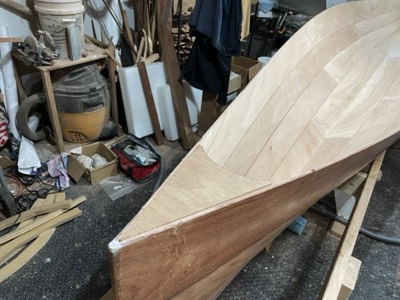
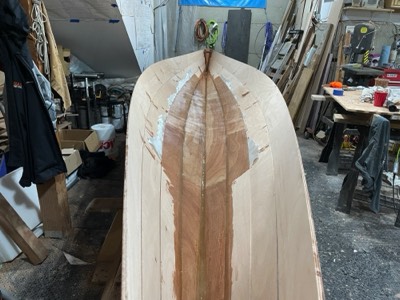
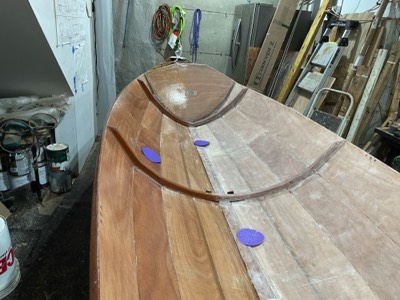
10/20/23 - The hull panels are trimmed to match the transom.
-
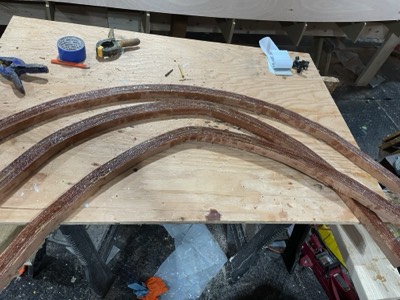
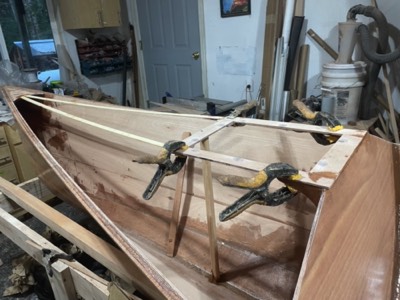
The frames have all been laminated together.
-
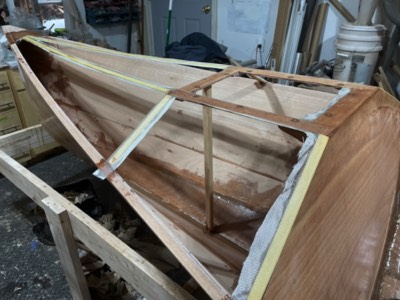
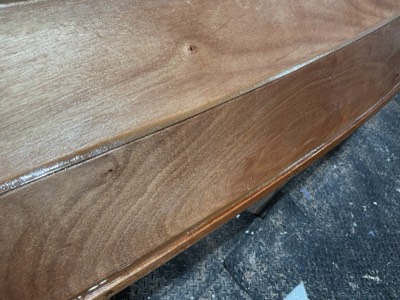
The frames are sanded smooth.
-
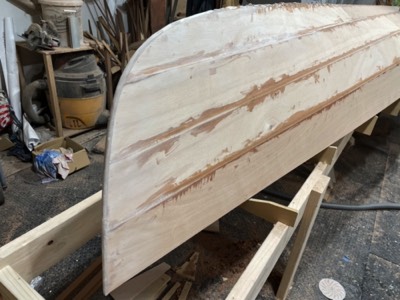
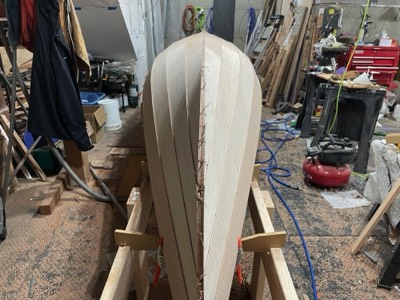
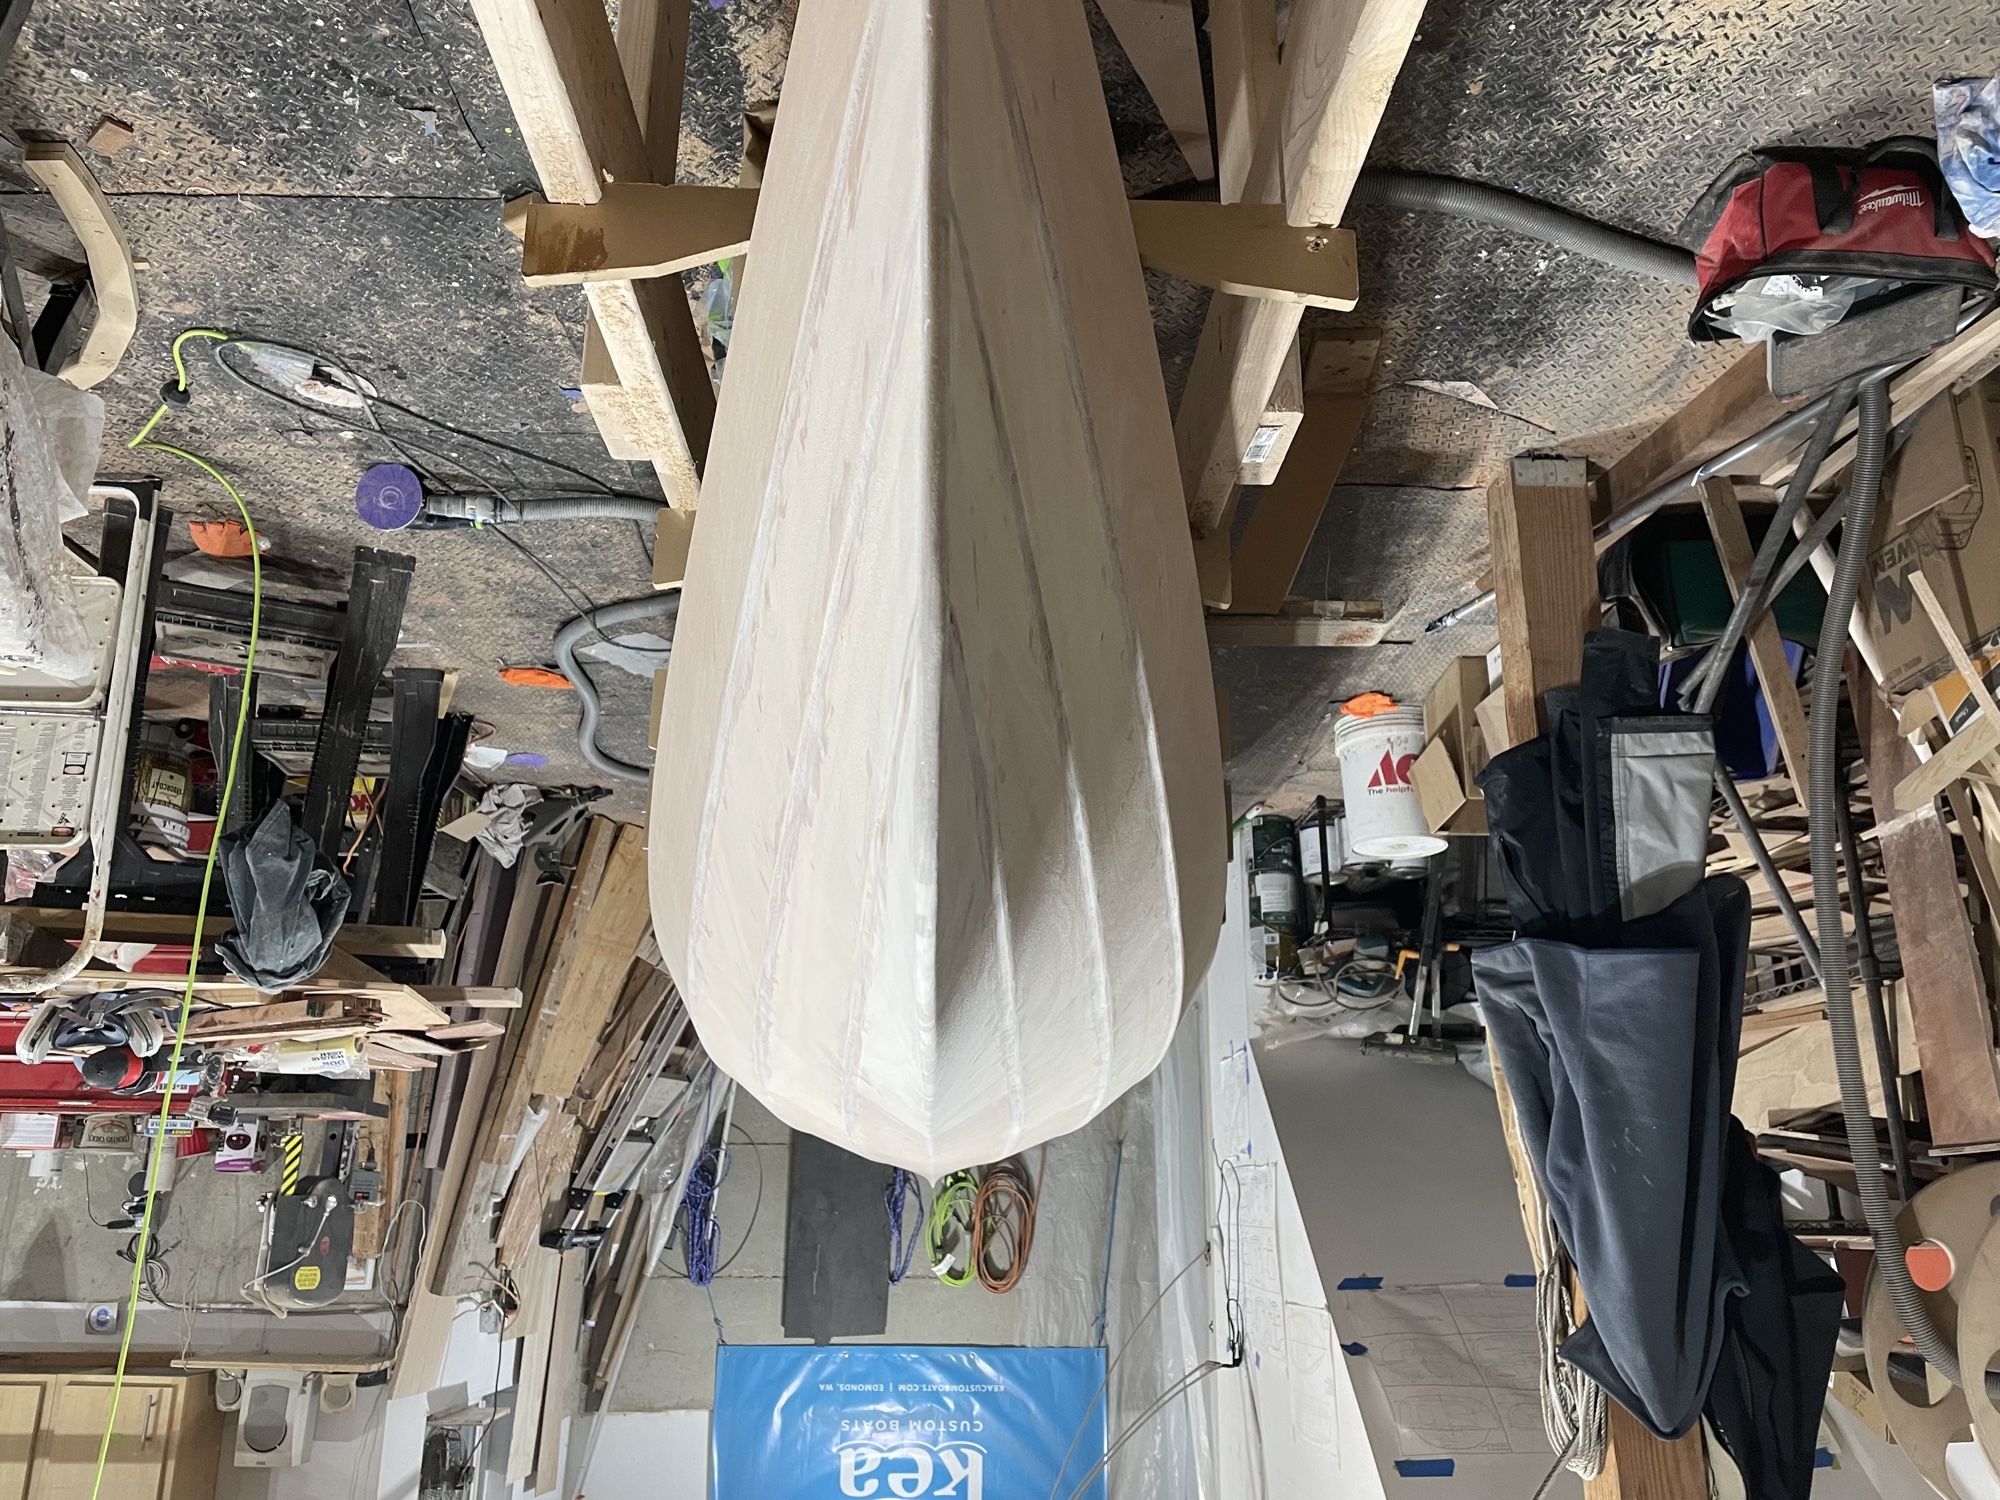
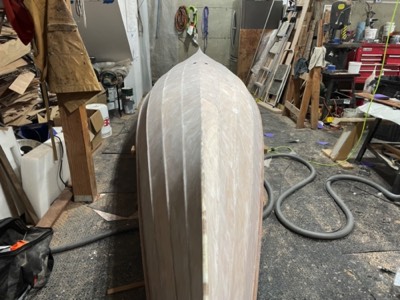
The bow is sanded.
-
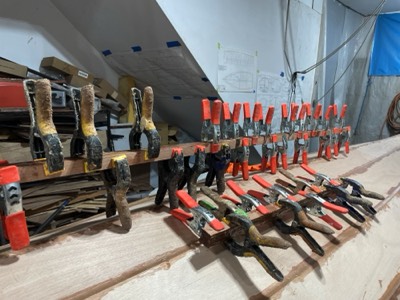
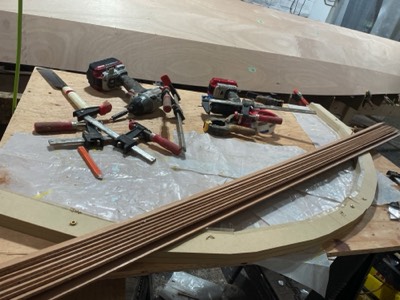
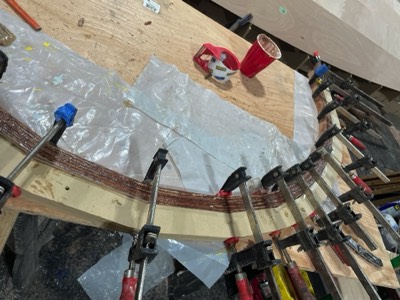
10/23/23 - Crossbeams are laminated together.
-
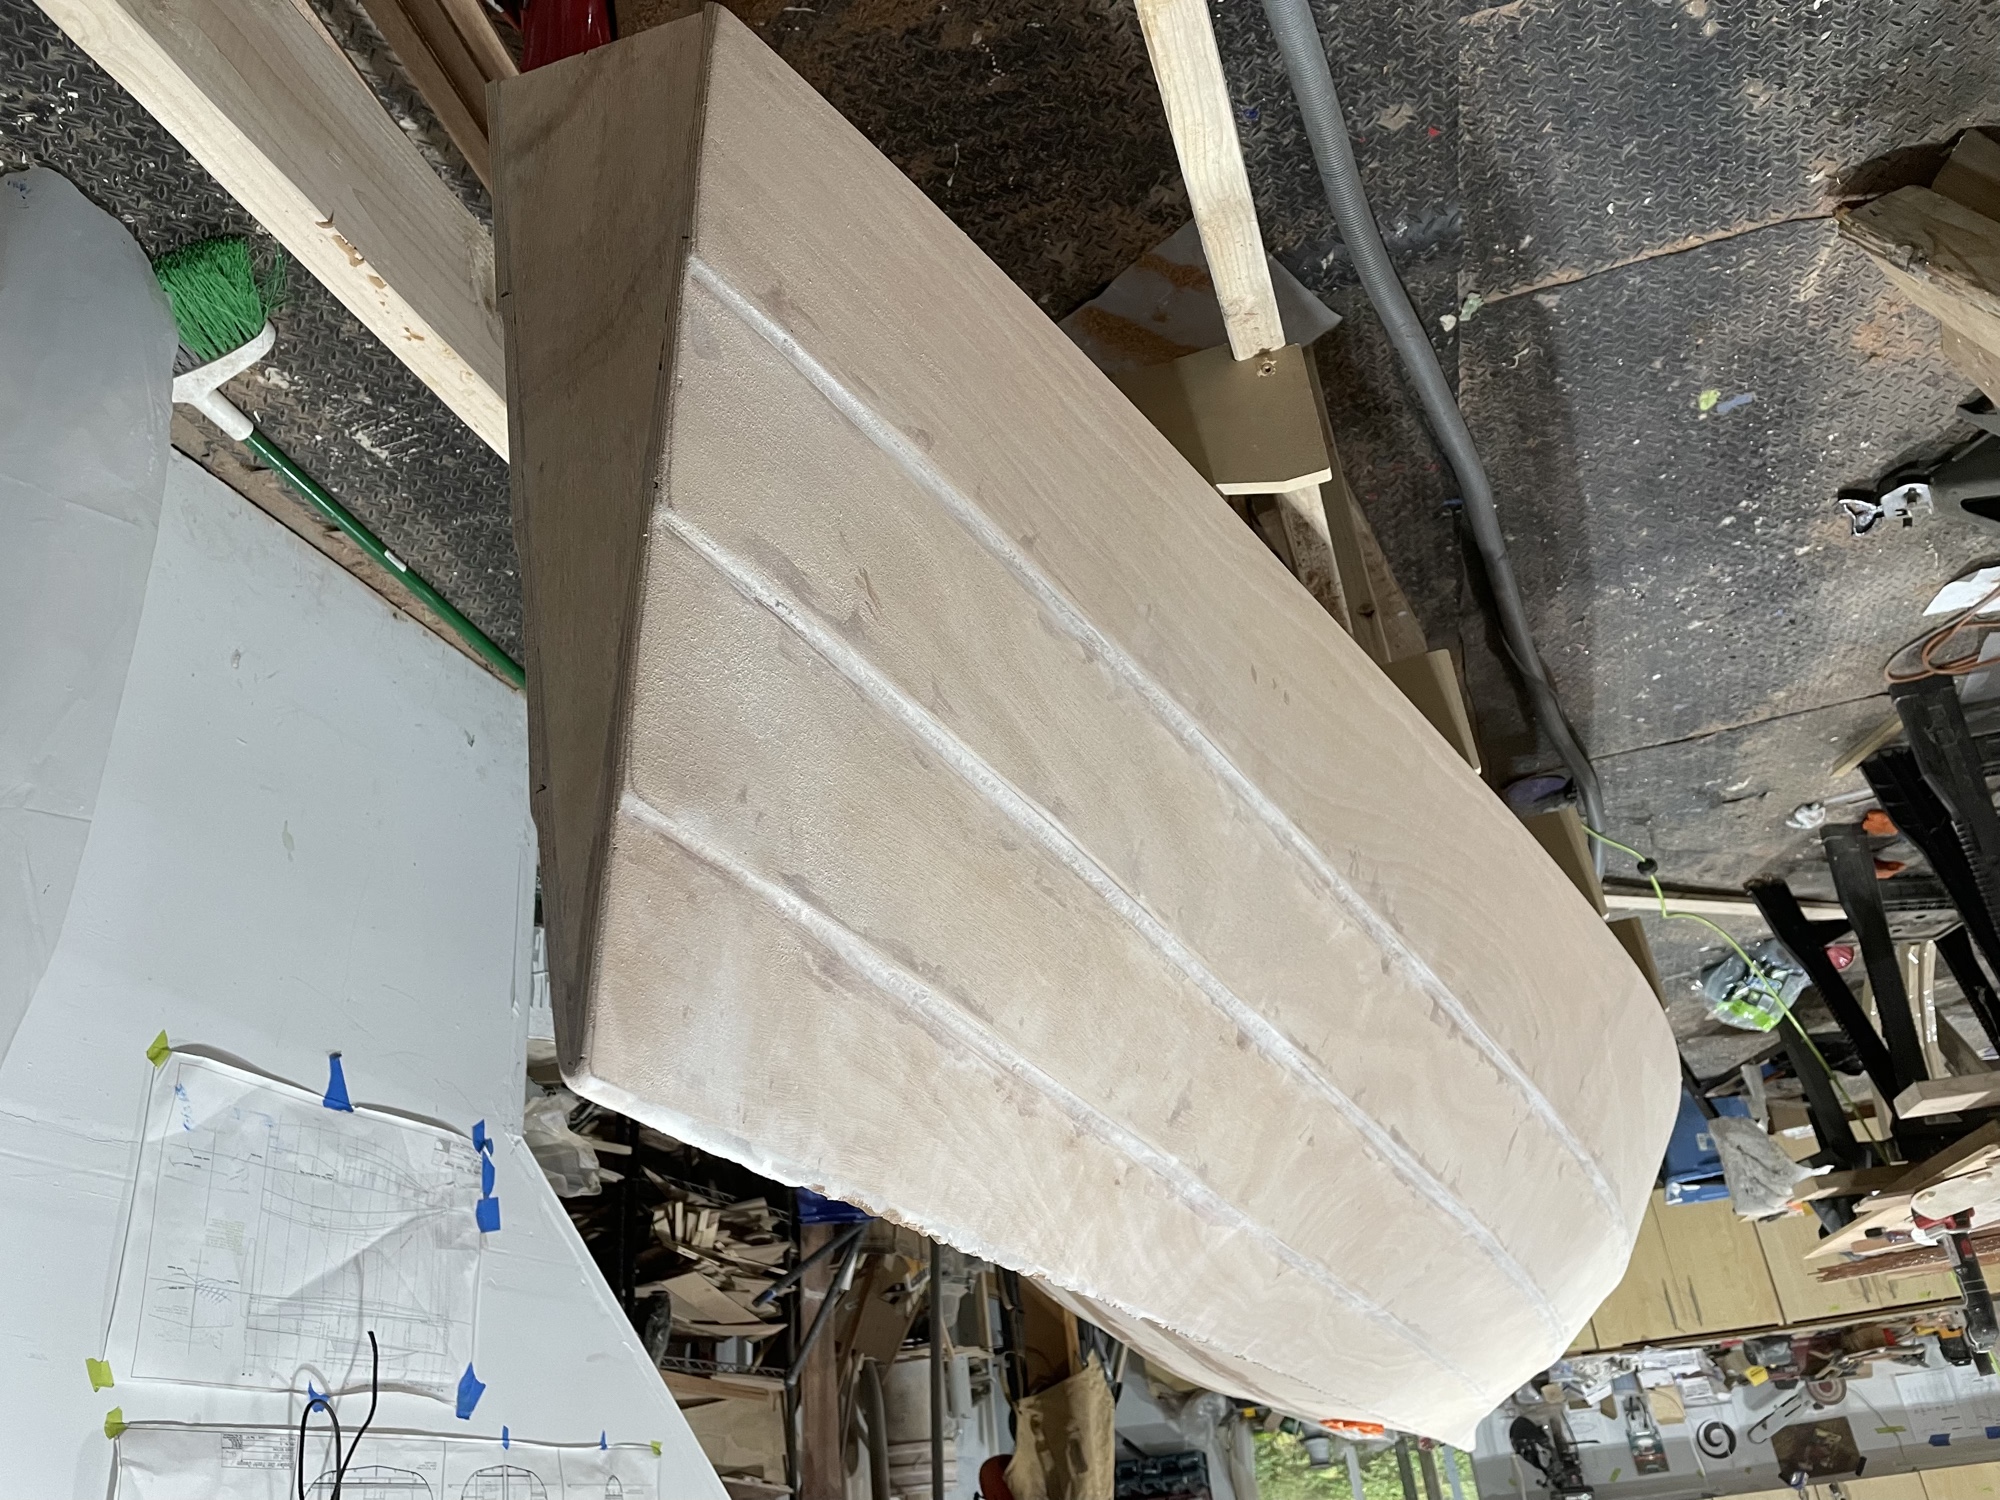
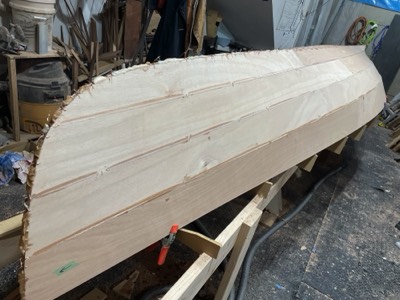
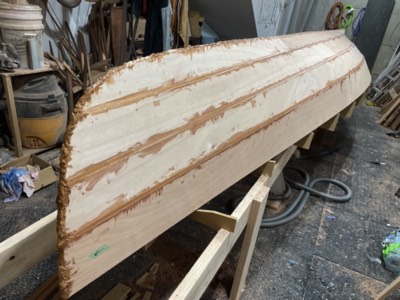
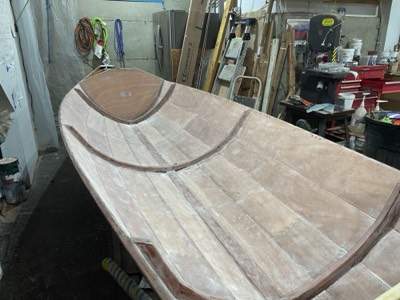
10/24/23 - Half the hull and transom is sanded.
-
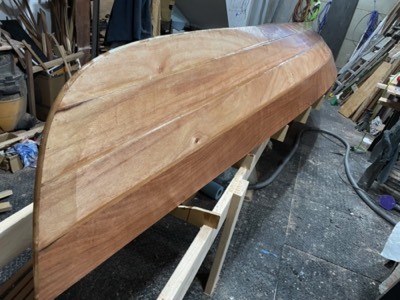
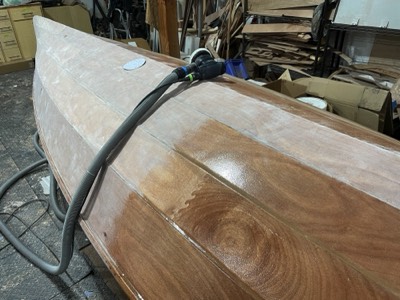
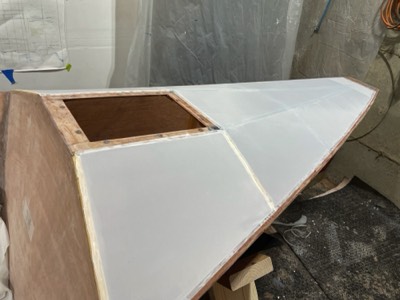
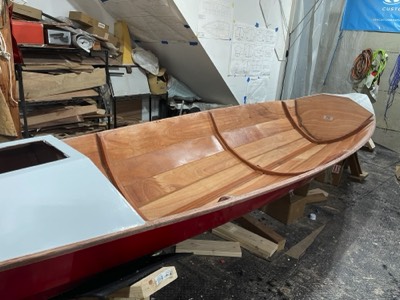
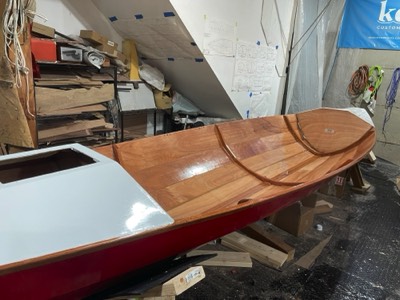
10/25/23 - The entire hull has been sanded.
-
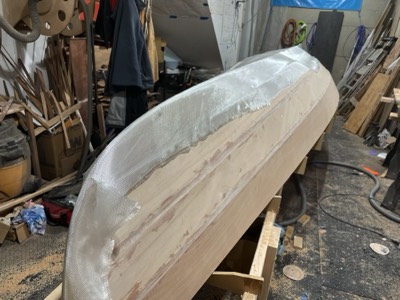
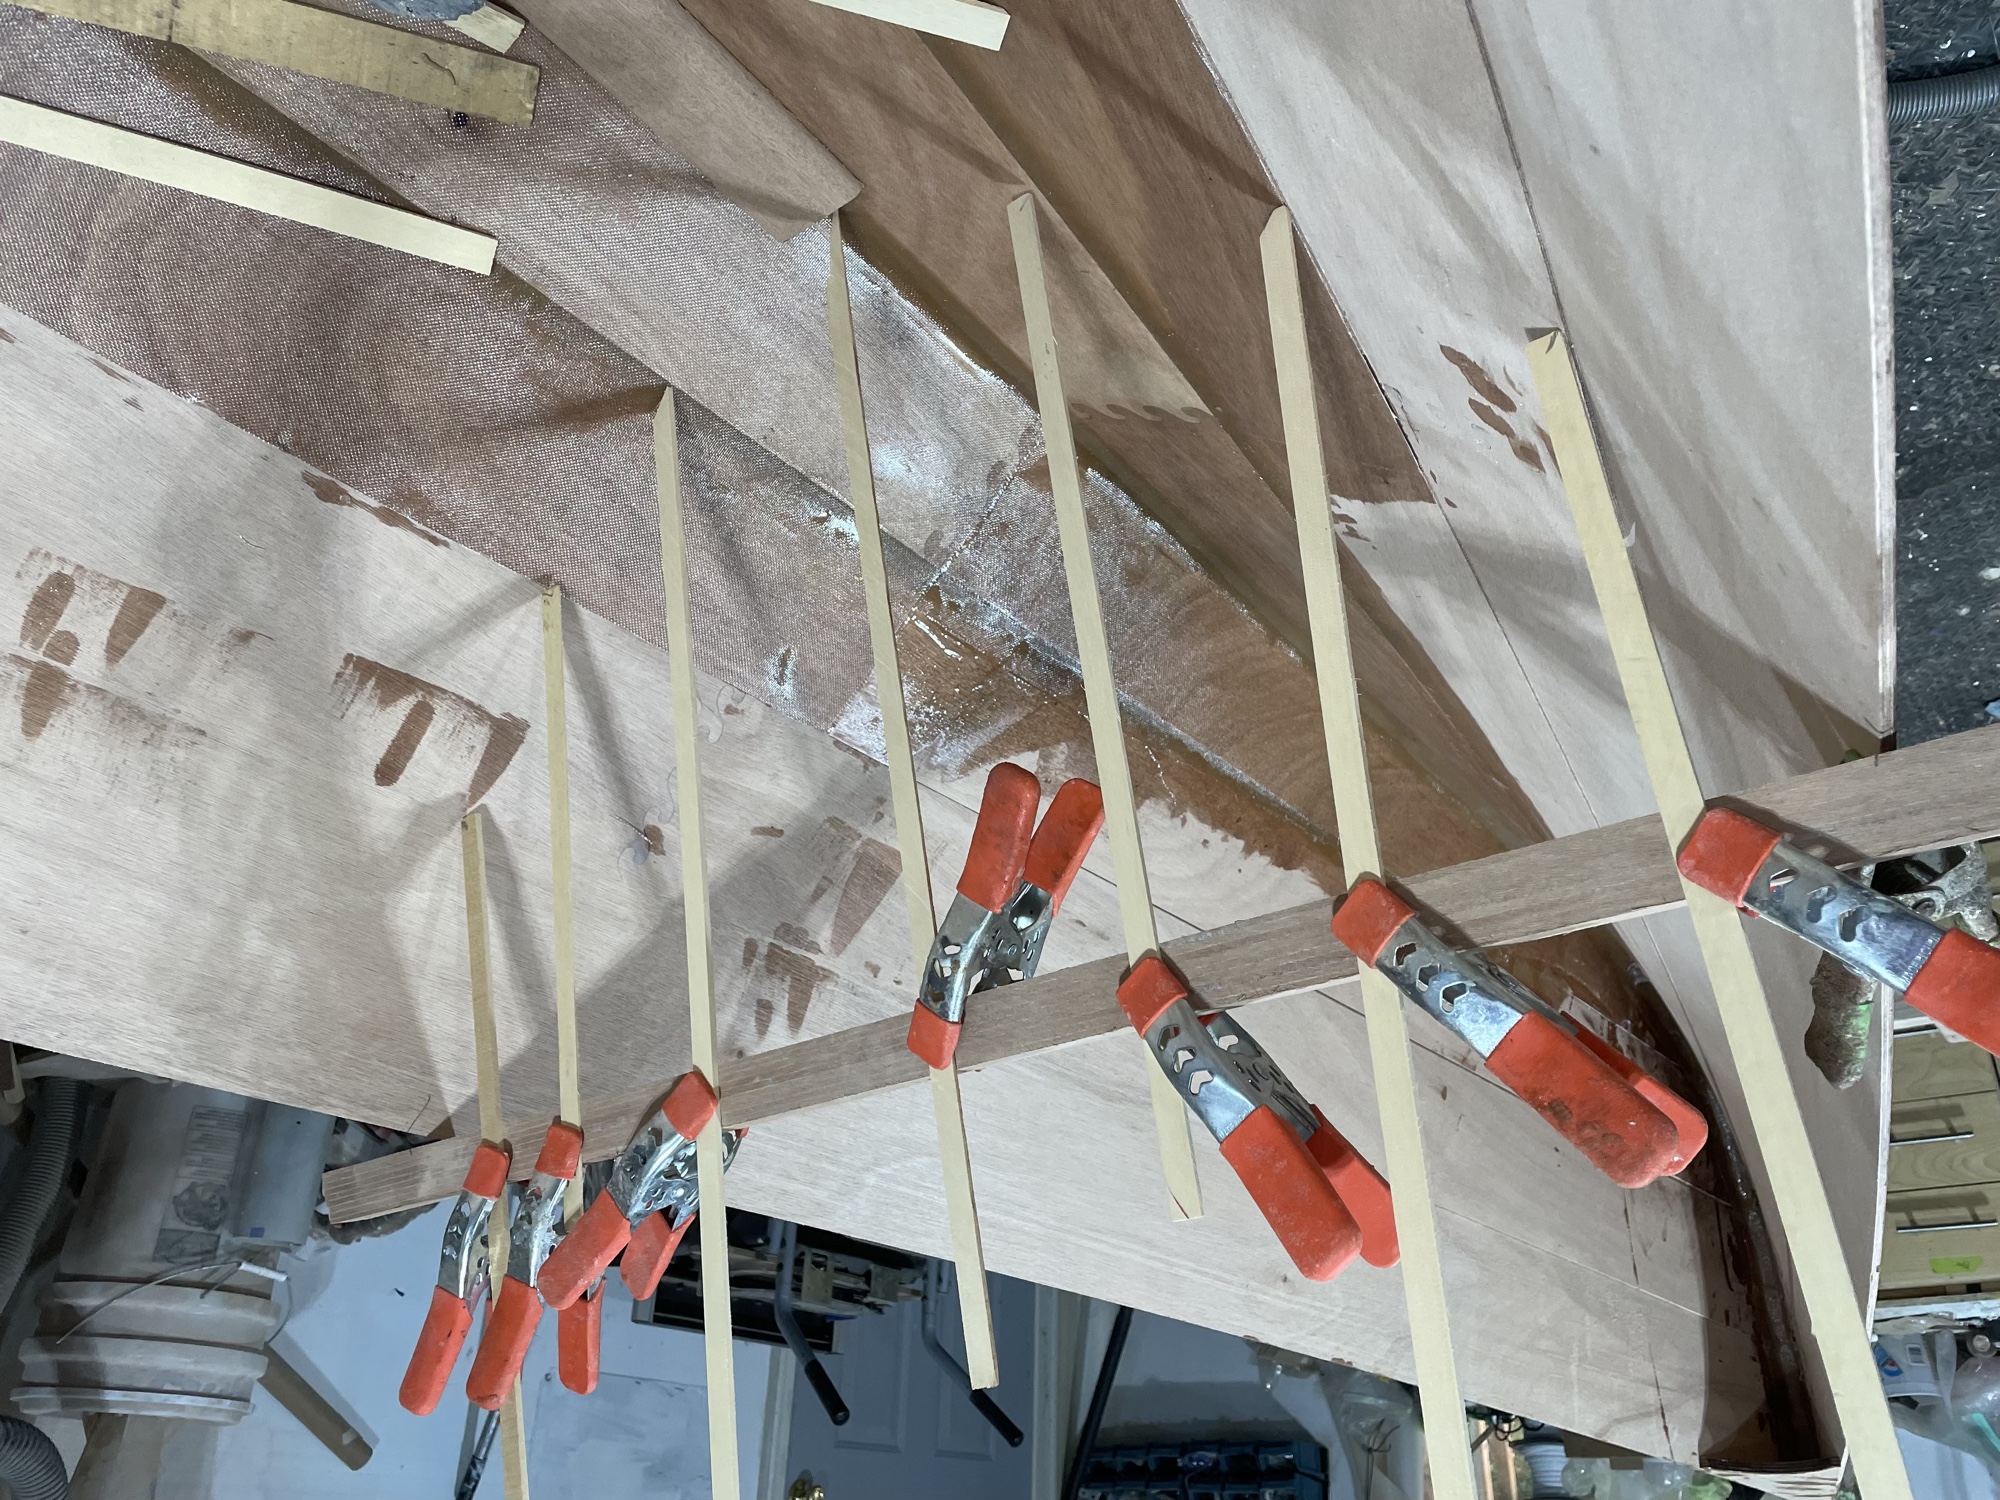
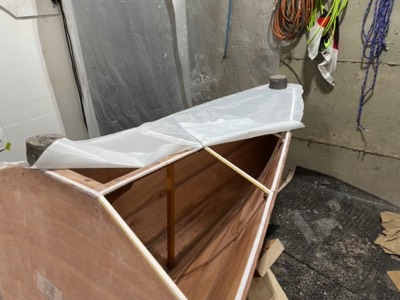
10/26/23 - Fiberglass is laid on the bottom.
-
The glass is saturated with epoxy.
-
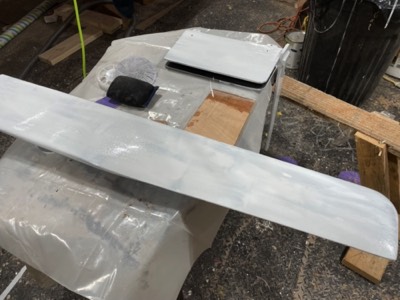
10/27/23 - The hull is given several expoy seal coats.
-
A view from underneath.
-
10/30/23 - The boat is taken off the temporary forms.
-
A custom breasthook is test fit.
-
11/1/23 - Reinforcement panel is epoxied to the transom, and carrying handle tube is epoxied in place.
-
Carrying handle tube is epoxied in place.
-
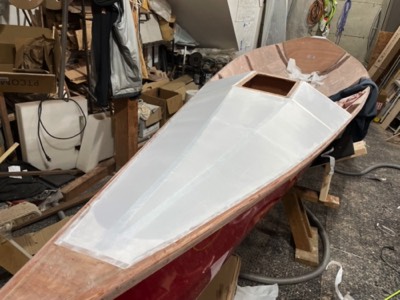
11/6/23 - The interior is filleted under where fiberglass will lay.
-

Fiberglass cloth is laid on the interior.
-
The glass is epoxy saturated.
-
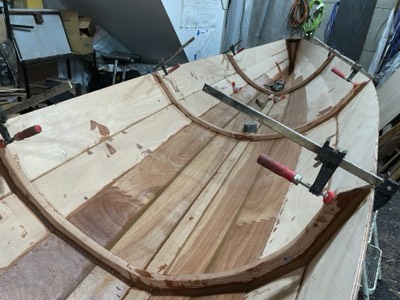
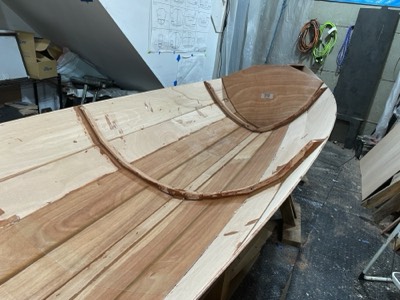
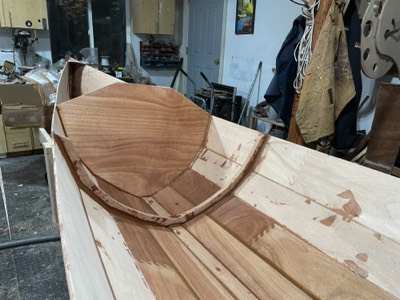
11/7/23 - The shape of the custom bulkheads is determined.
-
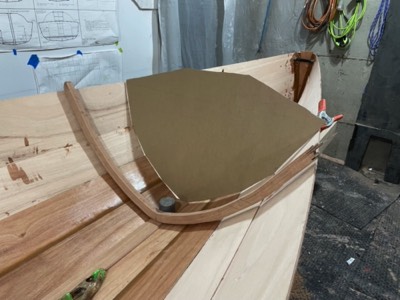
Aft bulkhead shape is cut from carboard.
-
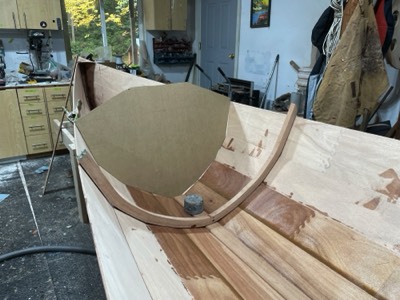
Forward bulkhead.
-
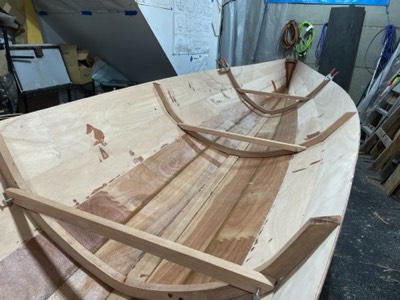
11/8/23 - Frames and sliding seat supports are test fit.
-
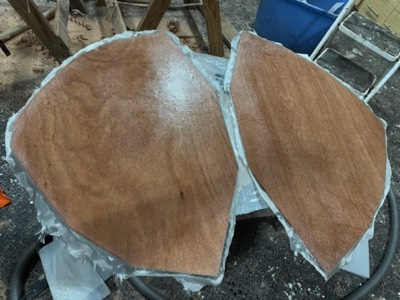
Custom bulkheads are fiberglassed on one side.
-
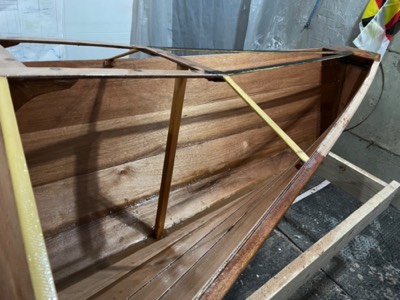
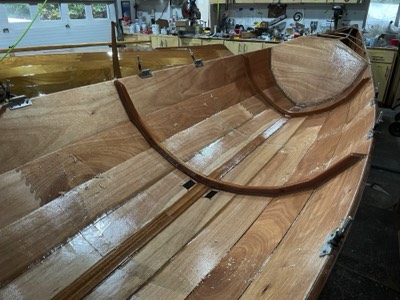
11/10/23 - The frames are epoxied in place.
-
The aft bulkhead is epoxied in place.
-
The forward bulkhead is epoxied in place.
-
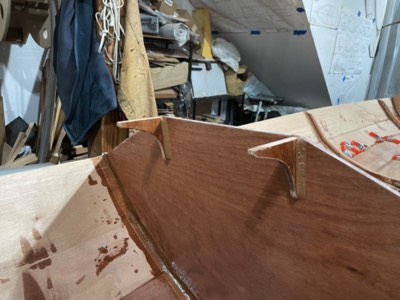
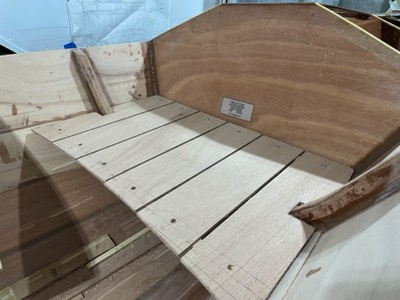
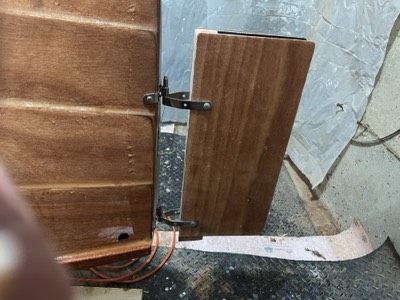
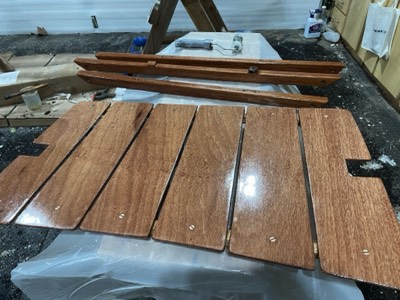
11/14/23 - Knees to support a hatch platform are installed.
-

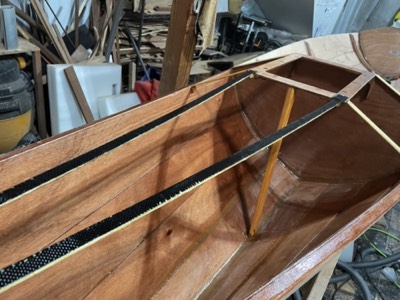
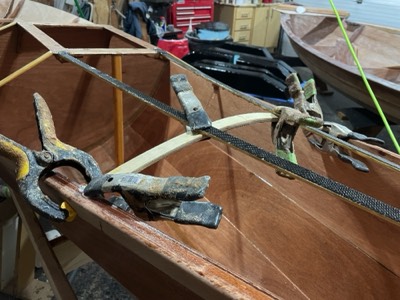
The rails are epoxied in place.
-
11/15/23 - The rails for the sliding seat are test fit.
-
11/25/23 - The aft hatch opening is epoxied in place.
-
Forward hatch opening.
-
11/29/23 - Deck supports are fiberglassed.
-

11/30/23 - Deck supports are reinforced with carbon fiber.
-
12/1/23 - The interior is epoxy sealed.
-
Stern section is epoxy sealed.
-
12/4/23 - Extra reinforcement for the deck is epoxied in place.
-
12/6/23 - A custom queen seat is test fit.
-
12/14/23 - The interior is given an epoxy seal coat.
-
12/15/23 - Gudgeons for a rudder are temporarily mounted.
-
Oarlocks are temporarily mounted.
-
12/18/23 - A custom rudder trunk is half assembled.
-
12/18/23 - The rudder is laminated from three pieces of 6mm plywood.
-

12/19/23 - The inside of the rudder trunk is sealed with epoxy and graphite powder.
-
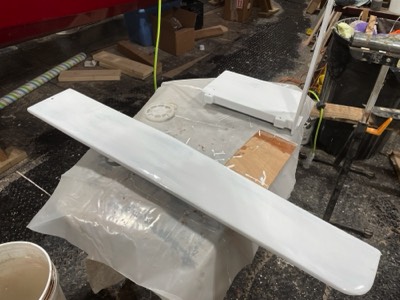
12/21/23 - The rudder has been shaped and is ready for fiberglass.
-
The sliding seat rail supports and queen seat are epoxy sealed.
-
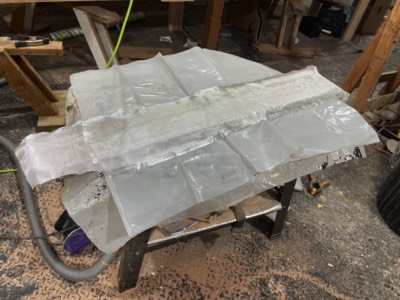
Fiberglass is saturated with epoxy.
-
1/2/24 - The top of the queen seat is epoxy sealed.
-
Rudder trunk and rudder are fiberglassed.
-
The underside of the rails are filleted.
-
1/4/24 - The rudder trunk is test fit.
-
Hull is partially sanded.
-
The hull has been sanded and is ready for primer.
-
The queen seat is sanded.
-

1/5/24 - The tiller arm is epoxied to the rudder trunk.
-
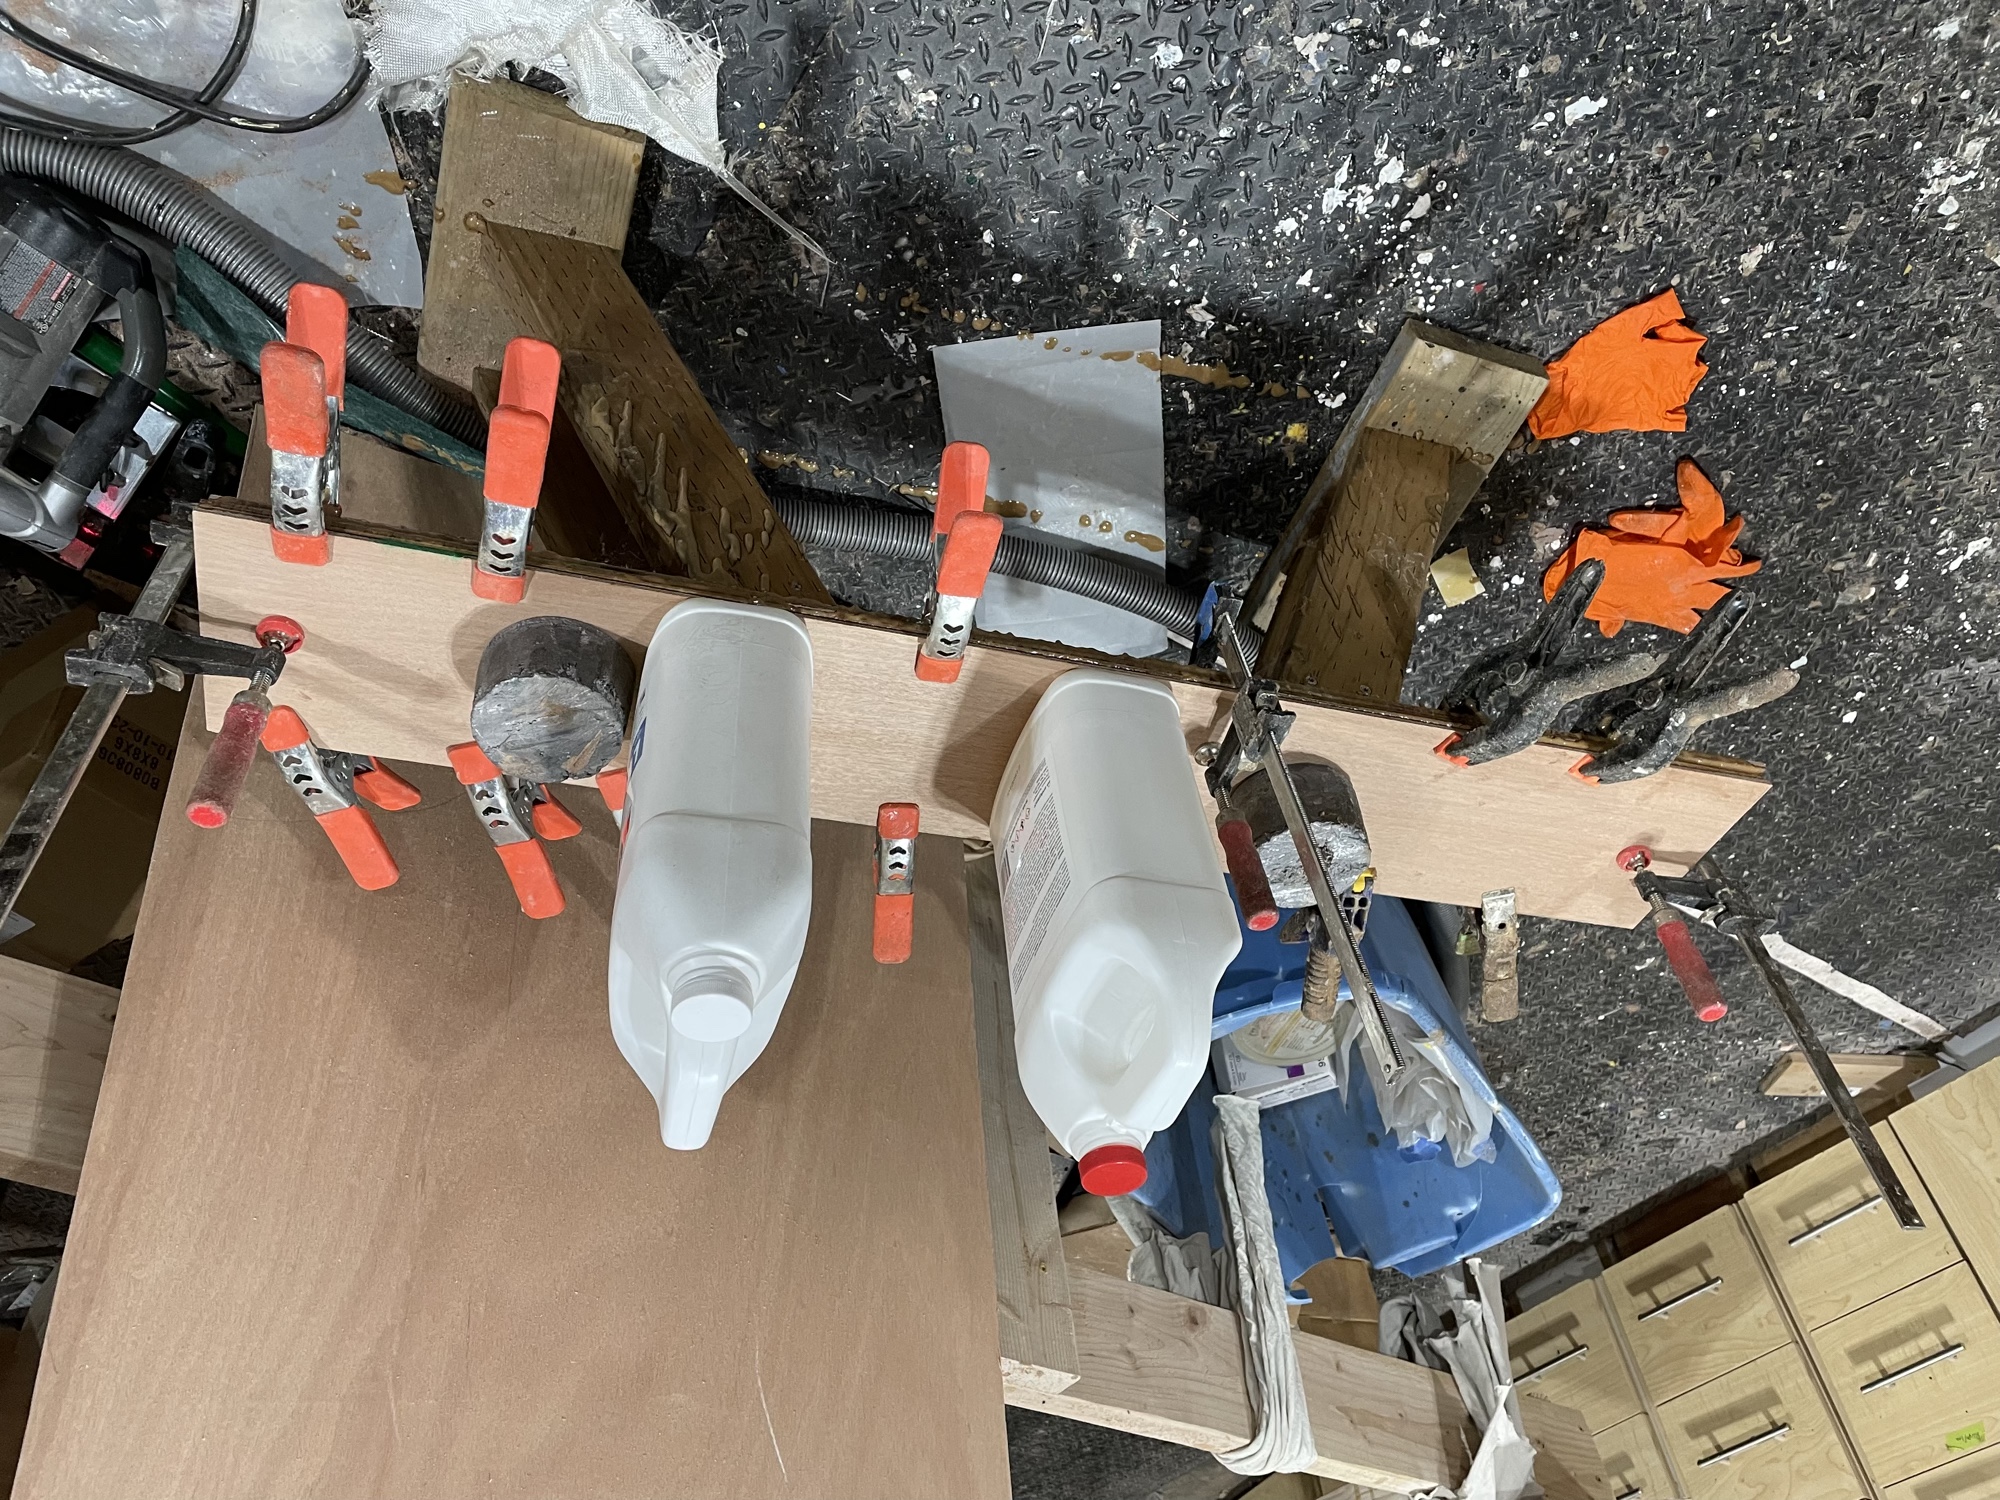
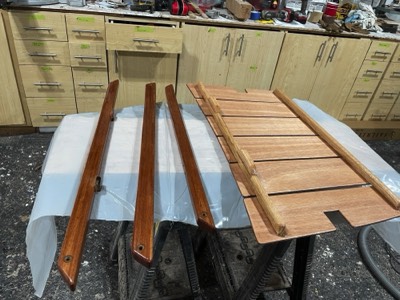
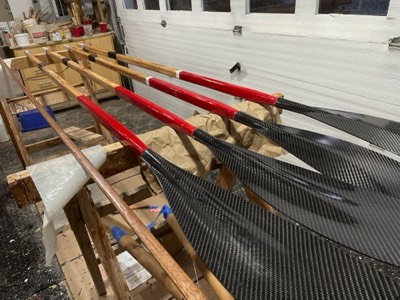
1/8/24 - The oars are shaped from LVL with carbon blades.
-
First coat of primer is applied to the hull.
-

Rudder is primered on one side.
-
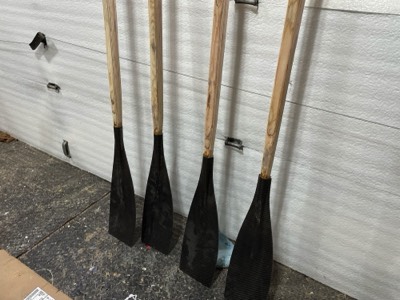
1/10/24 - The carbon blades are epoxied onto the shafts.
-
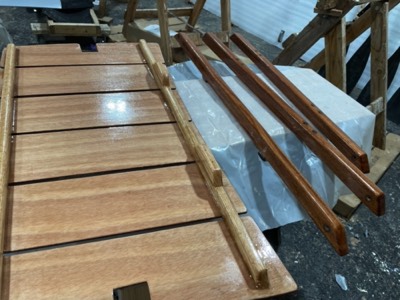
The undersides of the queen seat and rail supports are varnished.
-
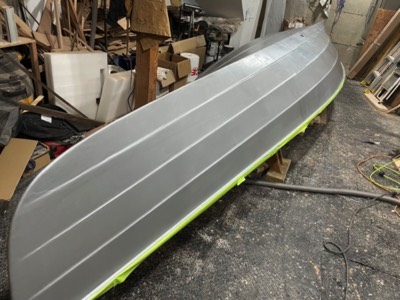
First coat of paint is applied to the hull.
-
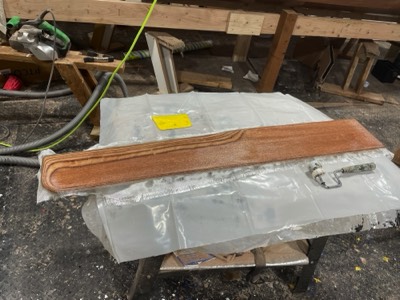
1/12/24 - Oars are reinforced with carbon and sealed with epoxy.
-
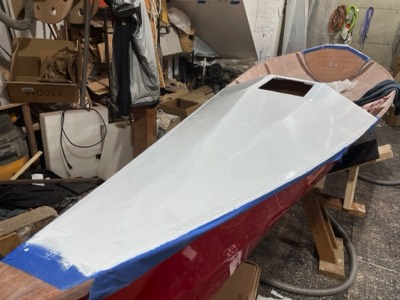
The second coat of paint is half sanded.
-
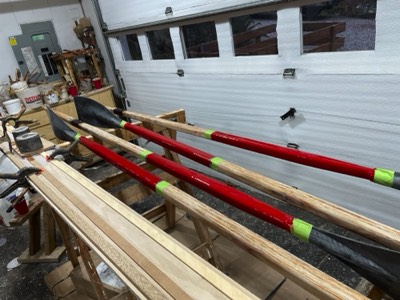
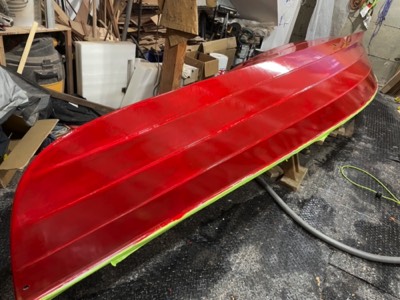
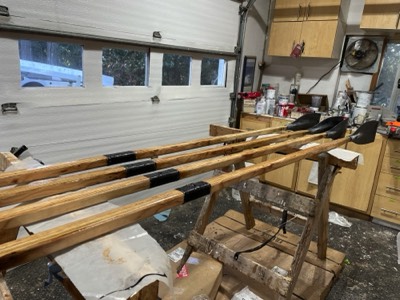
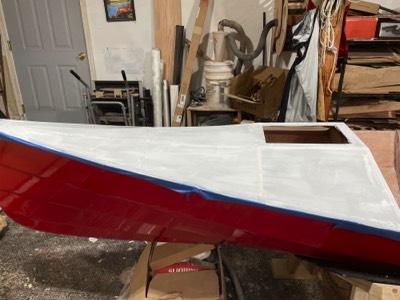
1/16/24 - The oars get a red section painted.
-
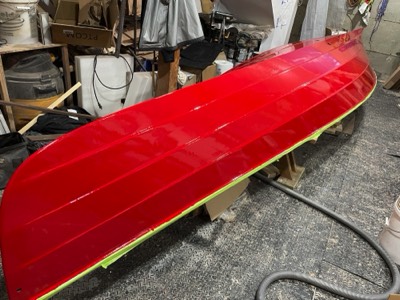
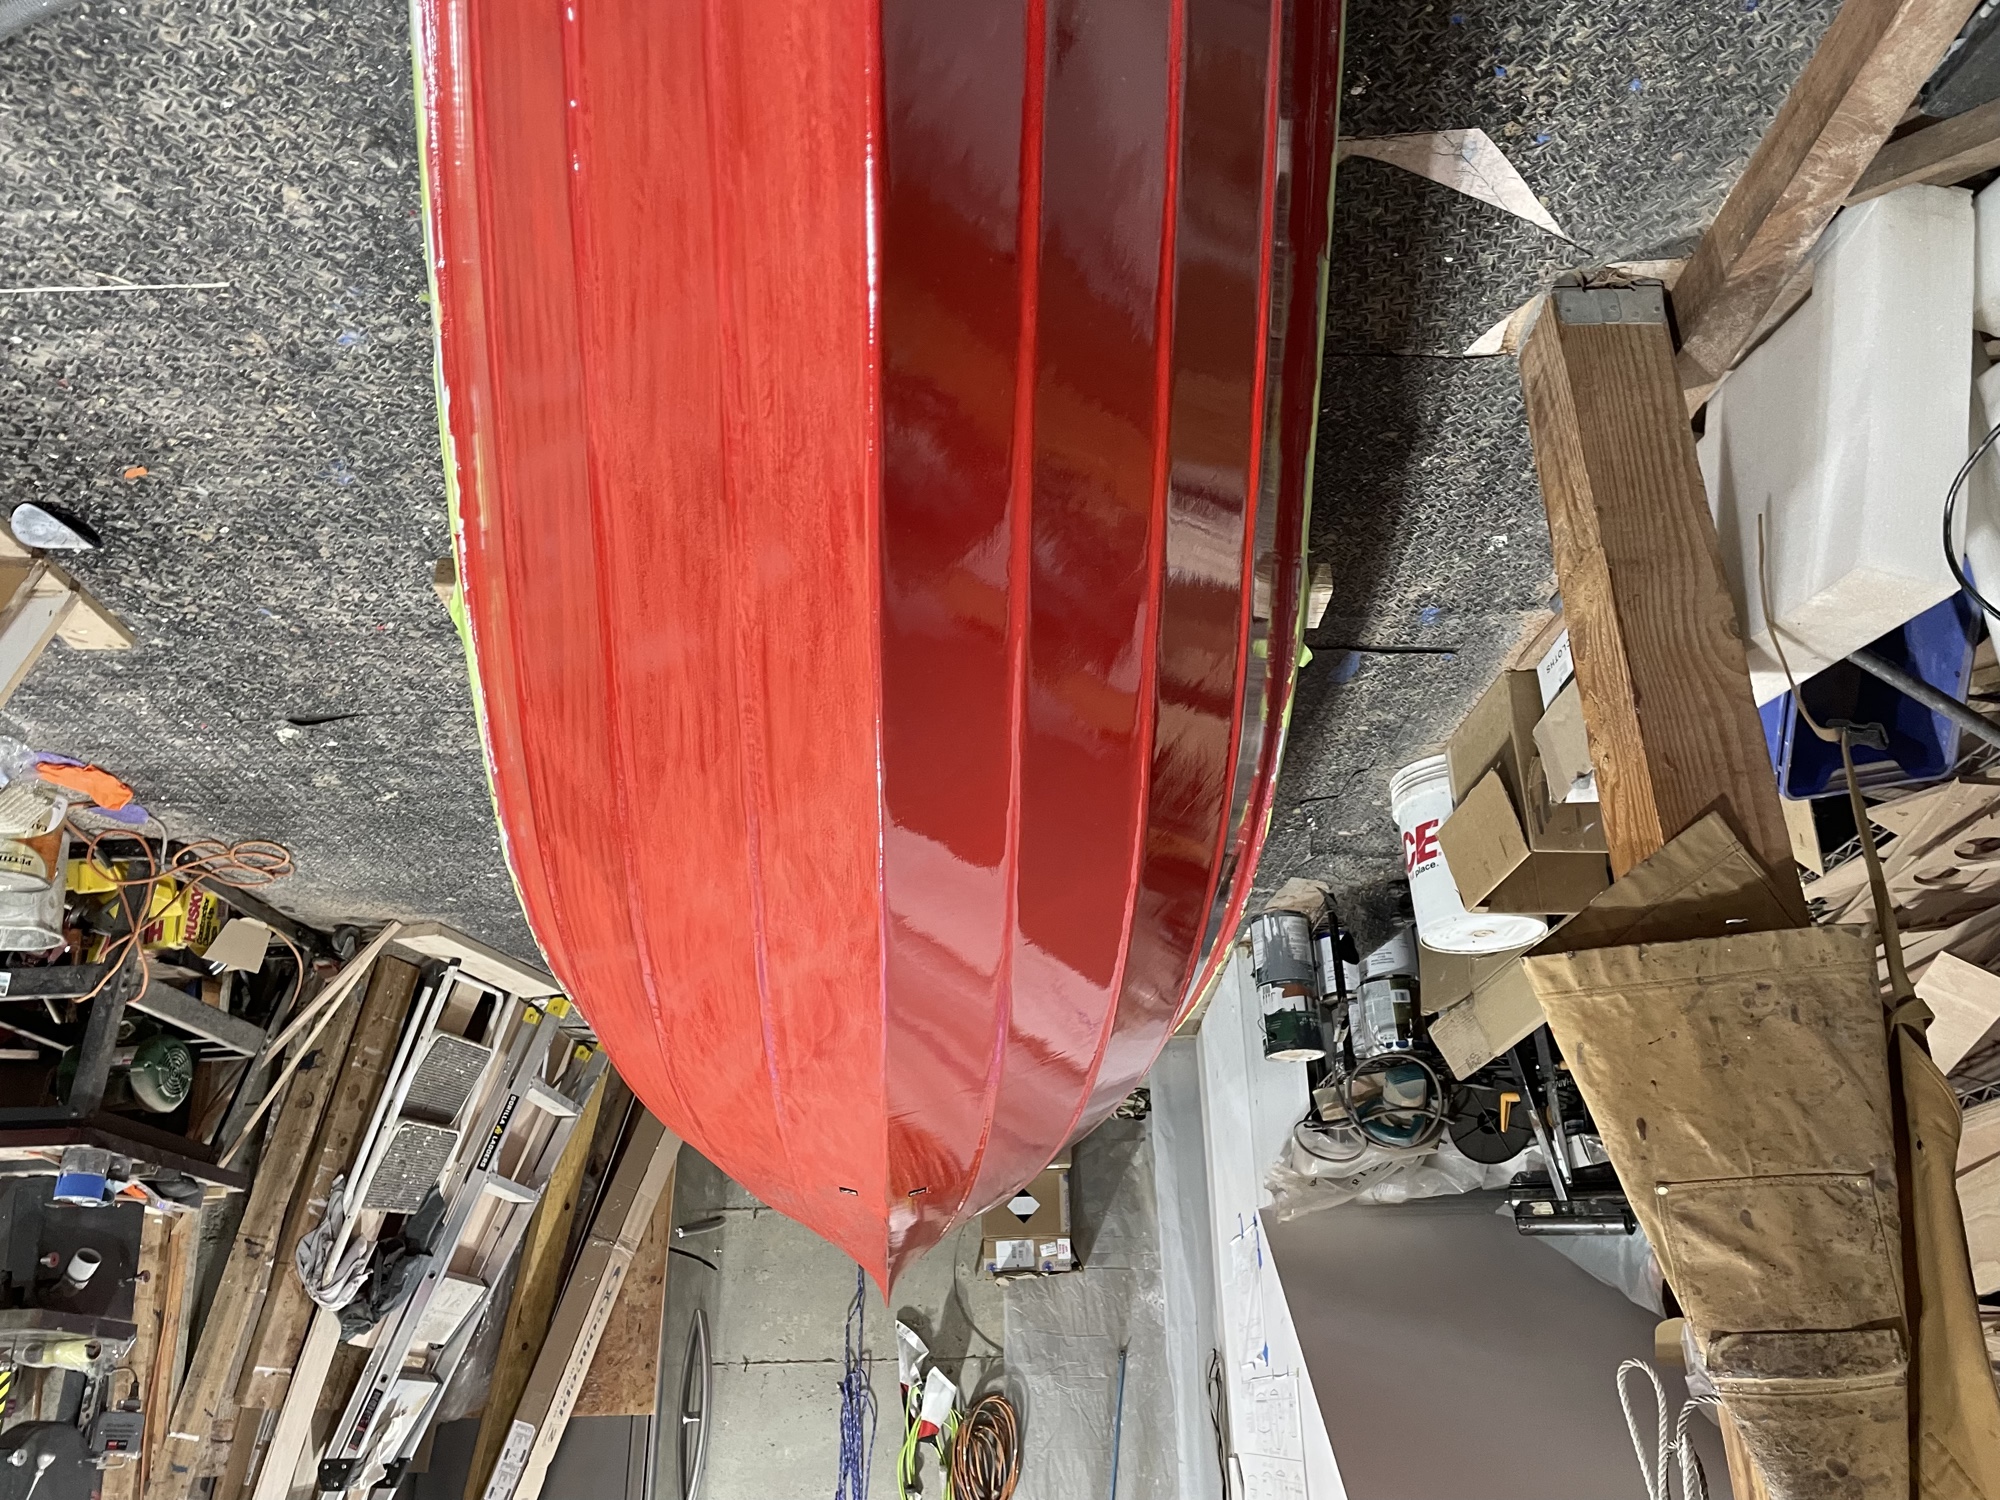
Final coat of red has been applied.
-

1/18/24 - A seat retention bungee is temporarily installed.
-
The interior is half sanded.
-
Sanding in preparation for varnish is finished.
-
1/19/24 - Heat and bond tape is applied around the deck perimeters.
-
The bow deck dacron is installed.
-
Stern deck dacron.
-
Rudder and trunk are painted.
-
First coat of paint on the bow deck.
-
1/20/24 - Second coat of paint is applied.
-
1/22/24 - Sanding dust is washed from the interior.
-
First coat of varnish on the oars.
-
Flip side of rudder is painted.
-
First coat of varnish on the interior.
-
First coat of varnish on the queen seat top.
-
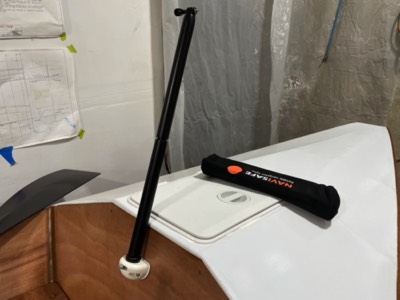
1/31/24 - A mast for lights and a mirror is installed.


