-
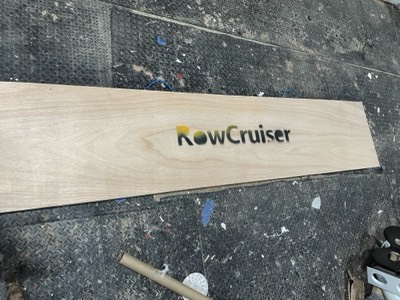
4/9/24 - The kit is ready to be opened.
-
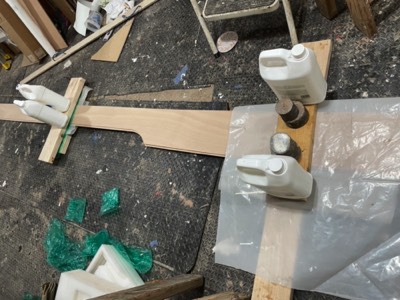
4/16/24 - The #4 panels are epoxied to full length.
-
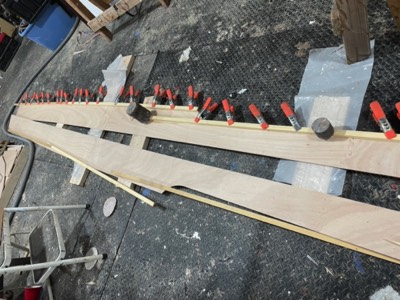
4/17/24 - Sheer clamps are epoxied on one panel.
-
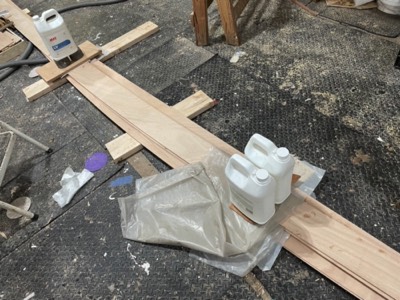
4/19/24 - The rest of the hull panels are epoxied together.
-
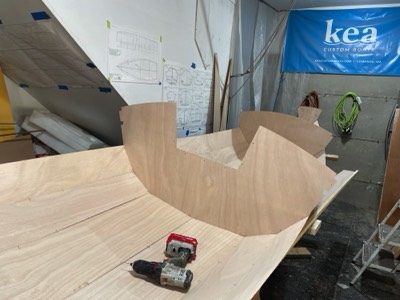
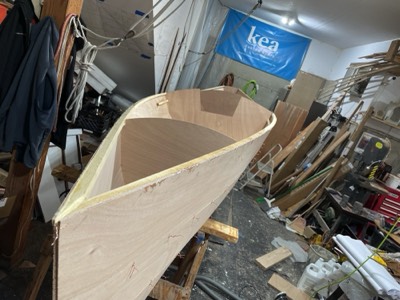
4/22/24 - The #1 panels and two bulkheads are wired in place.
-
2/23/24 - #2 Panels and middle bulkhead are wired in place.
-
#3 Panels.
-
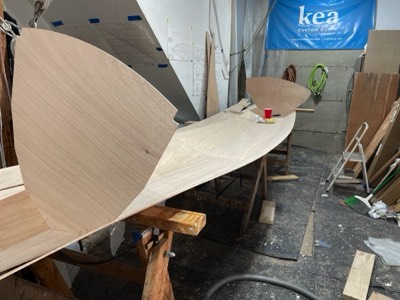
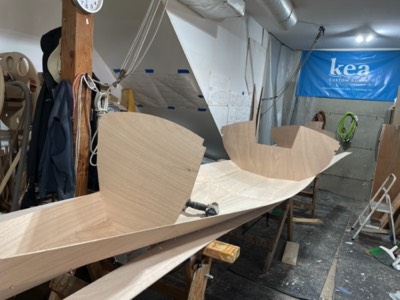
#4 Panels are wired in place.
-
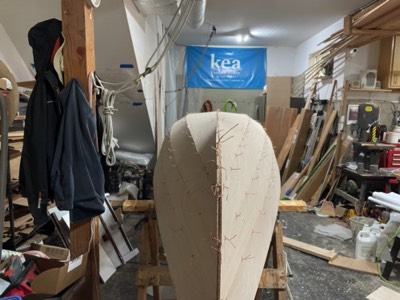
4/24/24 - The hull is flipped and the wires are tightened.
-
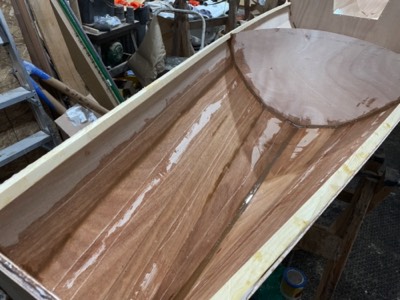
4/29/24 - The aft compartment is filleted and fiberglass taped.
-
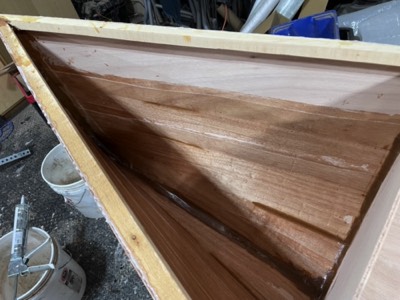
4/30/24 - The bow section is filleted and taped.
-
The cockpit section is filleted.
-
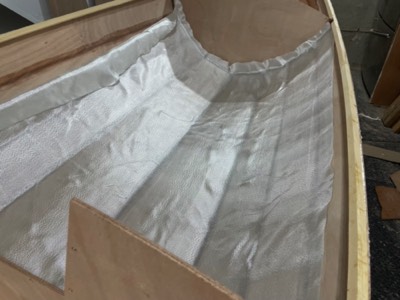
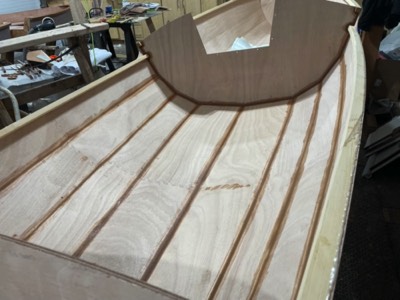
5/1/24 - Fiberglass cloth is laid in the cockpit section.
-
The cloth is saturated with epoxy.
-
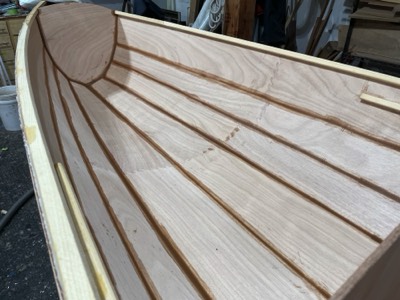
The cabin section is filleted.
-
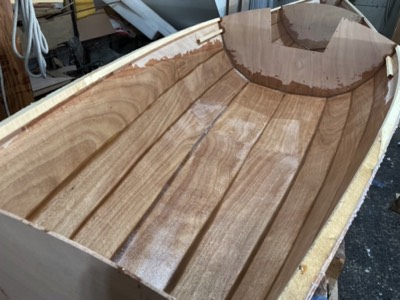
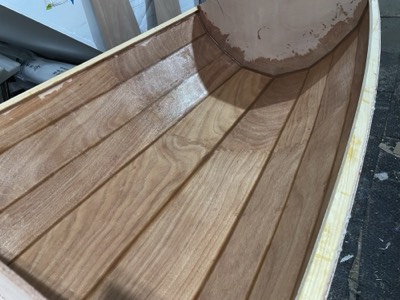
5/2/24 - Cabin area is fiberglassed.
-
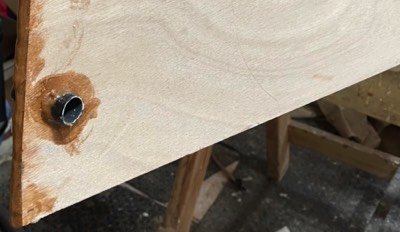
5/3/24 - Carbon tube is inserted to provide a place for a carrying handle.
-
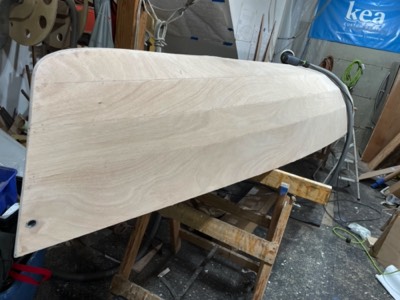
5/6/24 - The hull is sanded.
-

Fiberglass cloth is laid on the hull.


