Refinished Projects
-
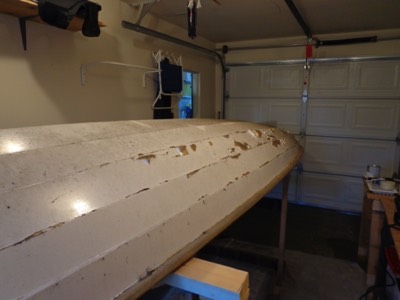
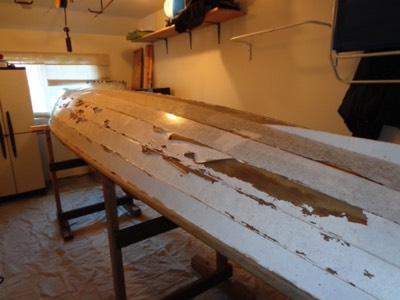
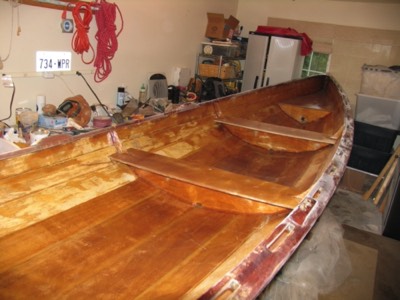
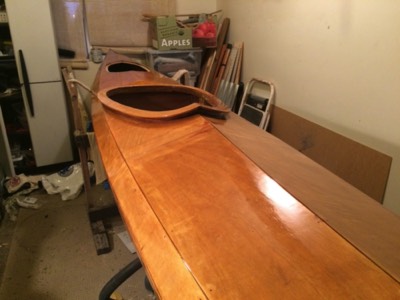
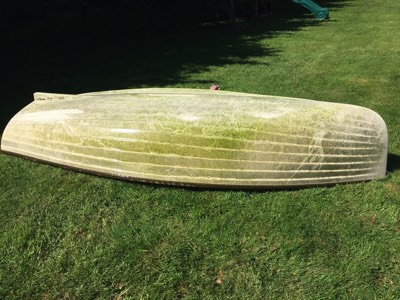
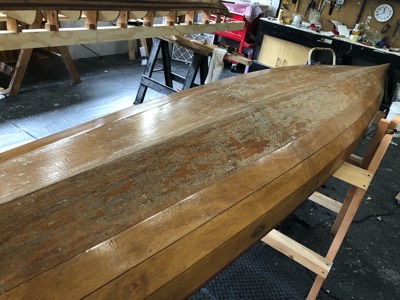
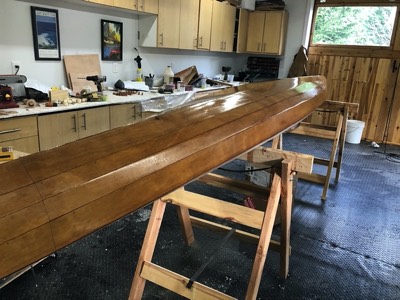
This is the boat before I started.
-
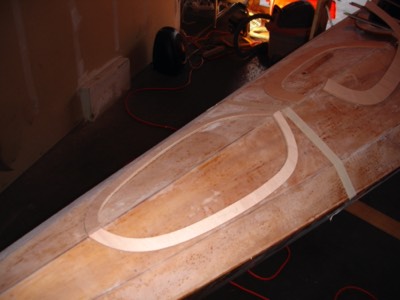
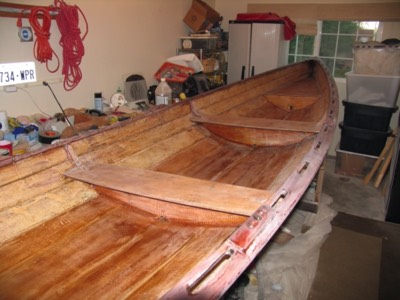
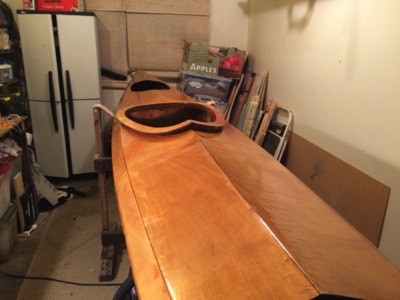
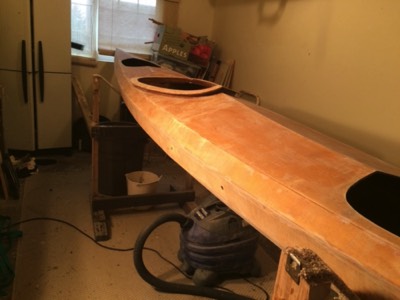
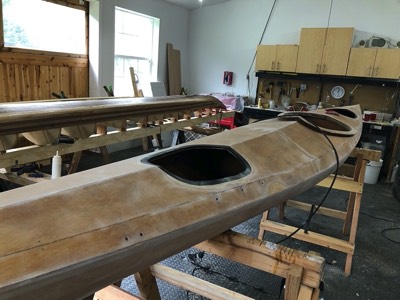
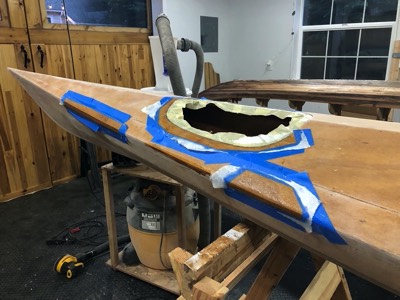
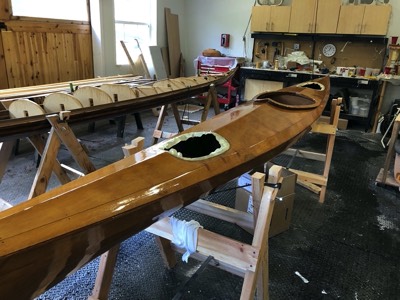
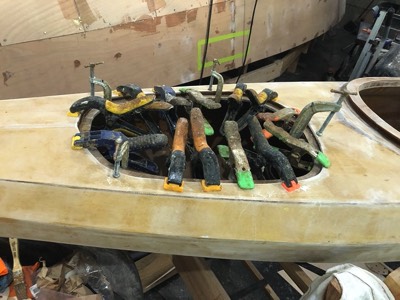
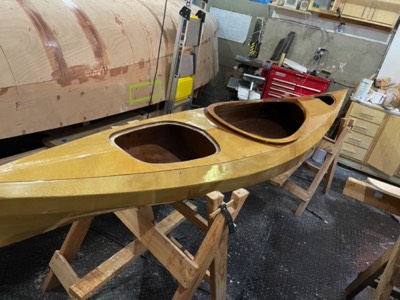
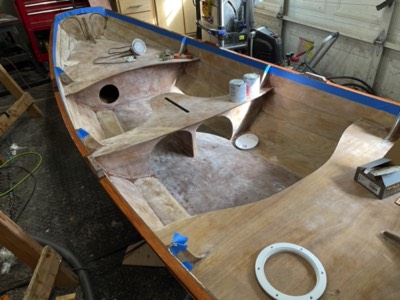
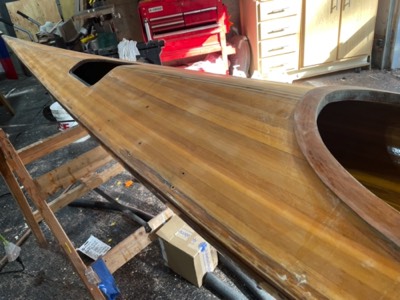
After sanding off the old varnish, I cut out holes for the new hatches.
-
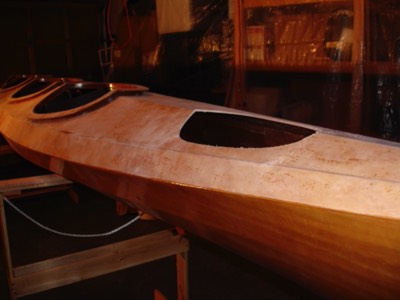
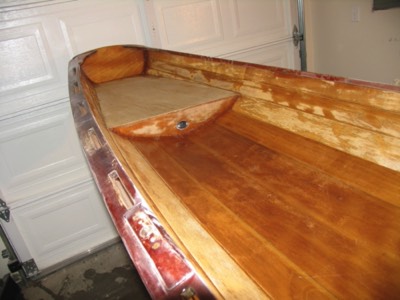
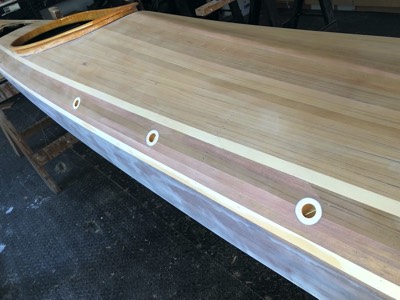
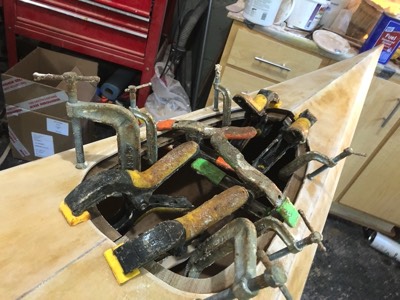
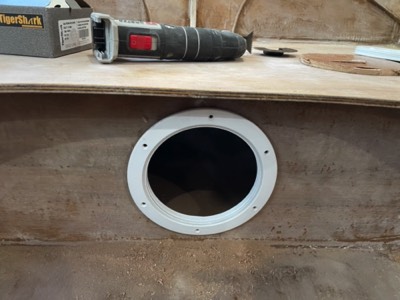
New hatch opening.
-
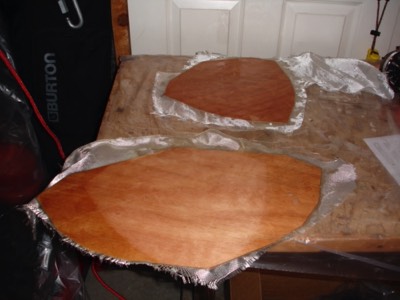
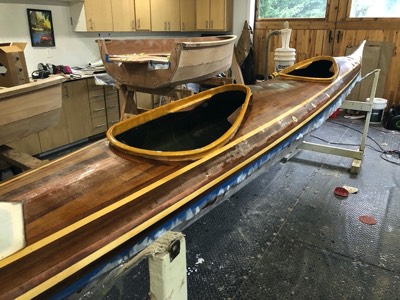
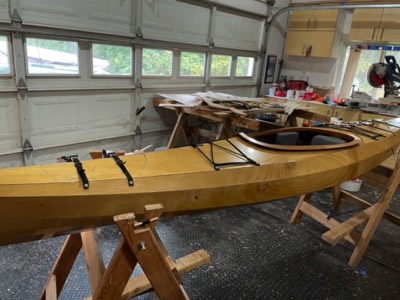
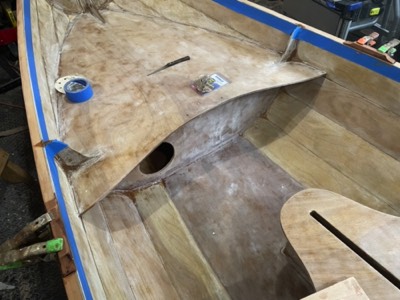
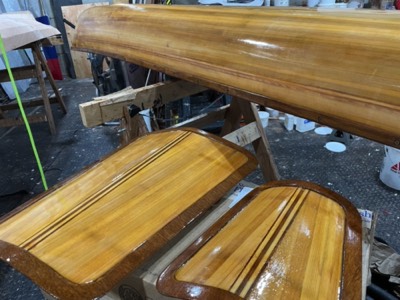
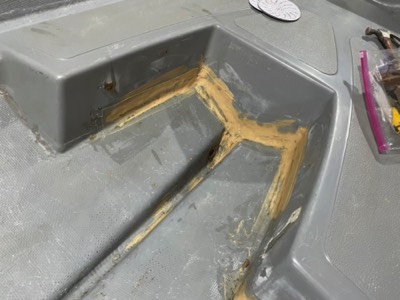
Bulkheads being fiberglassed.
-
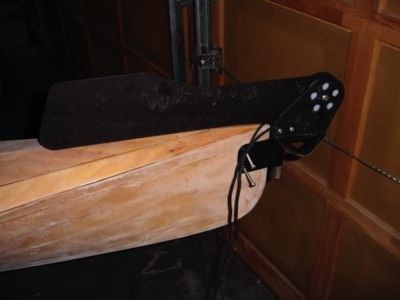
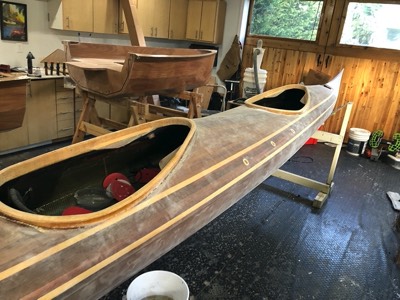
New rudder being installed.
-
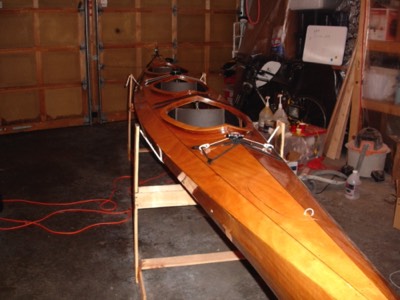
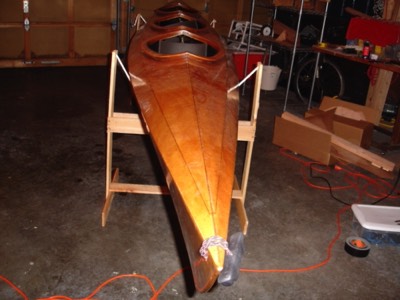
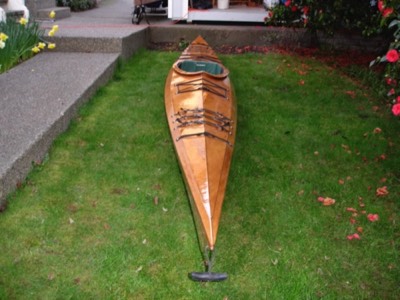
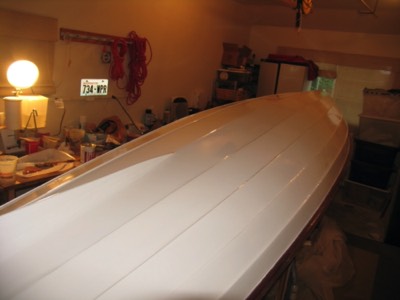
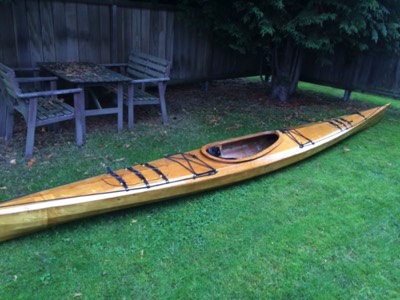
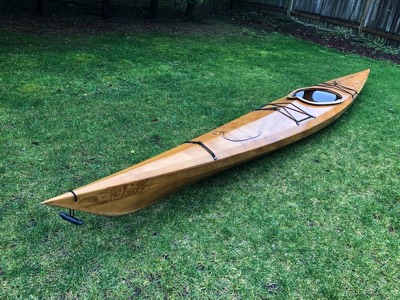
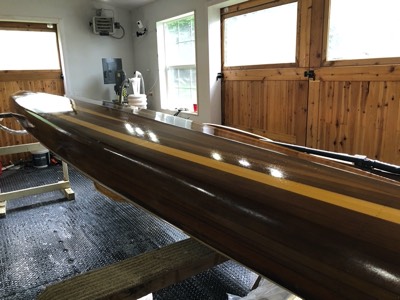
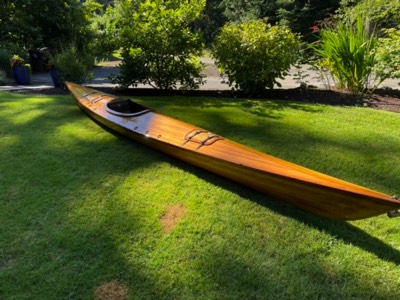
The finished project.
-
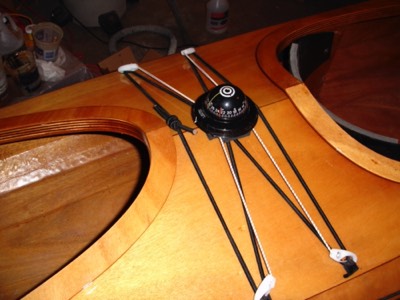
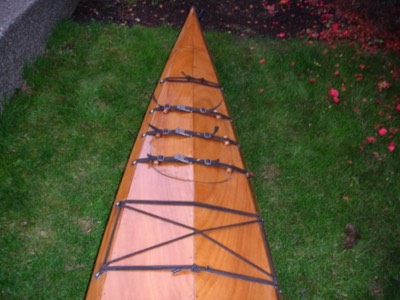
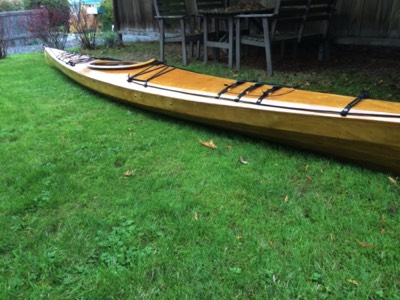
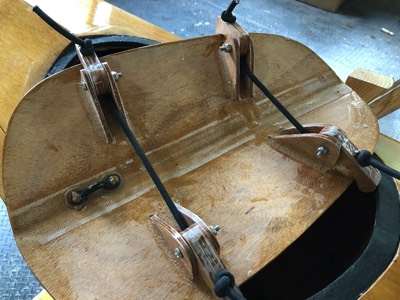
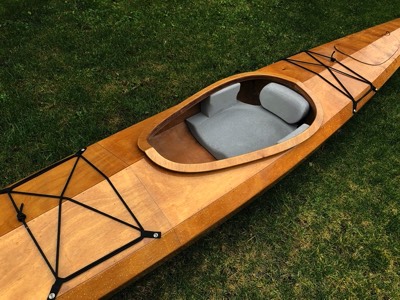
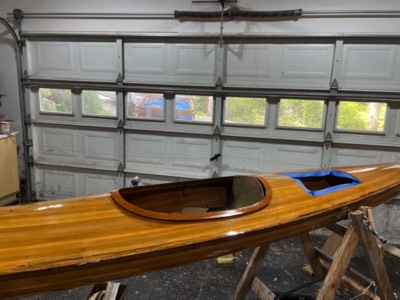
View of the removable compass and new deck rigging.
-
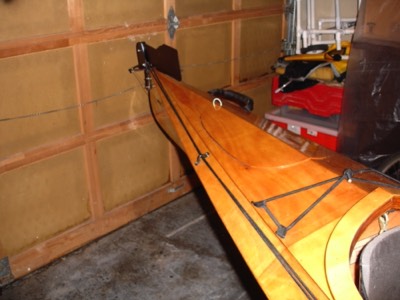
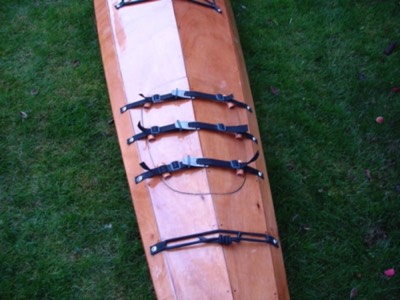
Aft deck.


This project is a refinish/refit of a previously built Pygmy Osprey Triple. I added a rudder, bulkheads, hatches, deck bungees, compasses, and a carrying handle.
Length: 20 feet
Beam: 30 inches
Weight: ~60 lbs.
Click on picture for more photos.
-
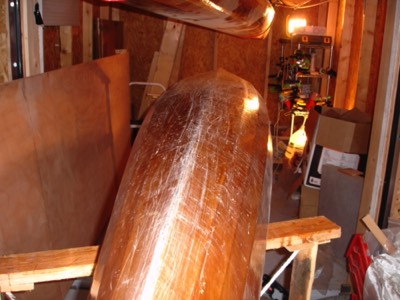
The bottom of the boat was well used.
-
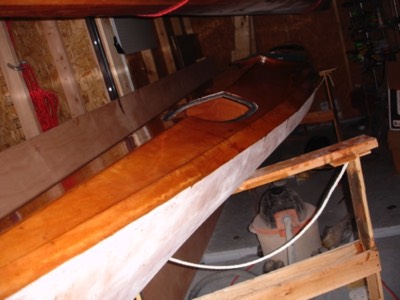
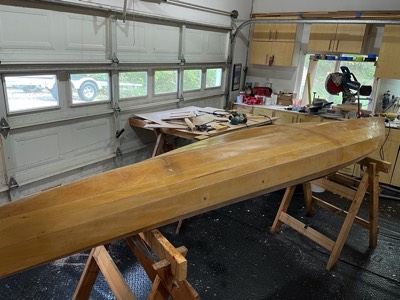
After sanding the old varnish off, the deck receives a new coat of varnish.
-
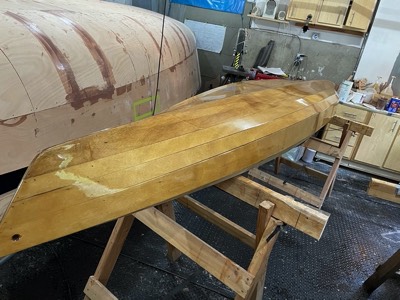
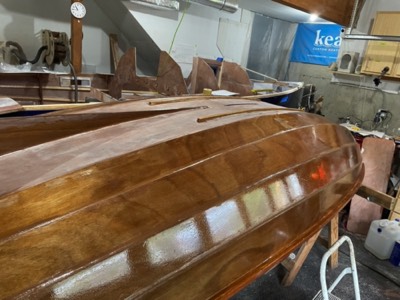
The bottom of the boat looks brand new after a fresh coat of varnish.
-
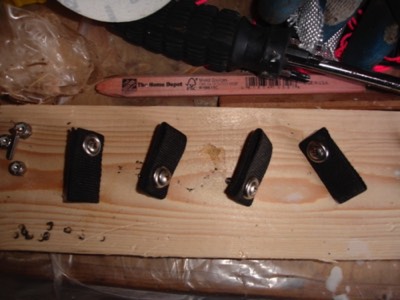
Soft pad-eyes ready to install.
-
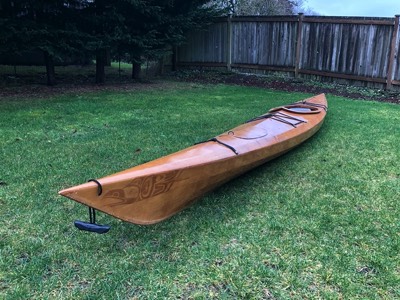
Finished project.
-
The new rigging with soft pad-eyes.
-

Fore deck rigging.
-
Aft deck rigging.


This project was refinish/refit of a previously built Pygmy Coho. I renewed the varnish and changed the stock Pygmy rigging to soft pad-eyes.
Length: 17 feet 6 inches
Beam: 23 inches
Weight: ~40 lbs
Click on picture for more photos.


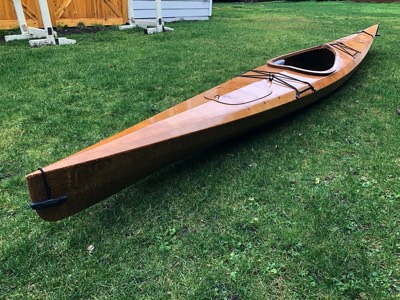
This project was refinish/refit of a previously built Pygmy Arctic Tern. I renewed the varnish and changed the stock Pygmy rigging to soft pad-eyes.
Length: 17 feet
Beam: 23 inches
Weight: 39 lbs
Click on picture for more photos.
-
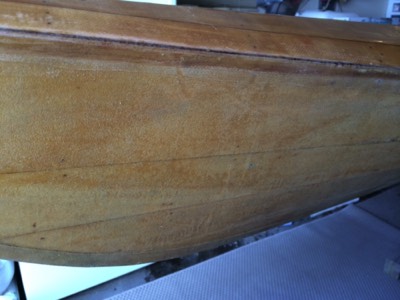
The bottom paint was in very bad shape when I got the boat.
-
e
-
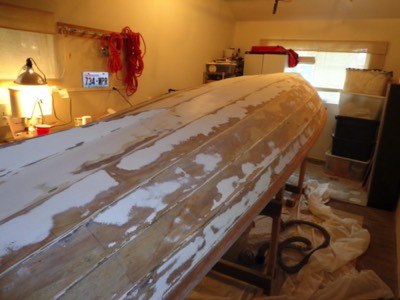
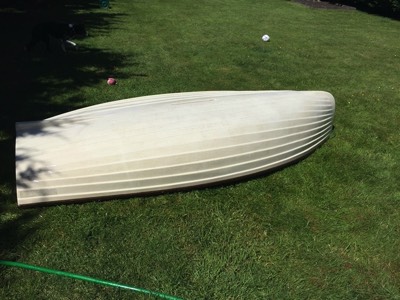
The old paint was sanded to the primer.
-
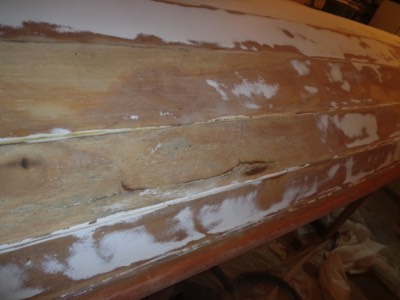
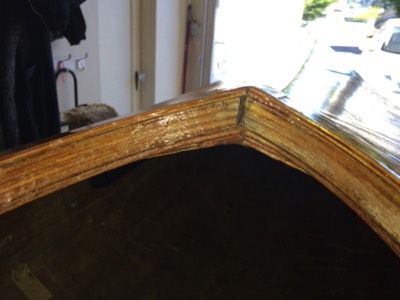
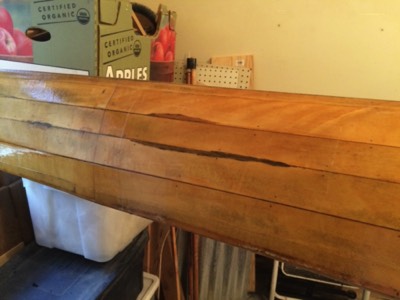
A large crack in the hull that needed to be repaired.
-
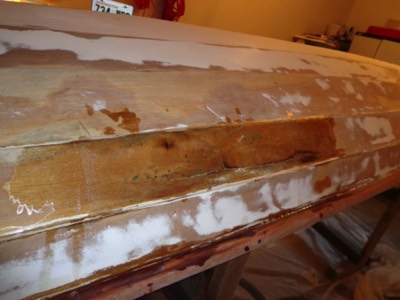
The crack was repaired with a section of fiberglass.
-
New bottom paint on the hull.
-
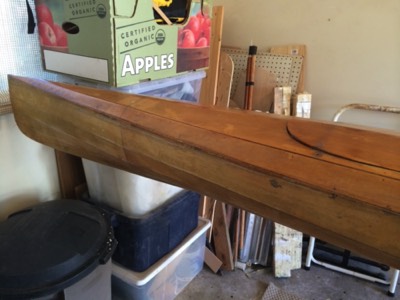
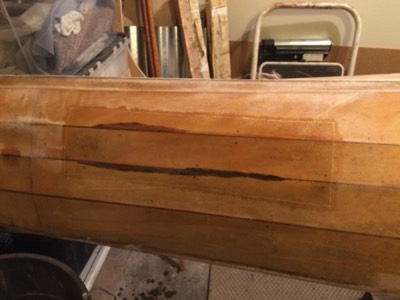
The varnish had flaked off of much of the interior. Some of the wood was permanently water stained.
-
The aft seat had completely lost its varnish.
-
Sanding has begun.
-
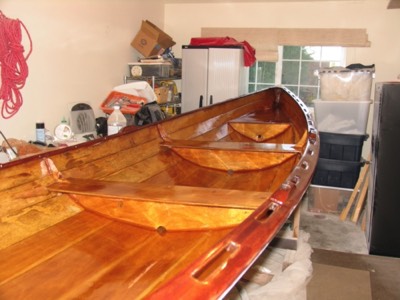
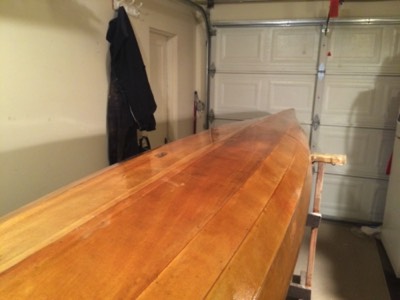
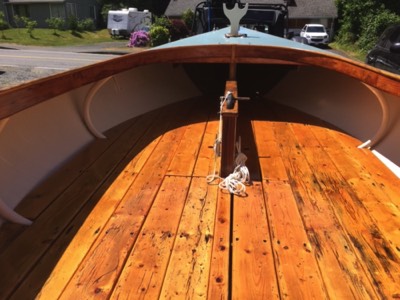
The interior is complete. The discolored sections are still visible, but on the whole, the boat looks much better.


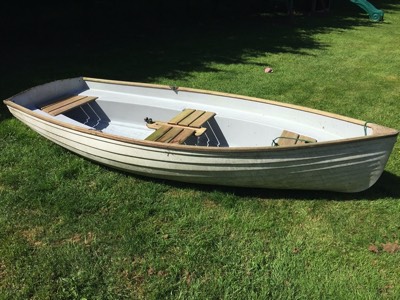
This project was refinish/repair of a previously built Chesapeake Light Craft Annapolis Wherry. I sanded the old varnish and paint off, repaired a large section of the hull, and applied new varnish and paint.
Length: 17 feet 9 inches
Beam: 38 inches
Weight: ~65 lbs
Click on picture for more photos.
-

9/27/14 - Before the refinish work begins.
-
Before shot.
-
Before shot.
-
The condition of the hull is in very rough shape.
-
9/29/14 - The deck is partially sanded in preparation for new epoxy.
-
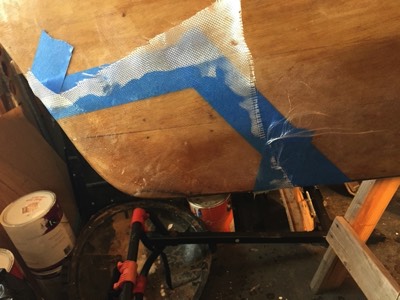
9/30/14 - Several sections of the hull needed fiberglass repair. The area is taped off so the ends of the fiberglass don't fray.
-
The fiberglass patch.
-

Fiberglass is wetted out with epoxy. The discolored, damaged area is still visible, but it will be protected and waterproof now.
-
Another area is patched with fiberglass.
-
A view of the patch after the tape is removed.
-
10/1/14 - The hull is given a fill coat of epoxy.
-
The patched area after the fill coat of epoxy.
-
10/4/14 - The deck has been sanded and a fill coat of epoxy has been applied.
-

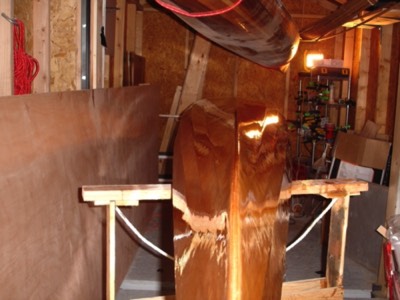
10/6/14 - The boat is stood on its bow for an endpour.
-
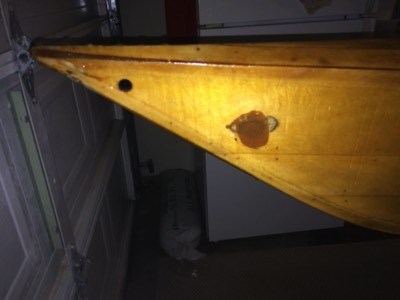
10/8/14 - The old misplaced hole in the bow is filled and a new one drilled.
-
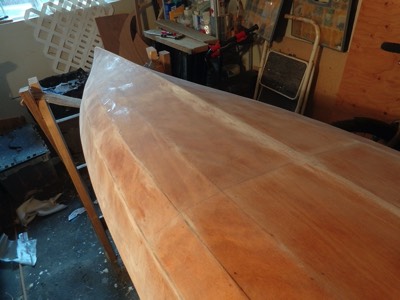
10/14/14 - Sanding is complete.
-

10/19/14 - The bulkheads and hatch lips are prepped for fiberglassing on one side.
-
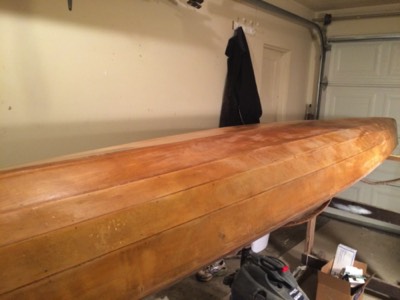
The hull is ready for varnish.
-
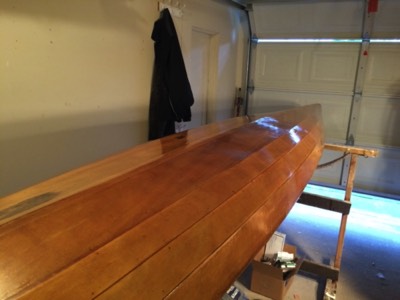
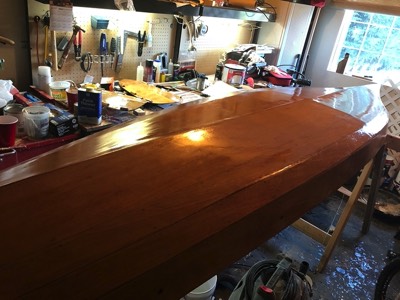
10/29/14 - First coat of varnish on the hull!
-
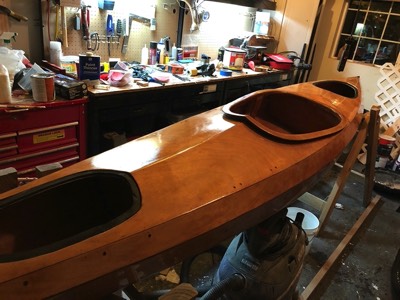
11/6/14 - The final coat of varnish is on the deck.
-
11/8/14 - The boat is finished. It looks much better than when I started.
-
Pygmy Coho - Refinish #7


This project was refinish/repair of a previously built Pygmy Coho. I sanded the the entire boat down, repaired several sections of fiberglass, and applied new varnish.
Length: 17 feet 6 inches
Beam: 23 inches
Weight: ~45 lbs
Click on picture for more photos.
-
The boat is in rough shape after sitting on a dock for 20 years.
-
The hull needs some cleaning.
-
The hull has been scrubbed clean.
-
The transom had rotted out and was filled with thickened epoxy.
-
The seats need some work.
-
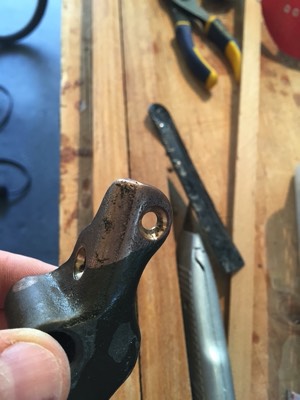
One of the oarlocks after it has been partially cleaned up.
-
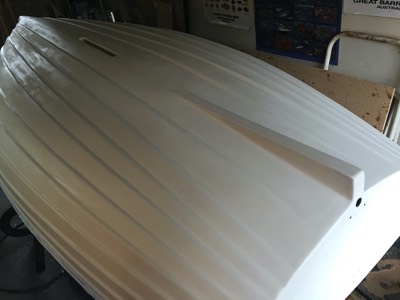
The hull gets a coat of primer.
-
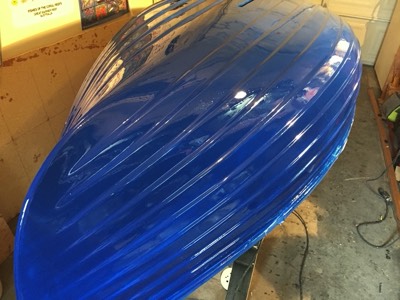
First coat of Interlux Sapphire Blue.
-
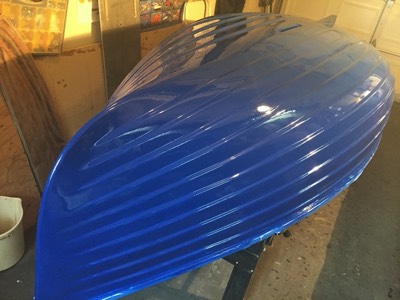
Three coats have been applied.
-

The interior is primed.
-
First coat of interior paint.
-
The seats and rails are varnished.
-
The boat is finished!
-
View of the custom built rudder assembly.
-
Quartermaster 10
-
Quartermaster 10
-
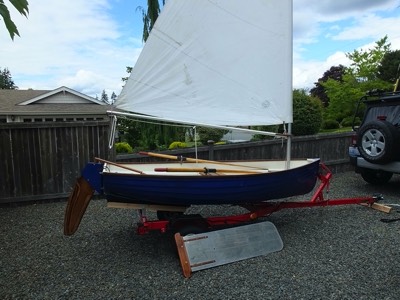
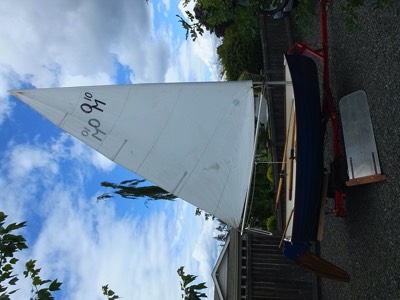
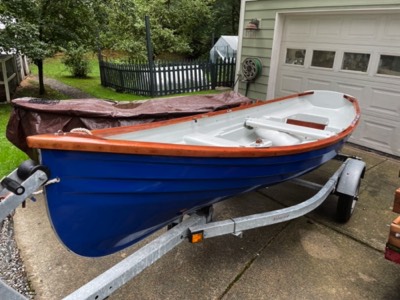
All rigged up and on the trailer!
-
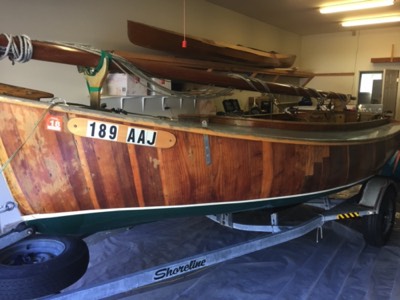
Quartermaster 10


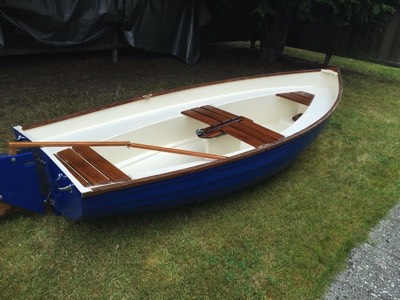
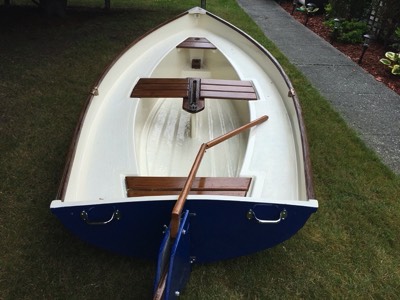
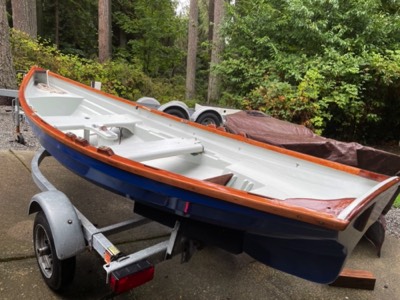
This beauty was originally owned by the family that owns the Space Needle. It lived on a dock on the tip of Hunts Point for 30 years and now has new life.
It just went through a complete professional refurbishment with new paint inside and out, new transom, and new rudder. It comes with sail, two piece aluminum mast, refinished oars, dagger board, aluminum boom with rigging, and a cover.
This boat is 10 feet long with a 4 foot 4 inch beam. It weighs about 200 pounds. It is fiberglass with teak rails and seats.
Length: 10 feet
Beam: 4 feet 23 inches
Weight: ~200 lbs
Click on picture for more photos.
-
4/25/17 - The boat was not in too bad of a state, but it definitely needed some attention.
-
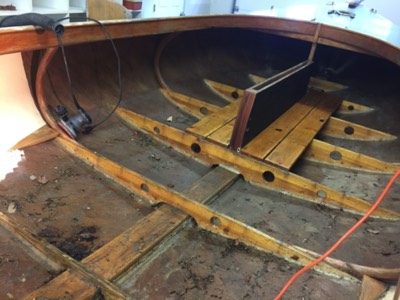
5/1/17 - All of the floorboards are removed so the interior of the hull can be inspected and repaired.
-
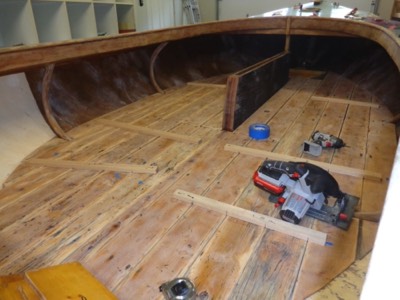
The floorboards are temporarily put back in the boat.
-
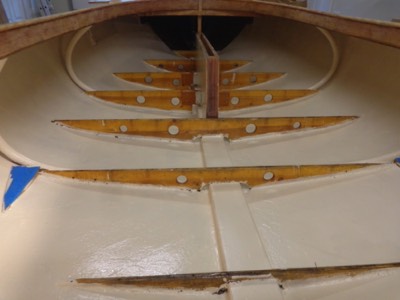
5/11/17 - The starboard side has two coats and the port side has one coat of paint.
-
View of the other side of the hull.
-
5/31/17 - The port side floorboards are placed in the boat.
-
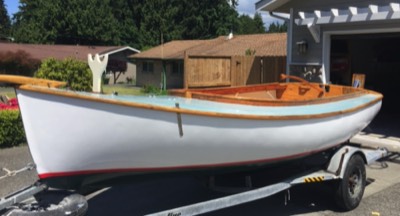
6/4/17 - The project is finished!
-
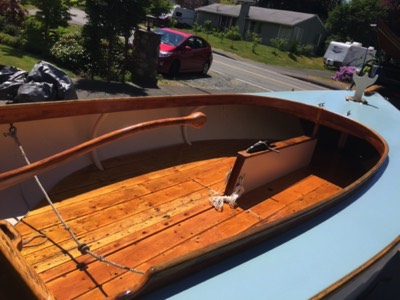
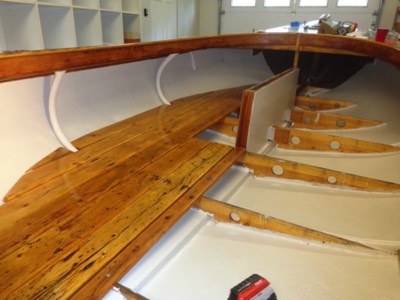
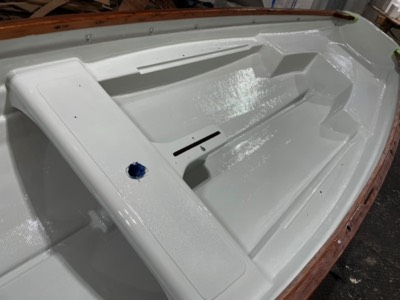
The inside of the cockpit.
-
Cockpit.


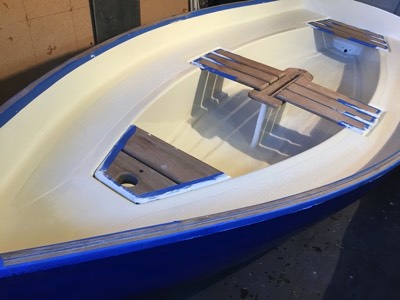
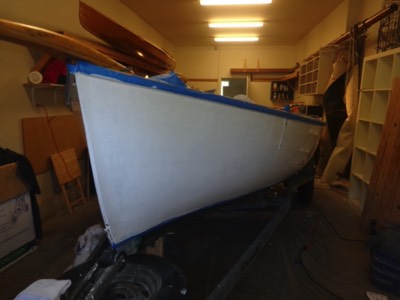
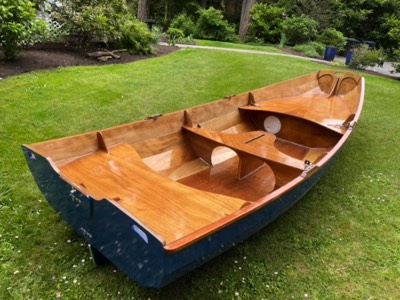
This gorgeous little sailboat was refinished with new varnish and areas of new paint. There were also a few repairs needed as well.
Length: 15 feet
Beam: 6 feet 11 inches
Weight: ~1300 lbs
Click on picture for more photos.
-
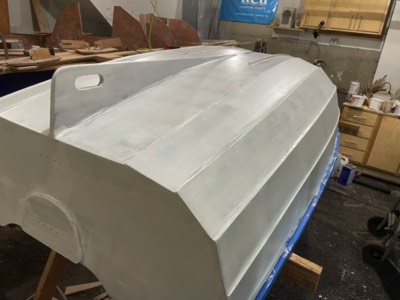
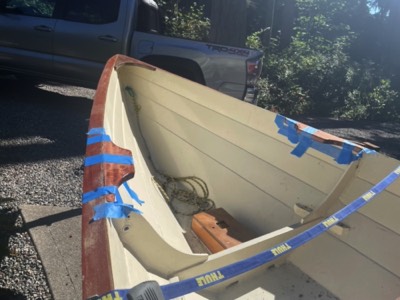
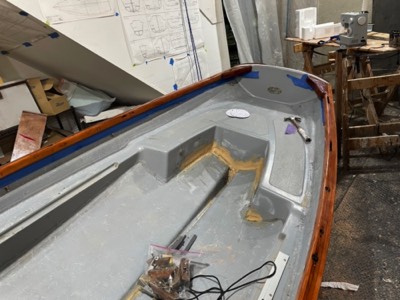
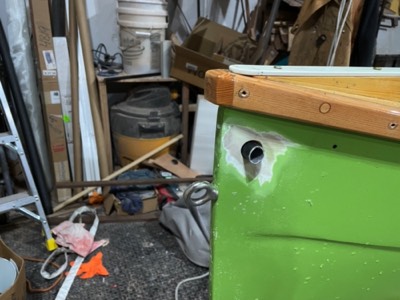
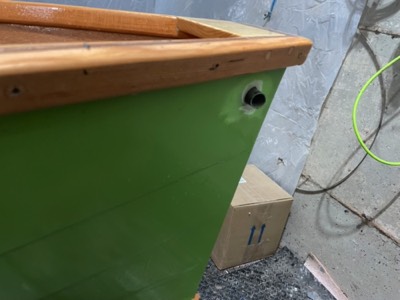
9/17/17 - This is the condition of the boat before the refinish.
-
Drilled out holes are filled with thickened epoxy.
-

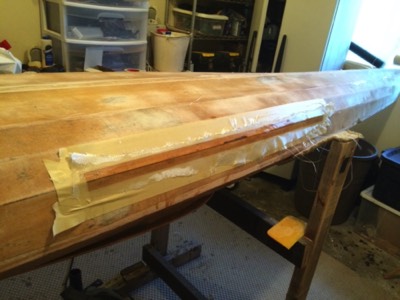
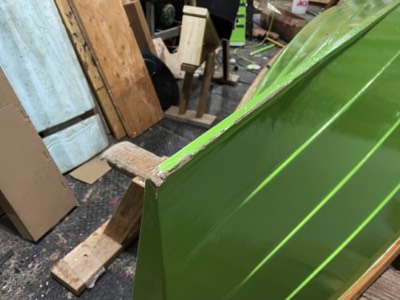
Split seam is taped off for fiberglassing.
-
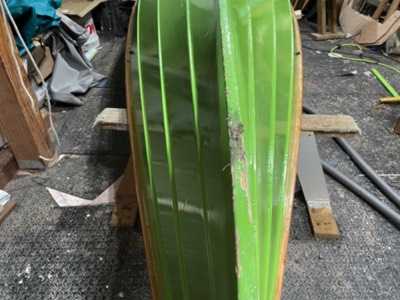
9/19/17 - Damaged area on the hull is fiberglassed.
-
Damage to stern stem is fiberglassed.
-
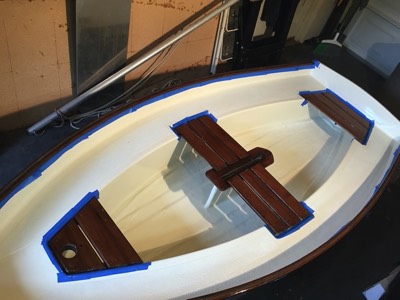
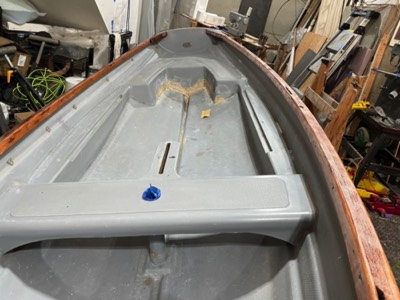
9/20/17 - The entire boat is sanded in preparation for varnish.
-
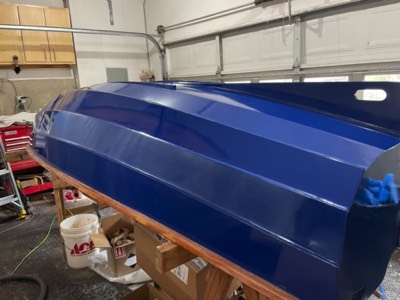
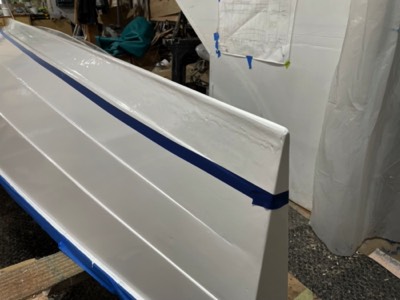
9/25/17 - The third coat of varnish is applied to the hull.
-
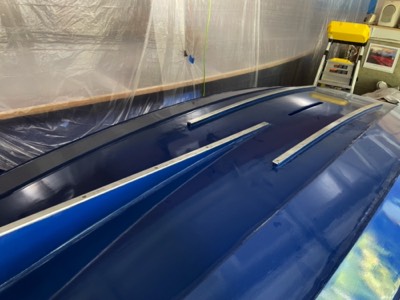
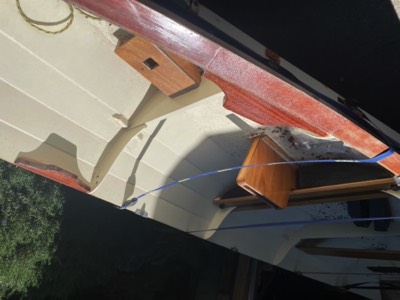
9/29/17 - Several coats of varnish are applied to the deck.
-
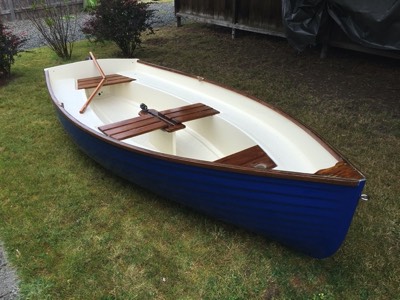
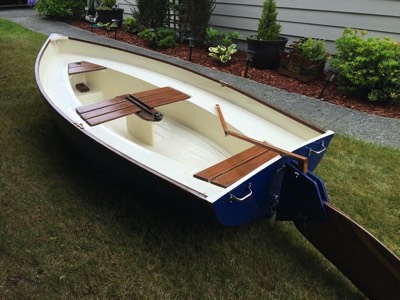
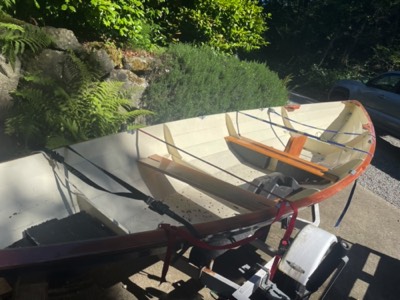
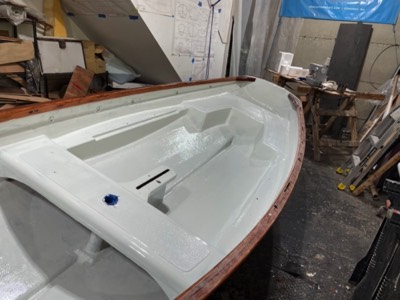
9/30/17 - The refinish is complete.
-
View of the new soft padeyes and adjustable seat back.


Several repairs will be made on this boat and it will get a complete refinish.
Length: 13 feet
Beam: 25.5 inches
Weight: ~35 lbs.
Click on picture for more photos.
-
12/18/18 - Work has started on the refinish of a Pygmy Coho.
-
Most of the deck rigging has been removed.
-
The varnish on the bottom is flaking off.
-
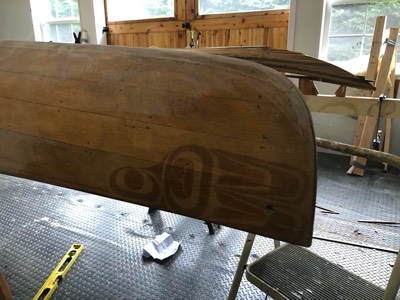
12/19/18 - The old artwork created a "shadow" in the fading of the underlying wood.
-
12/21/18 - The deck is sanded.
-
12/29/18 - Fiberglass patches are applied to areas that had some delamination.
-
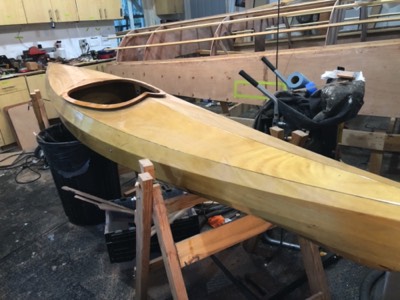
1/10/19 - The first coat of varnish is applied to the hull.
-
1/10/19 - The first coat of varnish is applied to the hull.
-
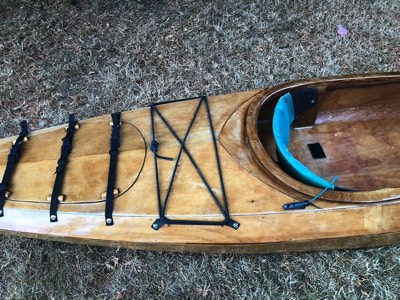
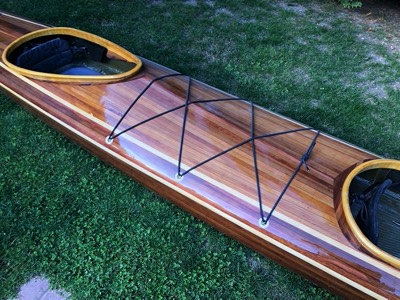
The strapless hatch system is ready for use.
-
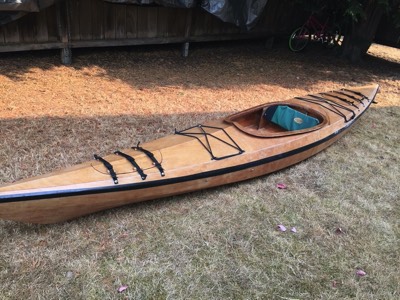
1/22/19 - The refinish is complete!
-
View of the soft padeyes and upgraded seat.
-
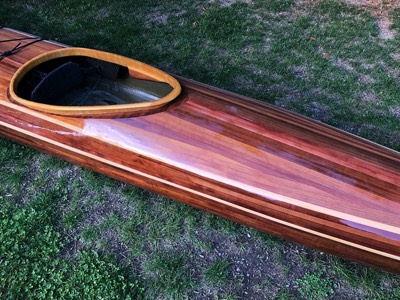
The tribal artwork is still visible.
-
View from the stern.


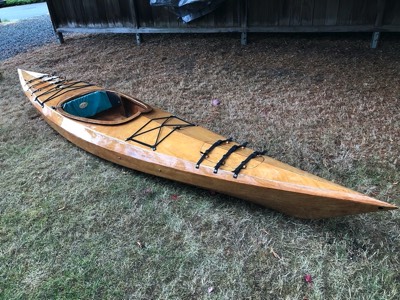
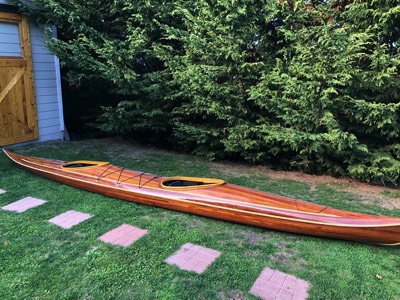
This project is a refinish/refit of a previously built Pygmy Coho. I renewed the varnish, added soft padeyes, a custom seat, nameplate, and added a strapless hatch system.
Length: 17 feet 6 inches
Beam: 23 inches
Weight: ~40 lbs
Click on picture for more photos.
-
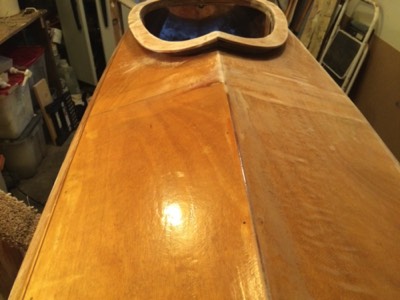
10/2/19 - The boat before the refinish.
-
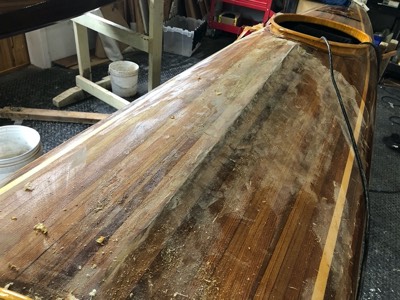
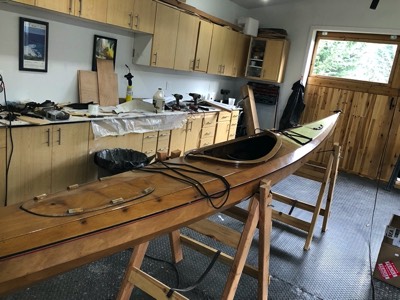
10/7/19 - The fiberglass cloth is stripped off much of the deck.
-
10/8/19 - The deck is partially sanded.
-
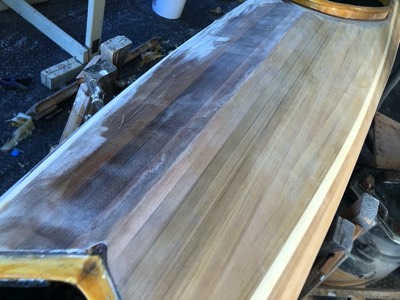
10/9/19 - All fiberglass, epoxy, and blotchy wood areas are sanded away.
-
10/9/19 - All fiberglass, epoxy, and blotchy wood areas are sanded away.
-
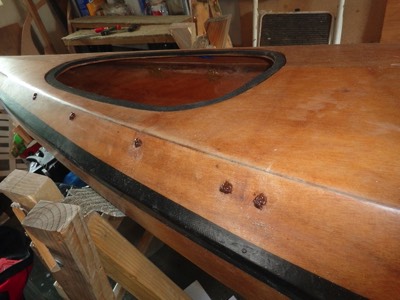
Recessed fittings are sanded flush.
-
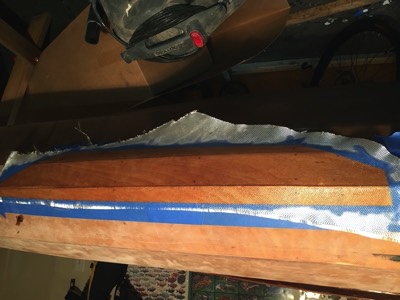
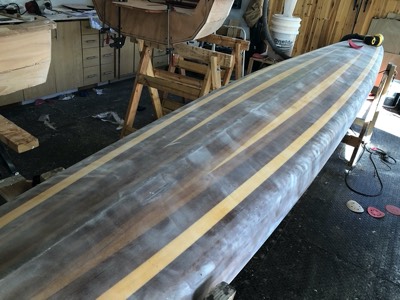
The fiberglass is saturated.
-
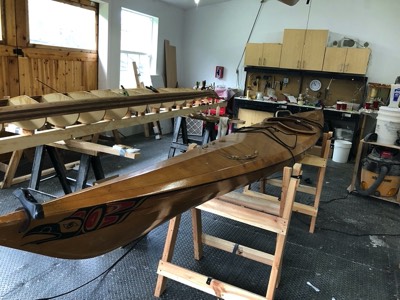
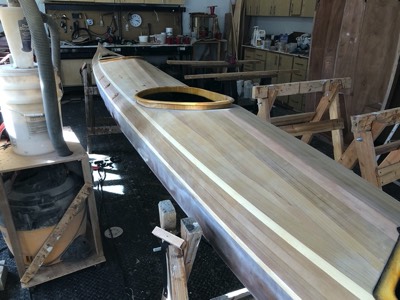
10/26/19 - The deck is sanded and ready for varnish.
-
First coat of varnish is applied.
-

Second coat of varnish.
-
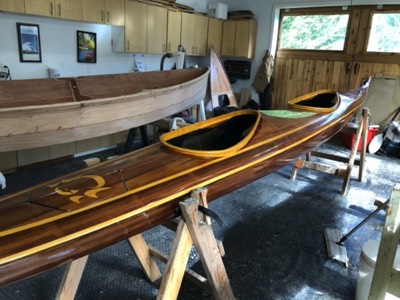
10/31/19 - The boat is finished!
-
The blotches are gone.
-
Deck rigging.


This project is a refinish/refit of a previously built Guillemot Night Heron Double. I am completely stripping the fiberglass from the deck and sanding the wood to remove unsightly splotches. I will be re-fiberglassing the deck, and re varnishing the entire boat. I will also add recessed deck fittings.
Length: 21 feet
Beam: 25 inches
Weight: ~90 lbs
Click on picture for selected photos of the project.
-
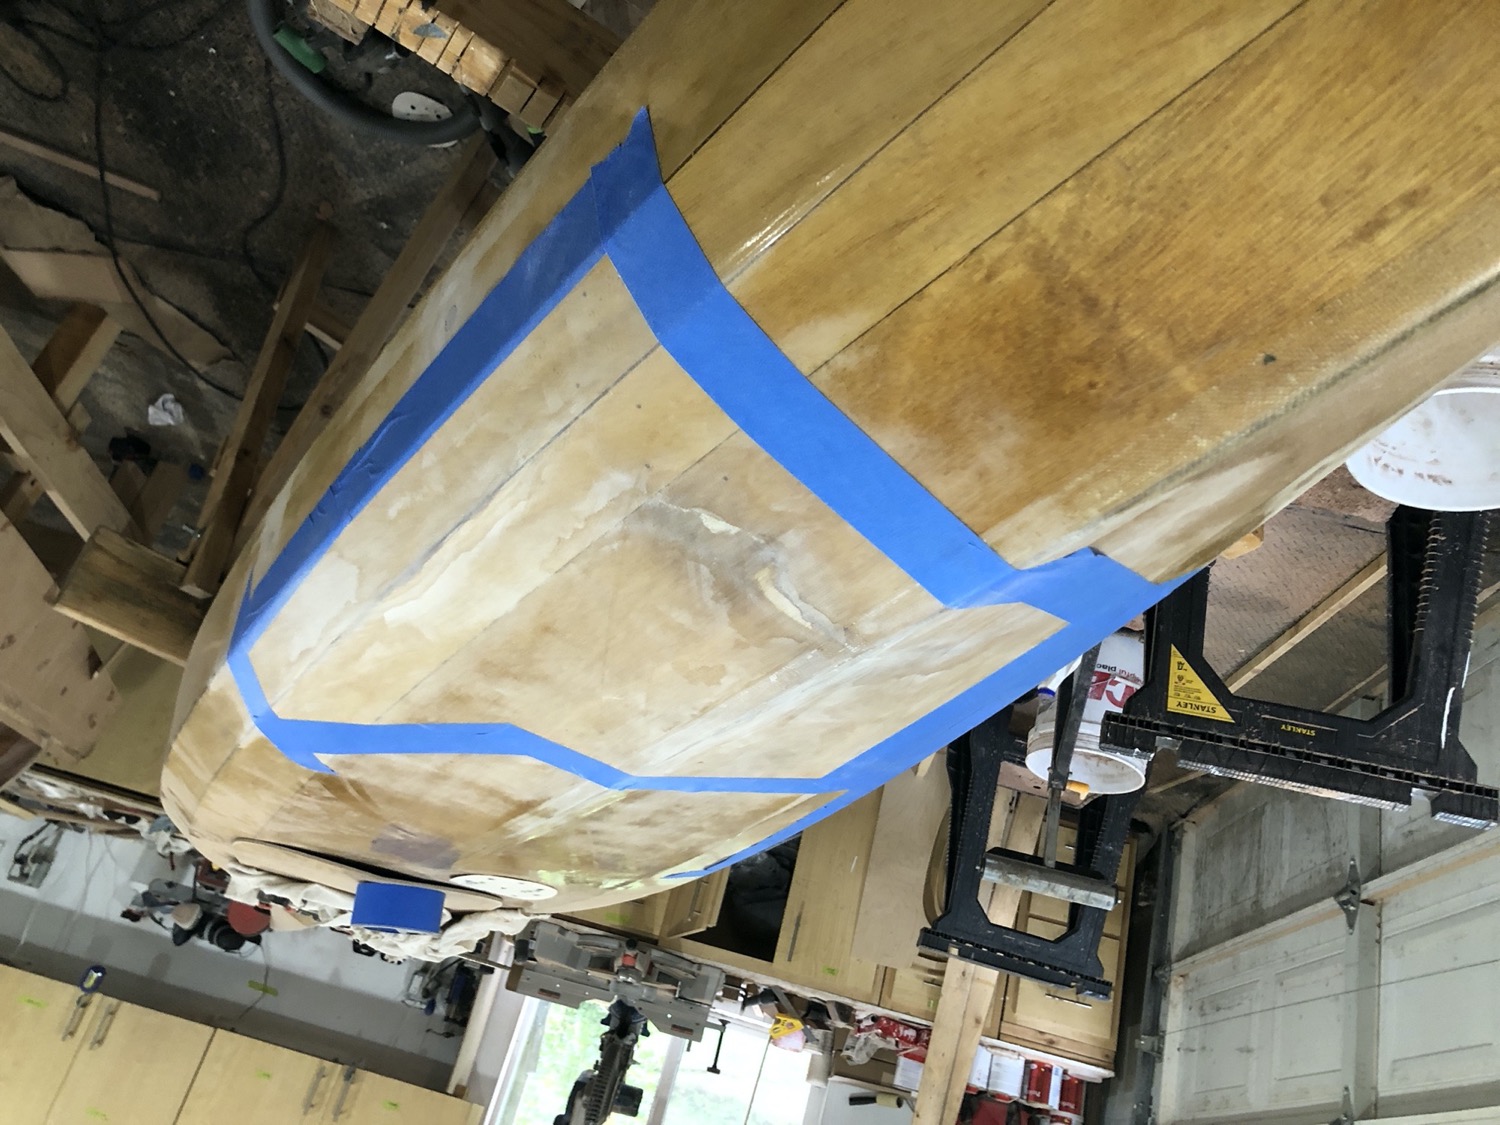
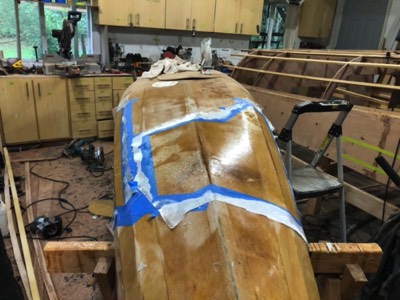
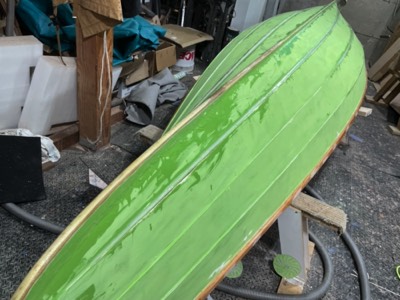
10/5/20 - The boat before work is started.
-
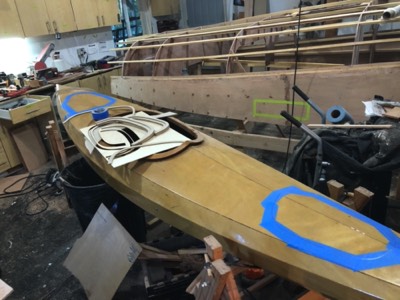
Hatches are traced out on the deck.
-
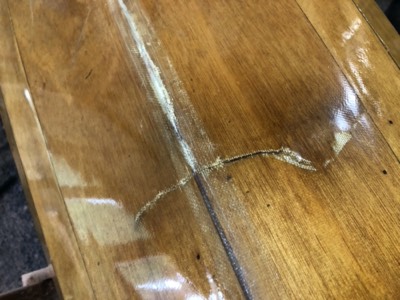
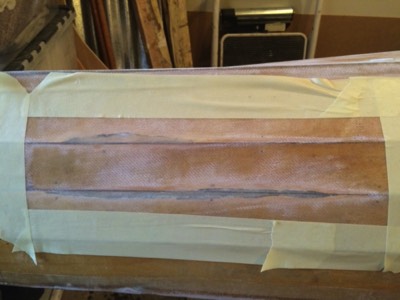
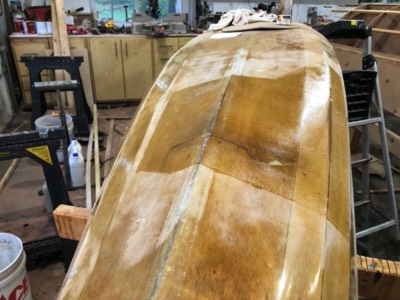
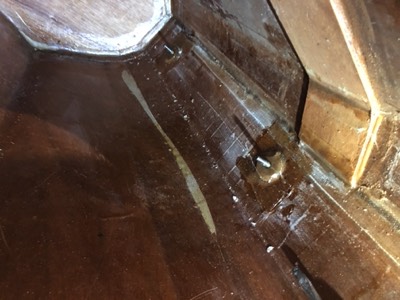
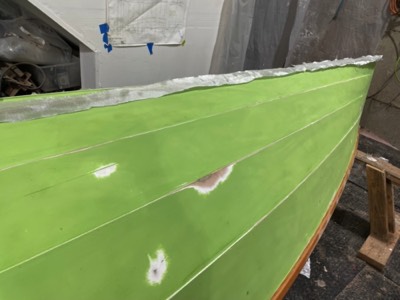
10/6/20 - Damage on the bottom of the hull.
-

More damage.
-
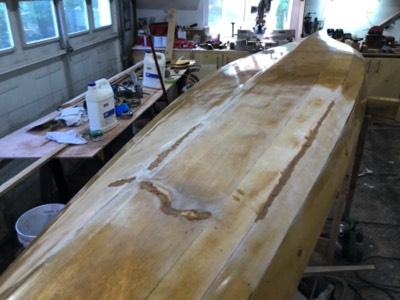
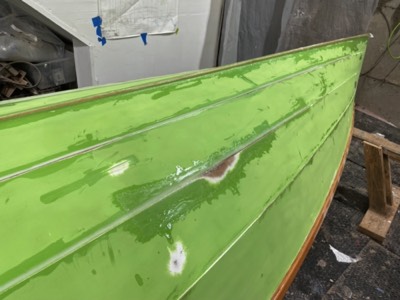
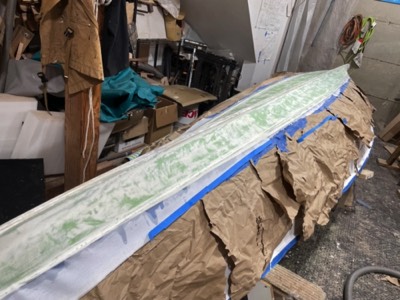
The damaged areas have been sanded down and patched with epoxy.
-
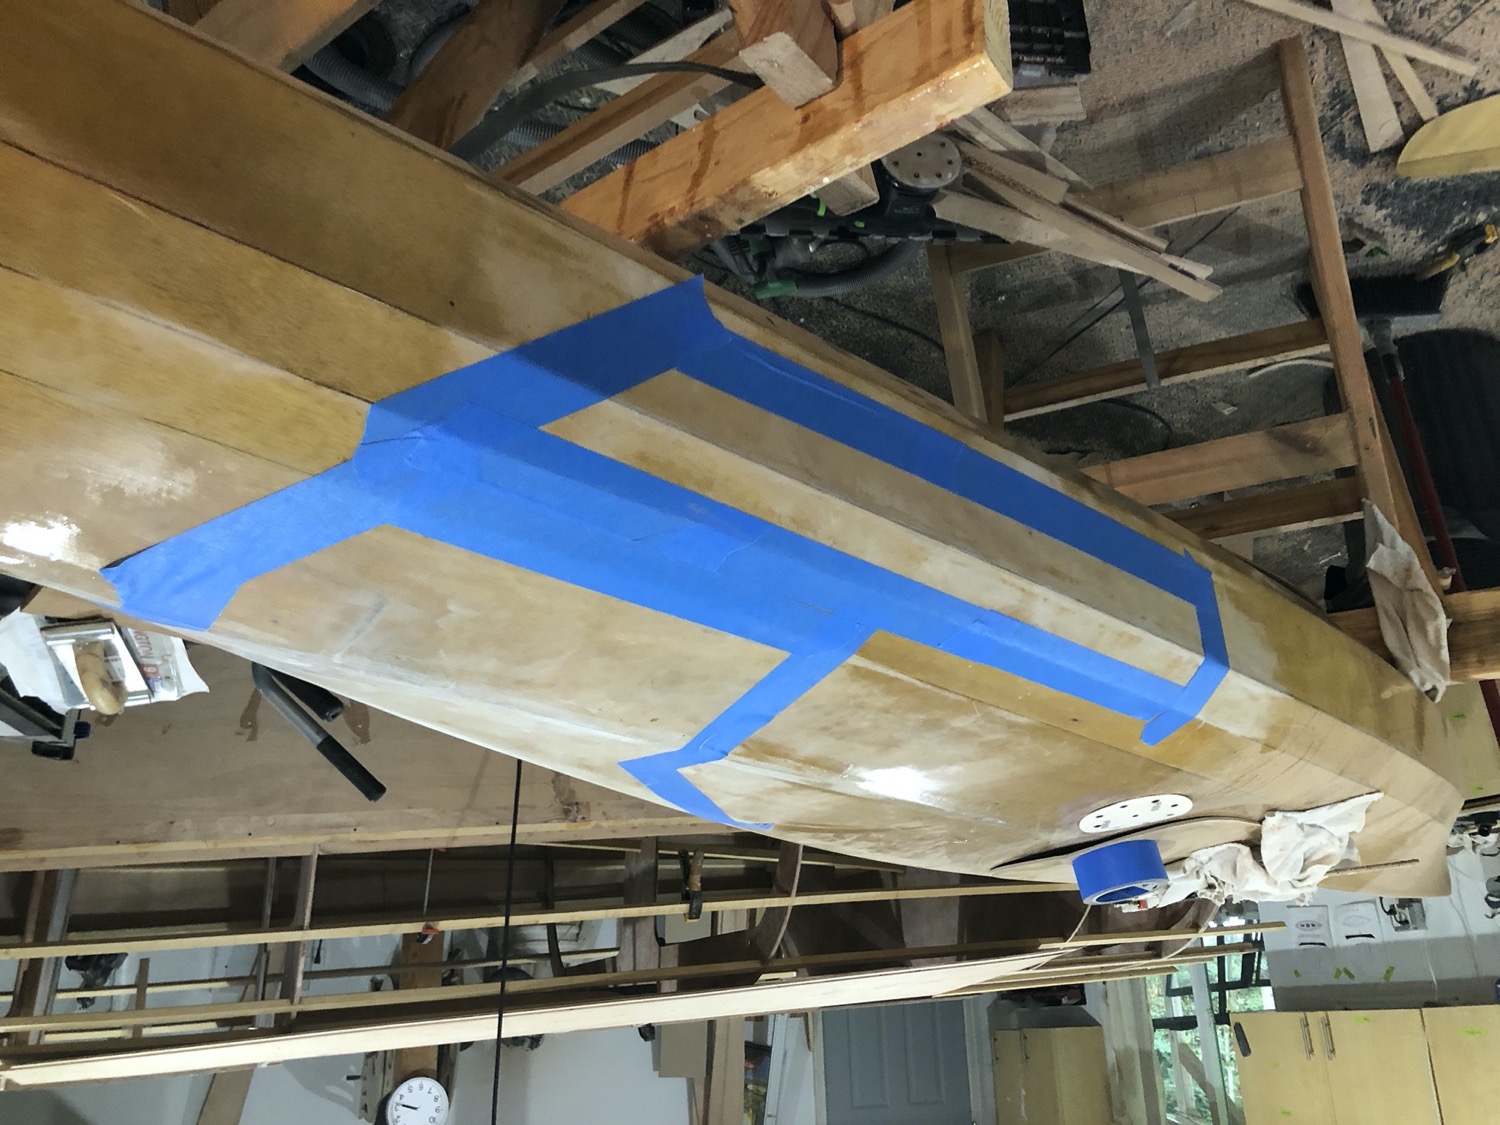
10/7/20 - The patched areas are sanded and taped off.
-
Other side of the hull.
-
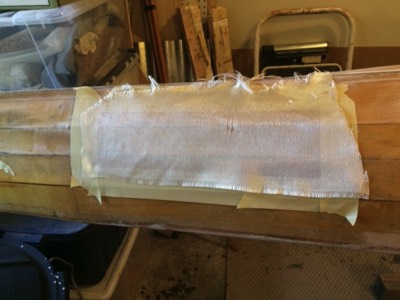
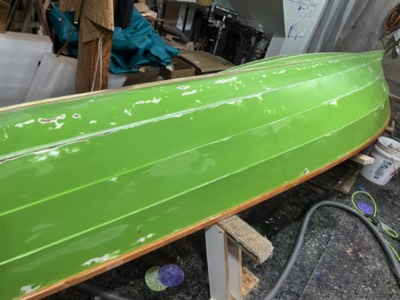
The taped areas are fiberglassed.
-
The fiberglass is trimmed off.
-
10/13/20 - Footbrace studs are installed.
-
10/22/20 - Hatch lips are epoxied in the stern hatch.
-
Hatch lips are epoxied in the forward hatch.
-
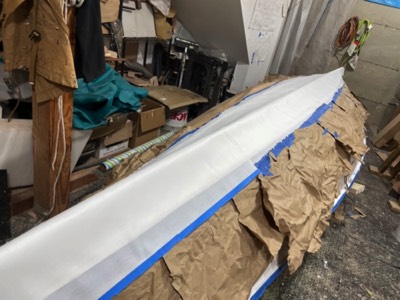
10/26/20 - The Hull is ready for varnish.
-
The first coat of varnish is applied.
-
-
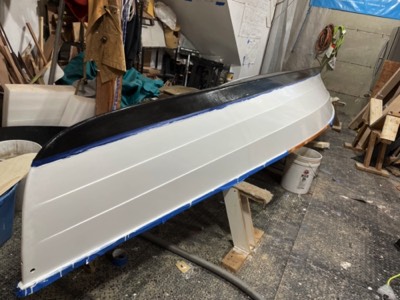
11/10/20 - The boat is complete.


I repaired and refinished this boat. I also added hatches, deck rigging, and a custom seat.
Length: 13 feet
Beam: 25.5 in.
Weight: 34 lbs.
Click on picture for selected photos of the project.
-
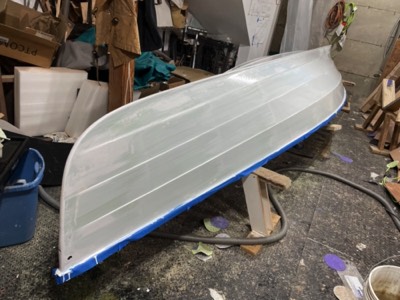
4/21/21 - This is the condition of the boat at the beginning.
-
The gaps between panels are filled with thickened epoxy.
-
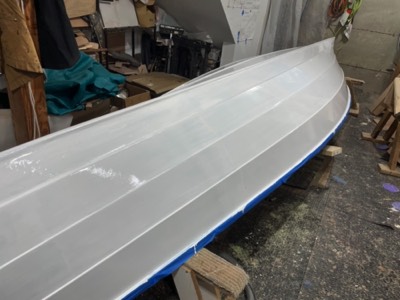
The hull is given several seal coats of epoxy.
-
Deck plates are added to the bulkheads.
-
Aft bulkhead.
-
Forward bulkhead.
-
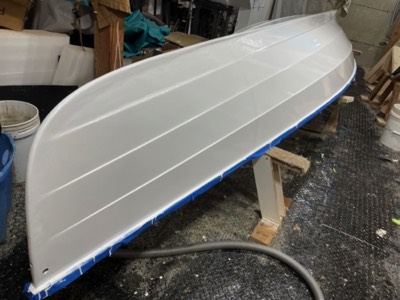
Hull gets two coats of primer.
-

First coat of paint.
-
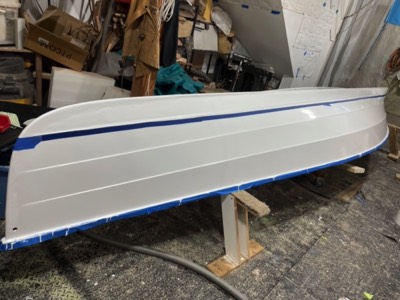
Several coats of paint.
-
Aluminum rub strips are added to the skids and skeg.
-

The interior is varnished.
-
5/28/21 - The refinish is done.
-

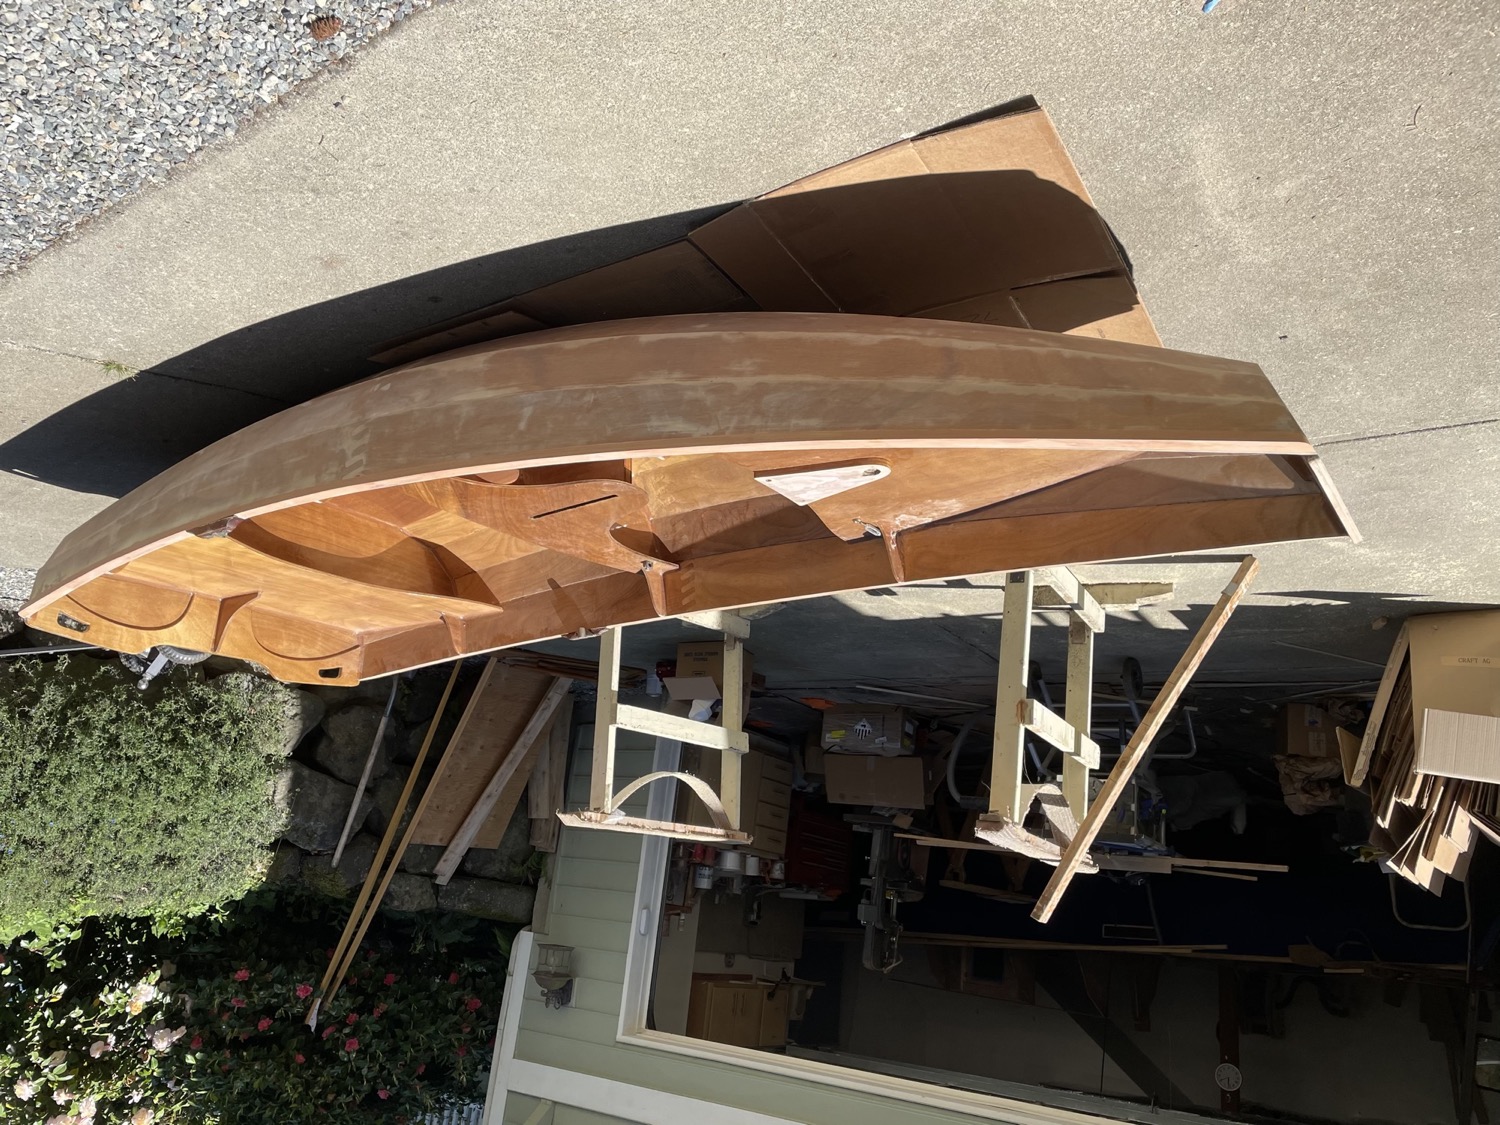
Passagemaker Dinghy


This boat got new paint and varnish. I also added deck plates for storage.
Length: 11 feet 7 in.
Beam: 56 in.
Weight: 90 lbs.
Click on picture for selected photos of the project.
-

6/28/22 - The kayak inside it's custom cover.
-
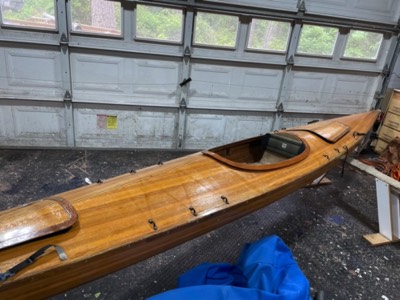
6/29/22 - The kayak is in mostly good condition with some sun damage along the edges.
-
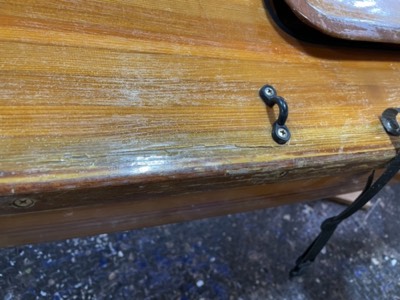
Area where varnish and epoxy have cracked off.
-

View from the bow.
-
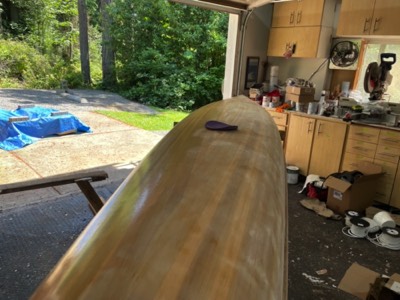
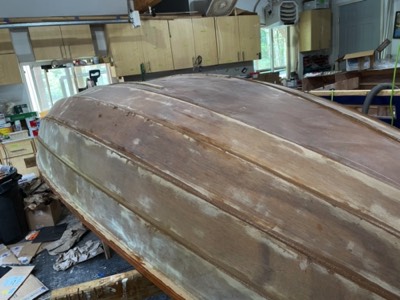
6/30/22 - The hull is partially sanded.
-
The bottom is in better shape.
-
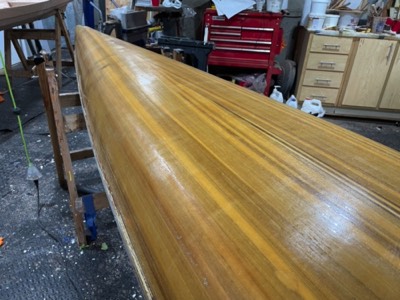
7/5/22 - Several coats of varnish are applied to the hull bottom and hatch covers.
-
7/6/22 - The deck is sanded and ready for varnish.
-
First coat of varnish is applied.
-
7/10/22 - The refinish is done!
-

-
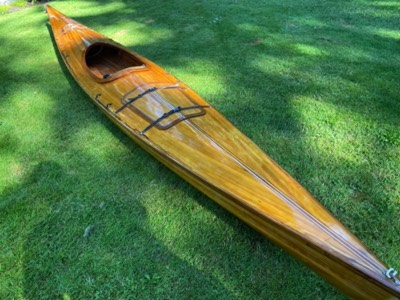


This boat received a few epoxy repairs and new varnish.
Length: 17 feet
Beam: ~24 in.
Weight: ~40 lbs.
Click on picture for selected photos of the project.
-
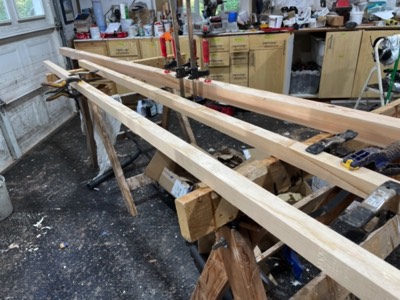
7/10/22 - The project begins by epoxying together the spars.
-
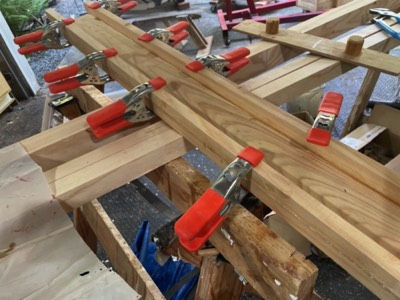
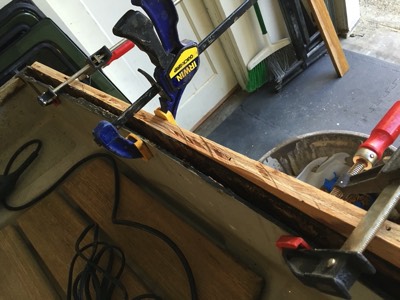
7/18/22 - The mast partner stiffeners are epoxied in place.
-
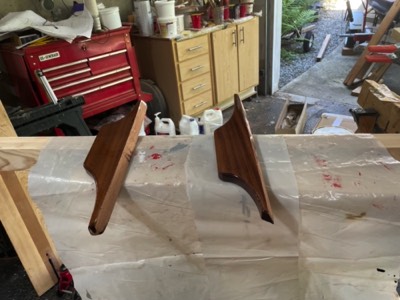
Mast partner knees are sealed with epoxy.
-

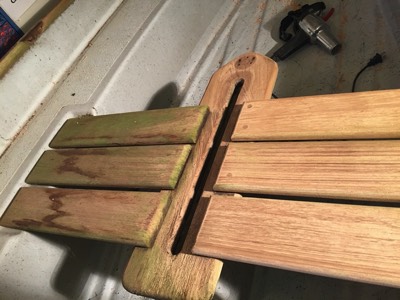
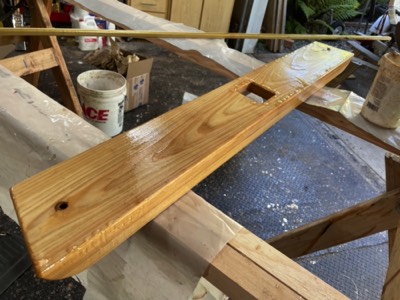
A new seat to match the others is made to replace the current seat.
-
7/19/22 - Mast partner supports are epoxied in place.
-
Overall shot of boat.
-
7/20/22 - The mast partner supports are fiberglassed for extra strength.
-
7/28/22 - The mast partner is sealed with epoxy.
-
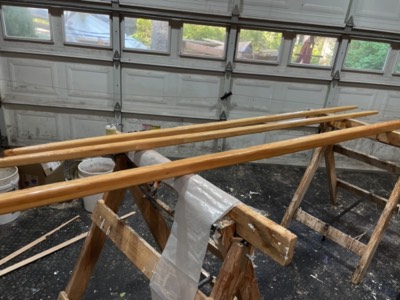
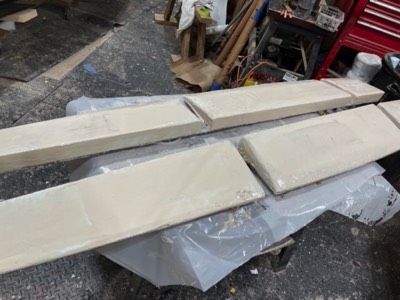
The spars have been shaped and sealed with epoxy.


I did a lug rig conversion on this boat. I also made a few minor repairs on the seats.
Length: 17 feet
Beam: 56 in.
Weight: 100 lbs.
Click on picture for selected photos of the project.
-
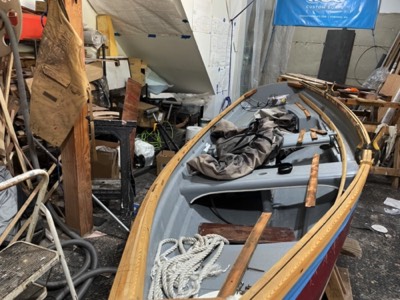
7/18/23 - The boat in it's beginning state. (The port rails have already been removed.)
-
7/19/23 - The port side rails are epoxied back into place.
-

7/20/23 - The rails are removed.
-
Both sets of rails are epoxied back on the boat.
-
9/5/23 - Damaged areas are filled with epoxy and reinforced with fiberglass tape.
-
9/12/23 - The rails are sealed with epoxy.
-
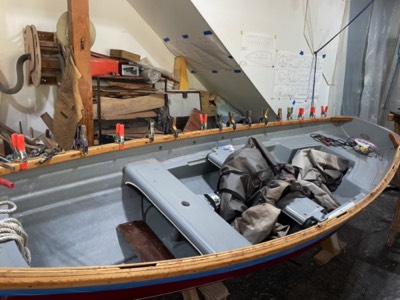
9/13/23 - The interior and half the rails are sanded.
-
9/15/23 - First coat of interior paint is applied.
-
9/17/23 - Second coat of paint.
-

9/18/23 - The third coat of paint is applied.
-
9/20/23 - The boat is flipped for work on the hull.
-
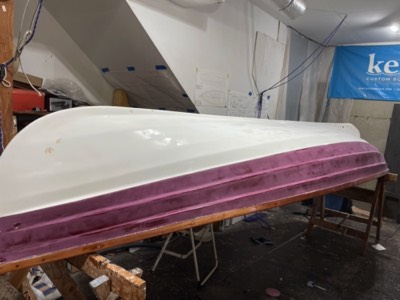
The hull is sanded.
-

9/21/23 - First coat of paint is applied.
-
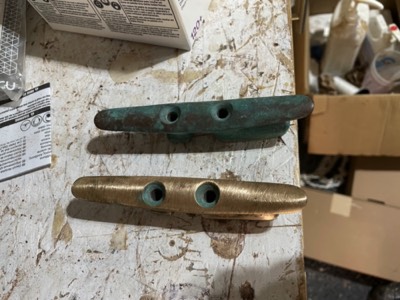
Bronze cleats are cleaned.
-

9/22/23 - Second coat of paint.
-
View from the bow.
-
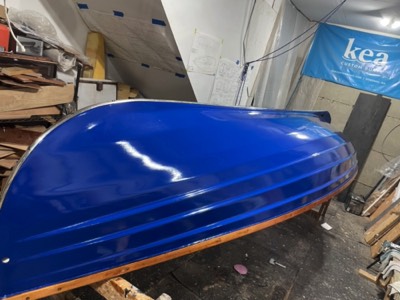
9/24/23 - Paint on the hull is complete.
-
9/25/23 - First coat of varnish on the rails.
-
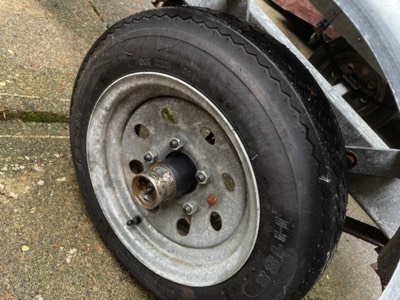
9/27/23 - New hubs and bearings are installed on the trailer.
-
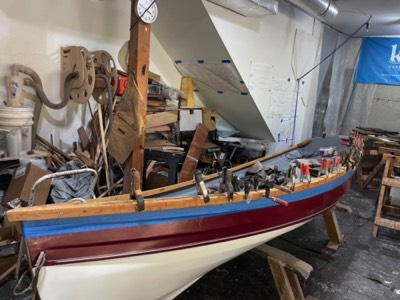
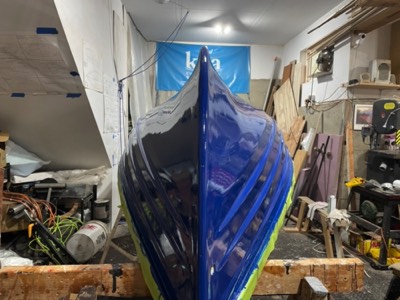
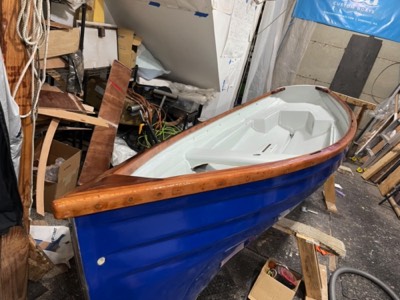
9/27/23 - The refinish is complete.
-
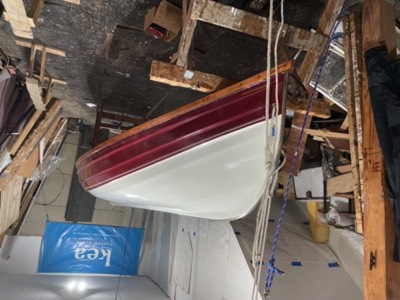
Gig Harbor Whitehall 14


I am repairing some areas of damage, repainting the inside and outside, and repairing the trailer for this boat.
Length: 14 feet
Beam: 55 in.
Weight: 145 lbs.
Click on picture for selected photos of the project.
-
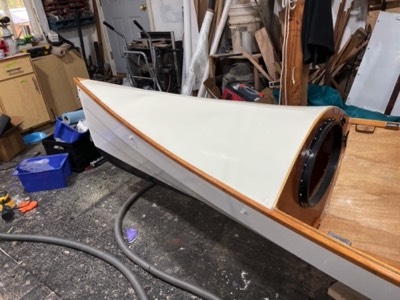
2/1/24 - The boat when I started.
-

The original cloth deck.
-
Cloth deck is removed.
-
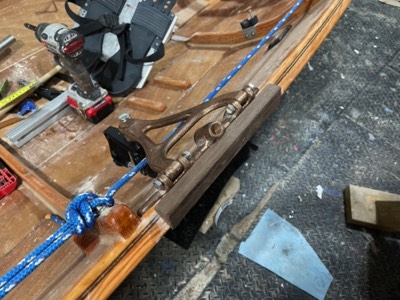
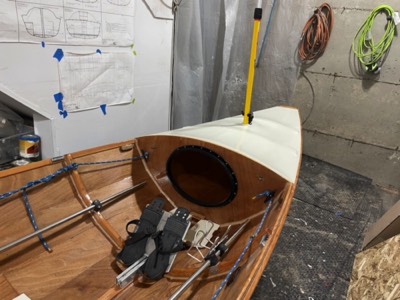
Carbon tube is installed to create a secure place to tie line.
-
Tube is installed in the stern.
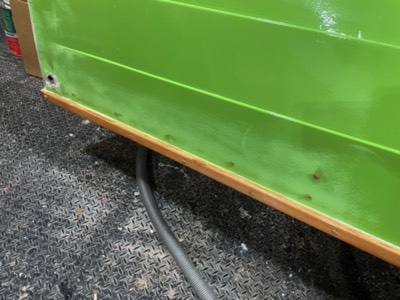
-
2/5/24 - Sections of paint and wood are damaged.
-
Stern damage.
-
Holes are filled.
-
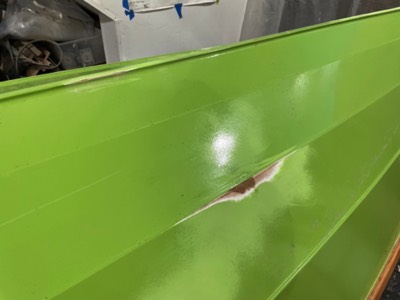
Damage from dragging the boat up on rocks.
-
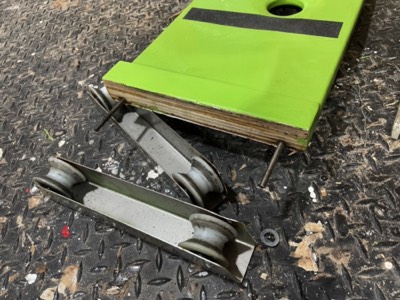
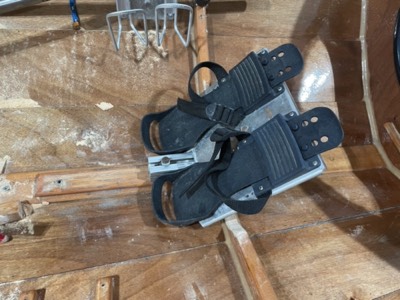
2/6/24 - The wheel brackets are removed from the sliding seat.
-
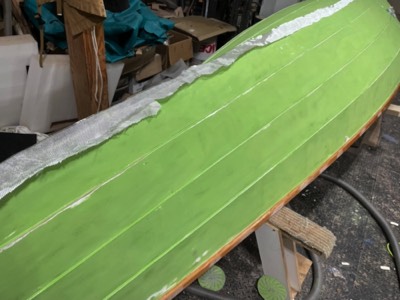
The hull is sanded and fiberglass is laid on the wood rubstrip.
-
Areas of damage and the too sharp edges of the chines will be repaired.
-
2/7/24 - The glass is saturated with epoxy. And gaps between chines are epoxy filled at places most likely to scrape.
-
Damaged area covered with fiberglass.
-
2/9/24 - Epoxy repairs are sanded.
-
2/10/24 - First coat of new paint is applied.
-
2/12/24 - Second coat of paint.
-
2/14/24 - Final coat of paint is applied.
-
2/15/24 - Bottom is taped off for dynel fabric reinforcement.
-
Look at the stern.
-

Both sides are taped.
-
Dynel fabric is layed on the bottom.
-
2/16/24 - The dynel fabric is saturated with epoxy.
-

2/19/24 - The dynel weave is filled with epoxy with graphite powder in it.
-
2/27/24 - The last few paint touch ups are done.
-
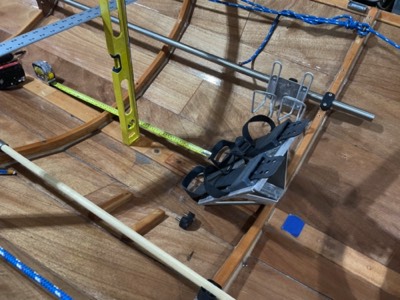
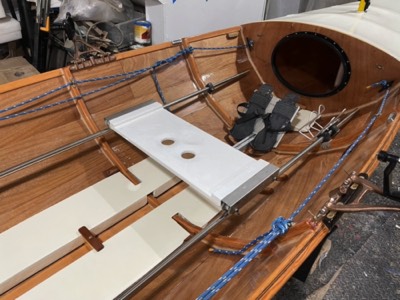
2/28/24 - Measuring the footbrace because it will be moved.
-
3/1/24 - Forward deck supports are epoxied in place.
-
Frame is trimmed to accomate new footbrace position.
-
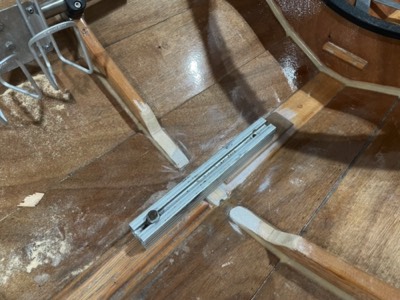
New position for footbrace rail.
-
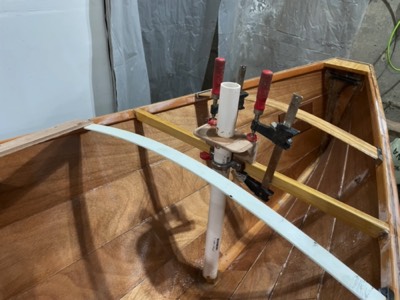
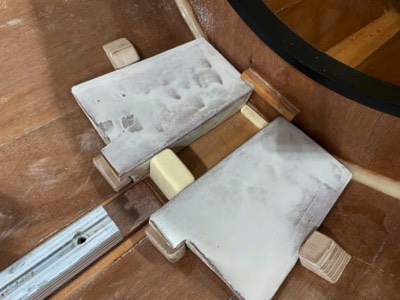
3/6/24 - Mast support is installed.
-
Spacer blocks are epoxied in place.
-
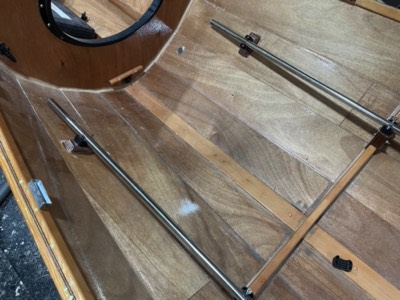
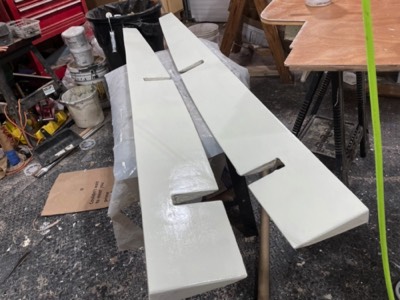
4/13/24 - New supports for longer seat rails are epoxied in place.
-
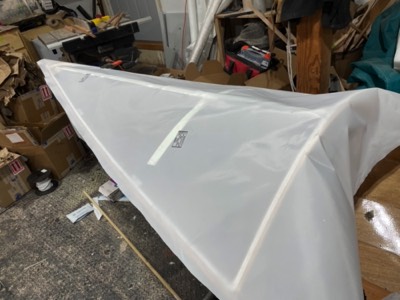
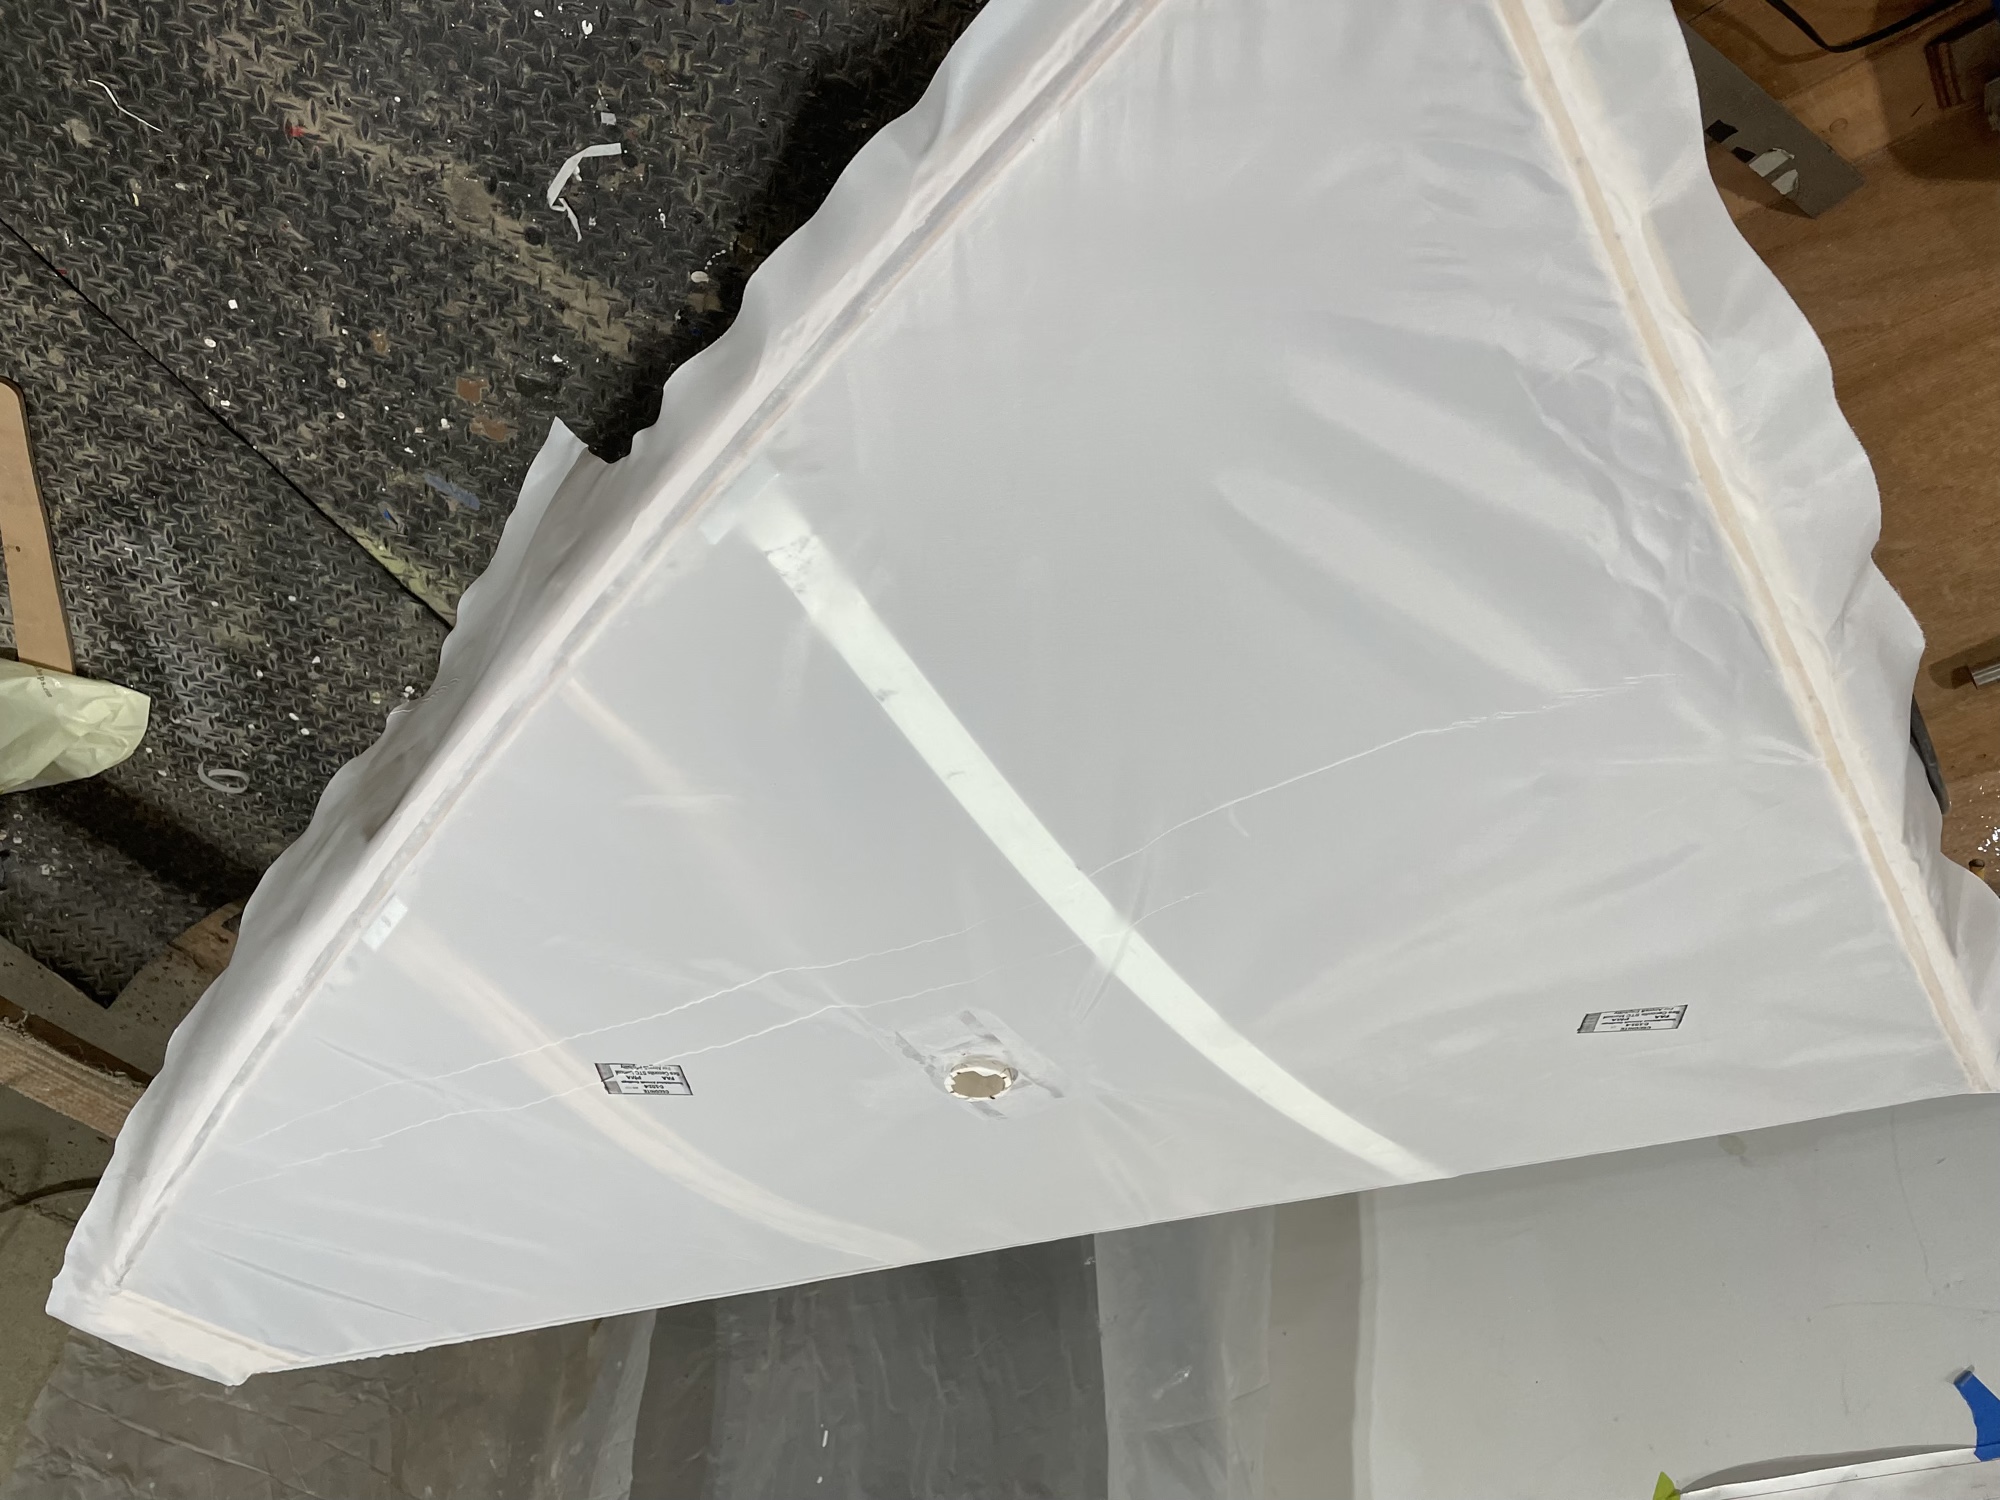
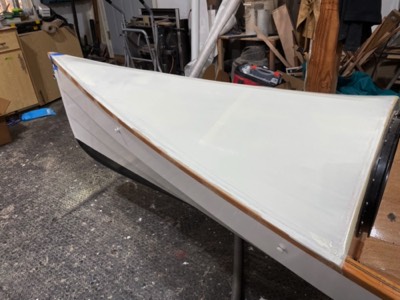
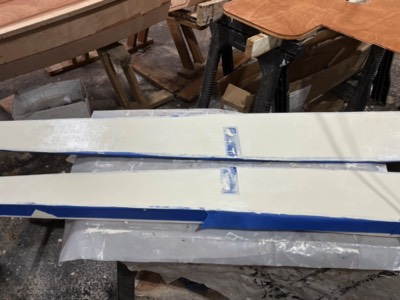
Ceconite cloth is laid out on forward deck.
-

The cloth is trimmed and heat shrinked in place.
-
3/14/24 - Ceconite is laid on the aft deck frame.
-
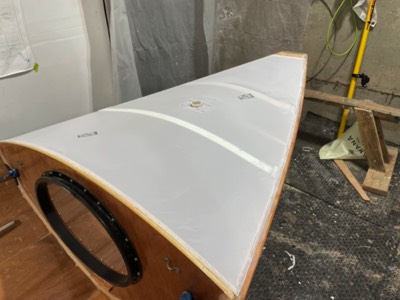
The ceconite is glued down and heat stretched.
-
The ceconite is sealed with epoxy.
-
3/18/24 - The floorboards are epoxy sealed.
-
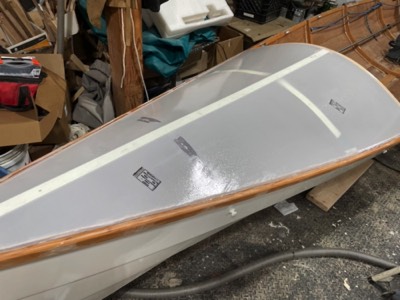
3/20/24 - First coat of paint on the deck.
-
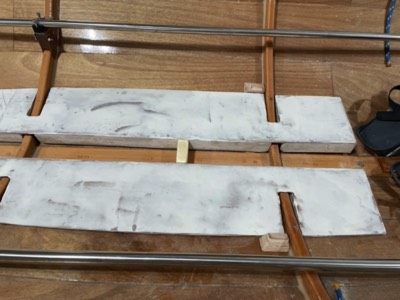
3/22/24 - Blocking for the floorboards is fit.
-
Aft floorboards.
-
3/25/24 - The floor boards are painted.
-
3/27/24 - The tape is removed after several coats of paint.
-
Floorboards are taped off for nonskid.
-
3/29/24 - Radar refletor mast is installed.
-
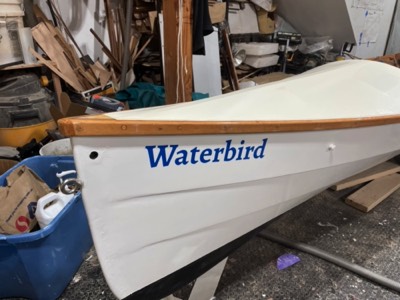
Custom name graphics are installed.
-
New seat rails and floorboards are installed.
-
The boat is finished!
-
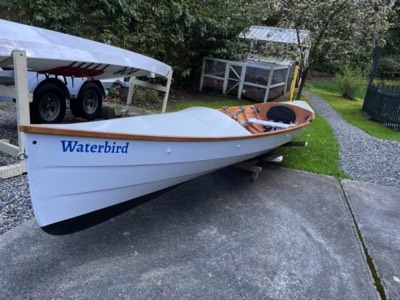
3/29/24 - The refinish is done!
-
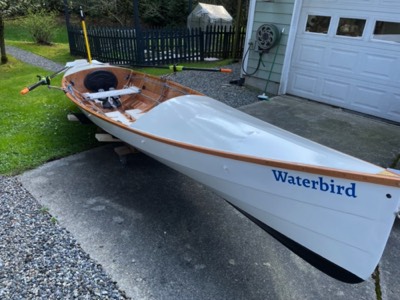
Savo 575
-
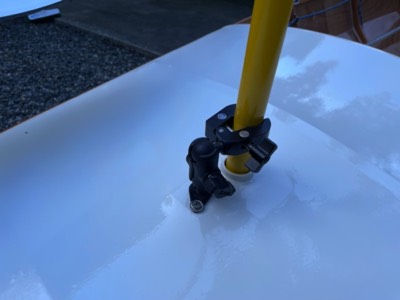
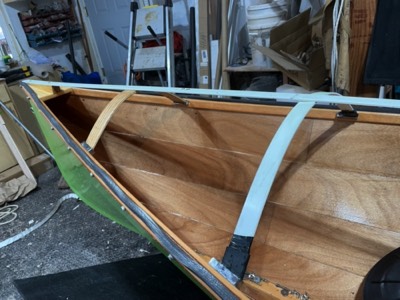
Custom mast holder.
-
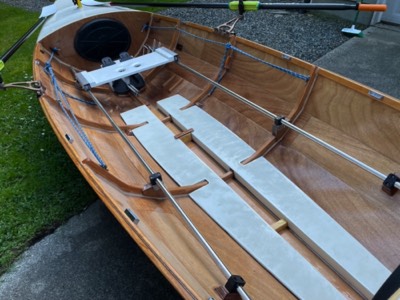
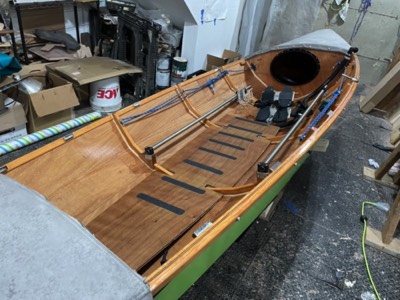
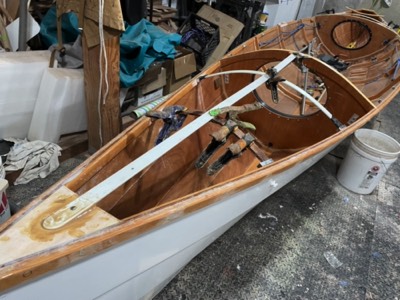
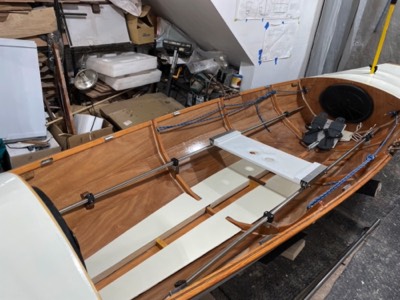
Interior with reworked floorboards and longer seat rails.
-
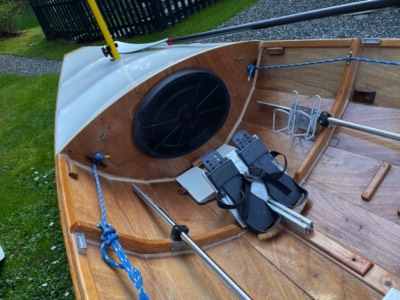
Savo 575


This is a Finnish racing rowboat. It has been modified with extra wide seat rails, bulkheads, fabric decks, a built in bilge pump, and fittings for a cockpit tent. I re-painted, re-worked the decks, installed new oarlocks, and fixed some damage.
Length: 5750 mm
Beam: 1250 mm
Weight: 39 kg
Click on picture for selected photos of the project.