Photos of the construction process.
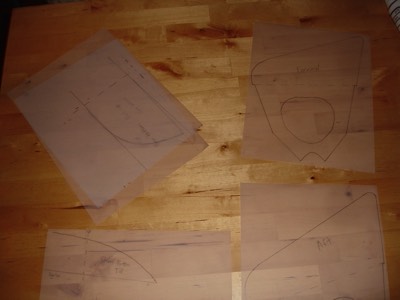
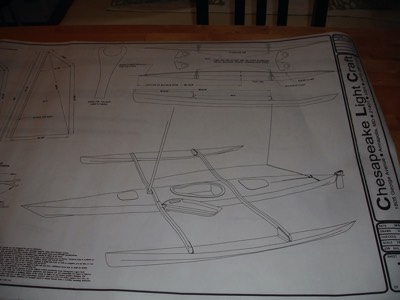
  •  7/29/08 - A view of the plans from CLC.

    7/29/08 - A view of the plans from CLC.

  •  The first step is to trace the full sized patterns for various parts of the rig.

    The first step is to trace the full sized patterns for various parts of the rig.

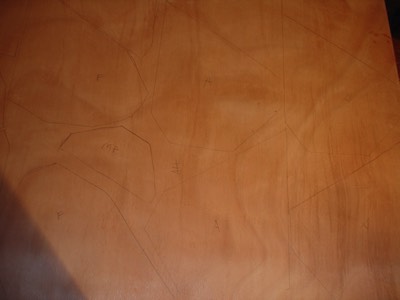
  •  7/31/08 - Bulkheads and mast parter pieces are drawn onto a piece of plywood.

    7/31/08 - Bulkheads and mast parter pieces are drawn onto a piece of plywood.

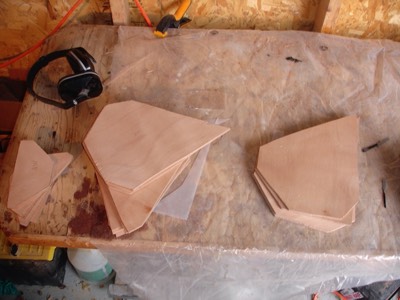
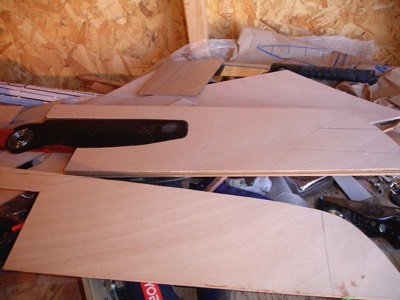
  •  The bulk heads are rough cut from the ply.

    The bulk heads are rough cut from the ply.

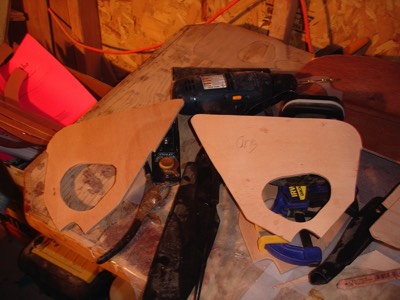
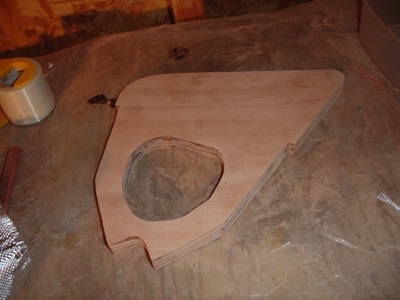
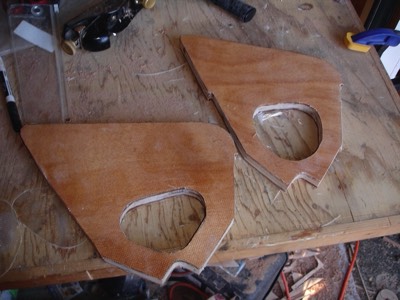
  •  The bulkheads are cut down to shape.

    The bulkheads are cut down to shape.

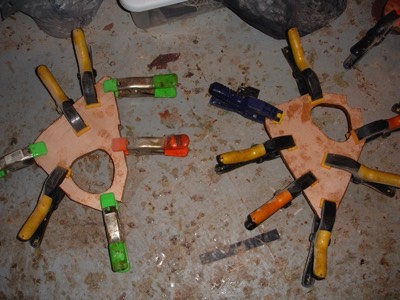
  •  The bulkheads are laminated together.  Altogether, the laminated bulkheads equal about 19 mm.  This is 10 more than the plans call for.  I am doing this for extra strength for rough weather and for possible installation of nets later on.

    The bulkheads are laminated together. Altogether, the laminated bulkheads equal about 19 mm. This is 10 more than the plans call for. I am doing this for extra strength for rough weather and for possible installation of nets later on.

  •  8/2/08 - The hull panels are drawn out on plywood panels.

    8/2/08 - The hull panels are drawn out on plywood panels.

  •  8/3/08 - The bulkheads are sanded to their final shape.

    8/3/08 - The bulkheads are sanded to their final shape.

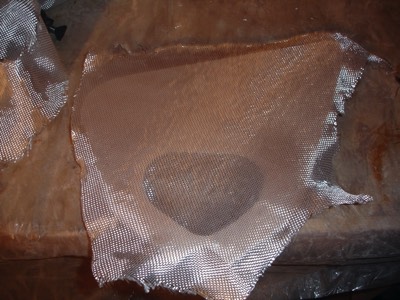
  •  The bulkheads are fiberglassed.

    The bulkheads are fiberglassed.

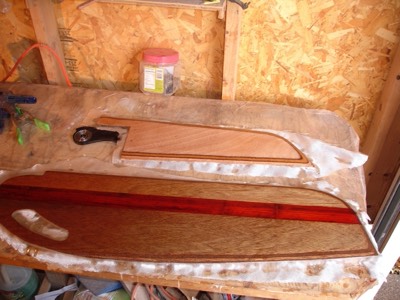
  •  This is an upper hull panel being cut out.

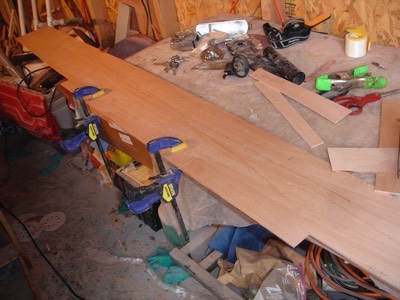
    This is an upper hull panel being cut out.

  •  A finished upper stern hull panel.

    A finished upper stern hull panel.

  •  This is a lower hull panel.

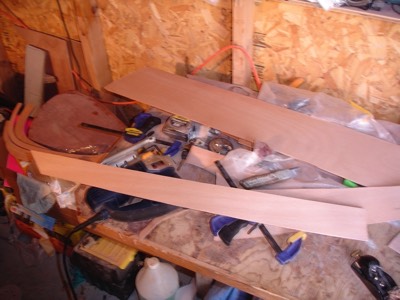
    This is a lower hull panel.

  •  The panel is cut and shaped.

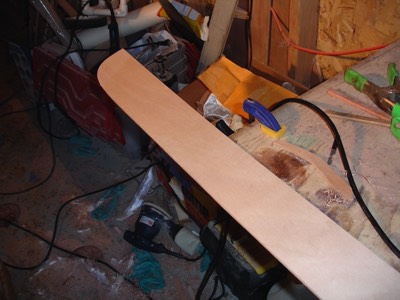
    The panel is cut and shaped.

  •  The bulkheads are ready to be stitched into the boat.

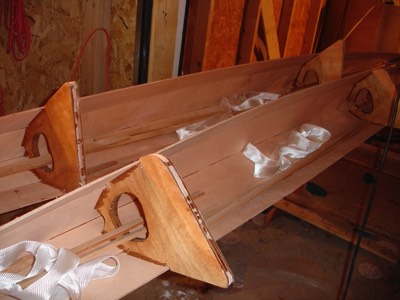
    The bulkheads are ready to be stitched into the boat.

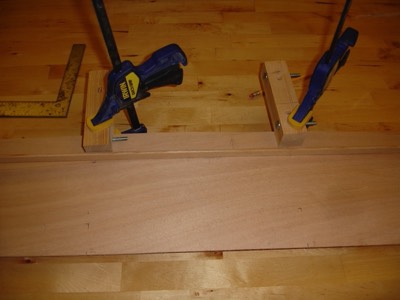
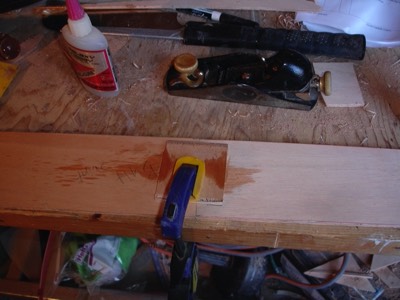
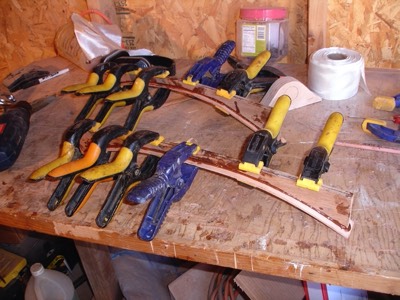
  •  The for and aft sections are joined together using a butt joint.

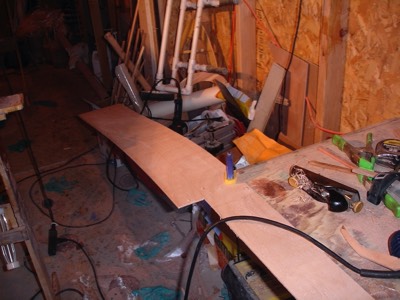
    The for and aft sections are joined together using a butt joint.

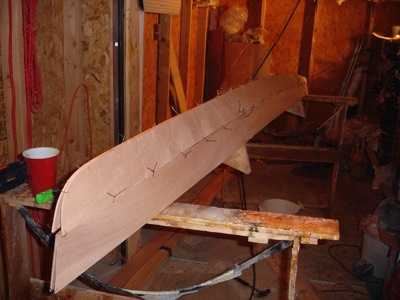
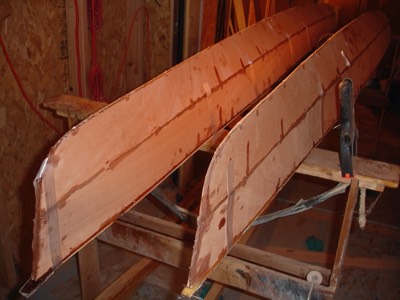
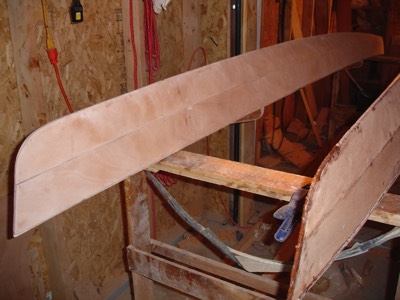
  •  The port ama is loosely stitched together.

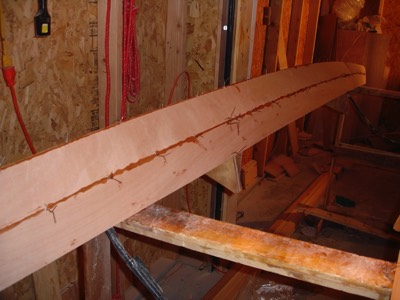
    The port ama is loosely stitched together.

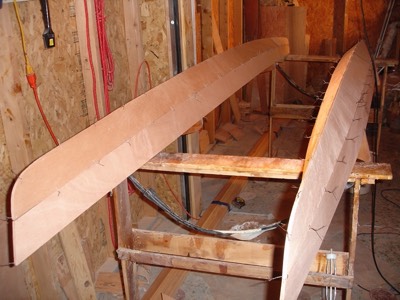
  •  Both amas are stitched up and ready for glue.

    Both amas are stitched up and ready for glue.

  •  The port ama with the seams filled with epoxy.

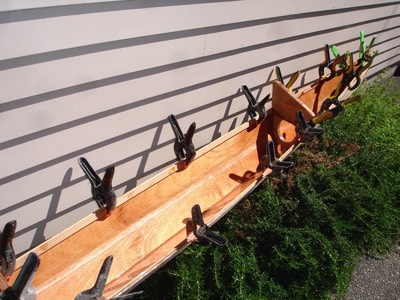
    The port ama with the seams filled with epoxy.

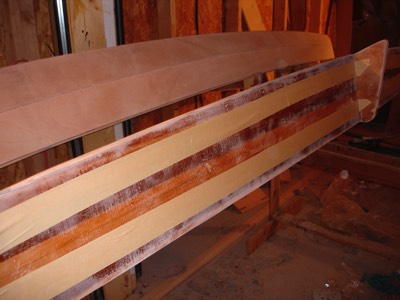
  •  8/4/08 - The interiors of the amas are coated with epoxy for waterproofness.  Also the seam between the panels was reinforced with fiberglass tape.

    8/4/08 - The interiors of the amas are coated with epoxy for waterproofness. Also the seam between the panels was reinforced with fiberglass tape.

  •  Sheer clamps are installed.

    Sheer clamps are installed.

  •  Ledge on the bulkhead for the deck to rest on.

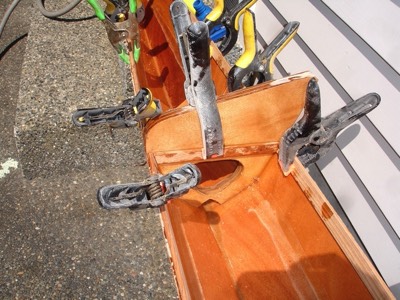
    Ledge on the bulkhead for the deck to rest on.

  •  Ledge on the bulkhead for the deck to rest on.

    Ledge on the bulkhead for the deck to rest on.

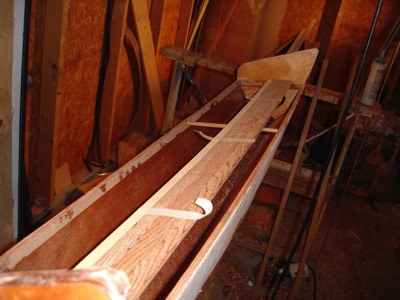
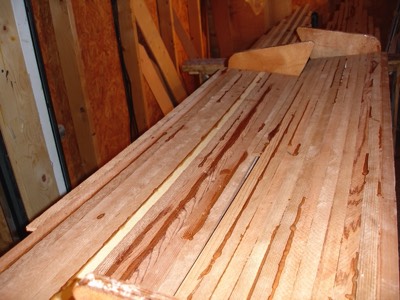
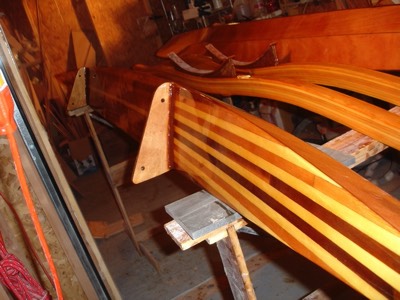
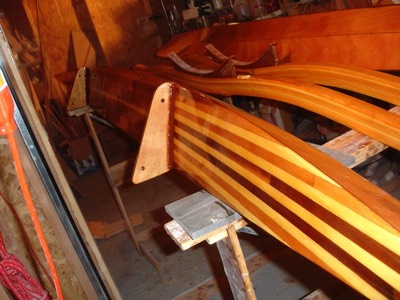
  •  The starboard ama will have a hybrid strip deck.

    The starboard ama will have a hybrid strip deck.

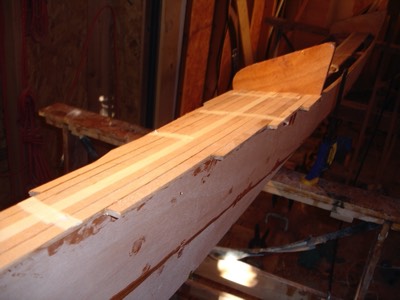
  •  The starboard ama bow.

    The starboard ama bow.

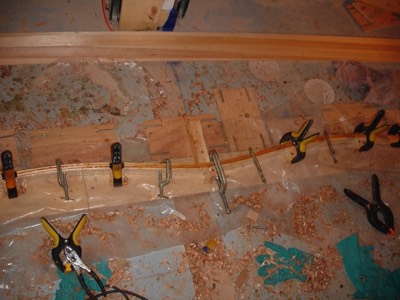
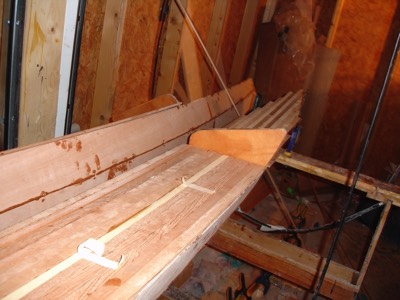
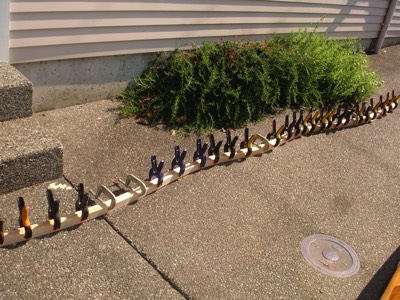
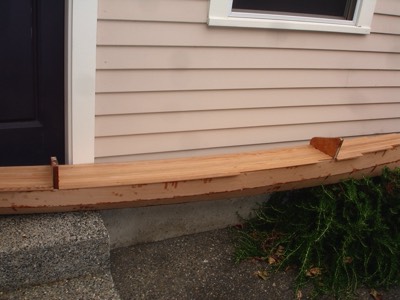
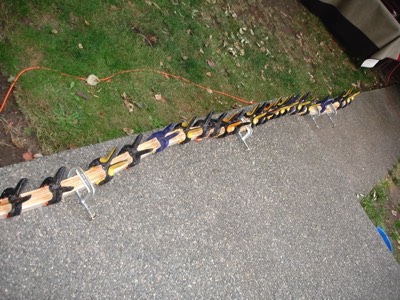
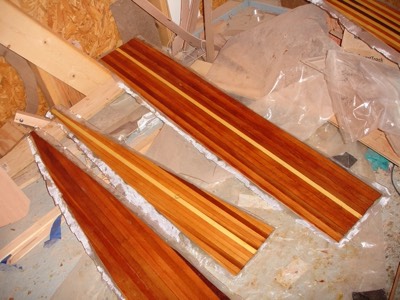
  •  The second aka is laminated only 3 strips at a time.

    The second aka is laminated only 3 strips at a time.

  •  The deck is finished on the starboard ama.

    The deck is finished on the starboard ama.

  •  The second aka gets two more strips of wood.

    The second aka gets two more strips of wood.

  •  The port ama deck is stripped.

    The port ama deck is stripped.

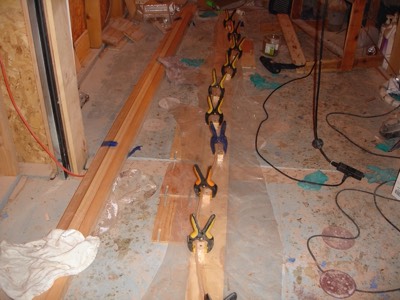
  •  Since I used old damaged strips for the decks, I had to fill gaps between them with epoxy.

    Since I used old damaged strips for the decks, I had to fill gaps between them with epoxy.

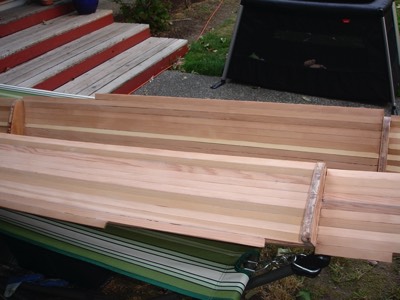
  •  8/7/08 - The second aka is fully laminated.

    8/7/08 - The second aka is fully laminated.

  •  8/8/08 - The decks of the amas are sanded smooth.

    8/8/08 - The decks of the amas are sanded smooth.

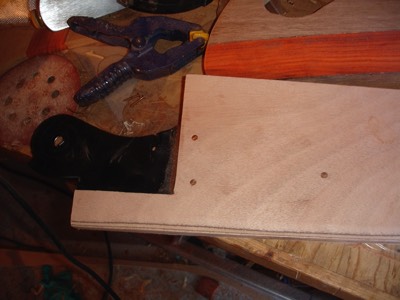
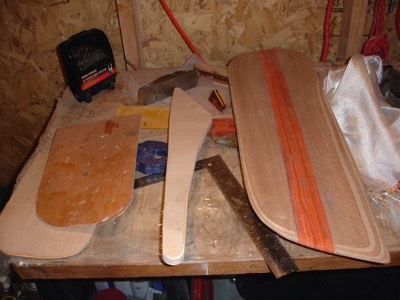
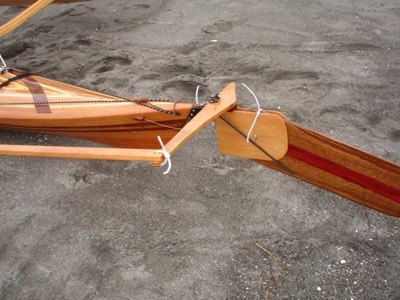
  •  8/9/08 - Wood is cut for the large rudder.  I am using a single sized SmartTrack rudder as a core for this one.  This way I can still use the ST linkage.

    8/9/08 - Wood is cut for the large rudder. I am using a single sized SmartTrack rudder as a core for this one. This way I can still use the ST linkage.

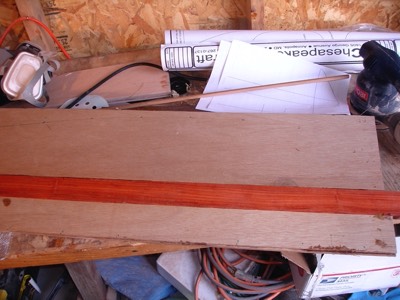
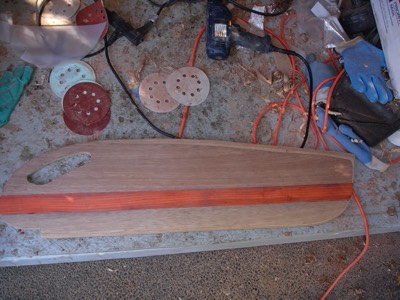
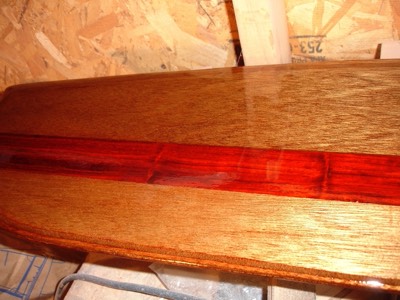
  •  8/10/08 - Sheets of plywood and a piece of bloodwood are epoxied together for use as the leeboard.

    8/10/08 - Sheets of plywood and a piece of bloodwood are epoxied together for use as the leeboard.

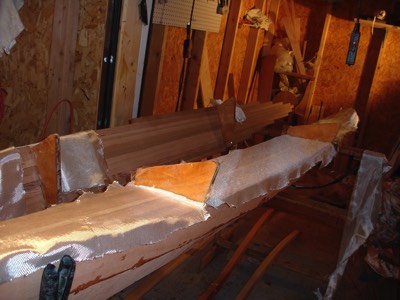
  •  Fiberglass cloth is laid out on the decks of the amas.

    Fiberglass cloth is laid out on the decks of the amas.

  •  8/11/08 - The starboard ama deck is fiberglassed.

    8/11/08 - The starboard ama deck is fiberglassed.

  •  The leeboard is cut out.

    The leeboard is cut out.

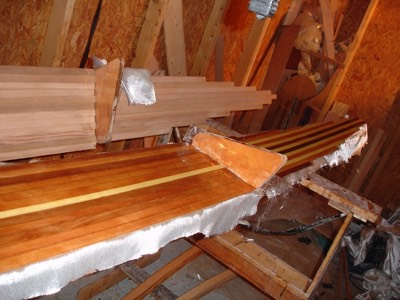
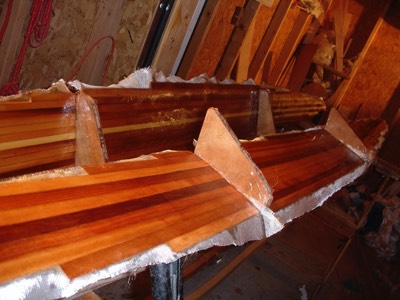
  •  Both ama decks are 'glassed and fill coated.

    Both ama decks are 'glassed and fill coated.

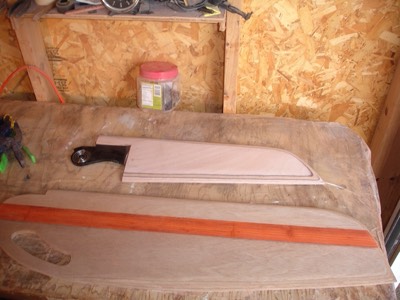
  •  The extend rudder I am making for the rig. Bronze nails are used to keep the rudder insert in place.

    The extend rudder I am making for the rig. Bronze nails are used to keep the rudder insert in place.

  •  The leeboard is rounded and smoothed.

    The leeboard is rounded and smoothed.

  •  8/12/08 - The undersides of the decks are fiberglassed.

    8/12/08 - The undersides of the decks are fiberglassed.

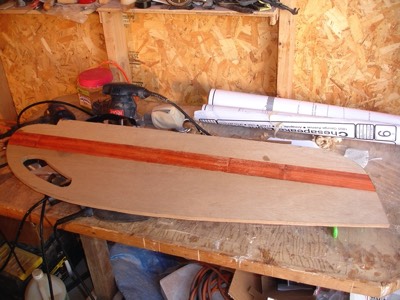
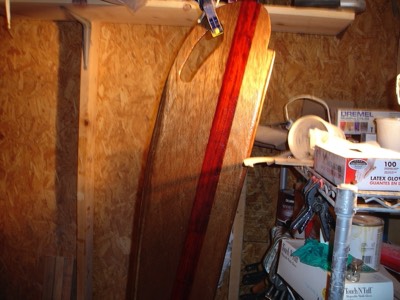
  •  The rudder and leeboard are sanded and ready for fiberglass.

    The rudder and leeboard are sanded and ready for fiberglass.

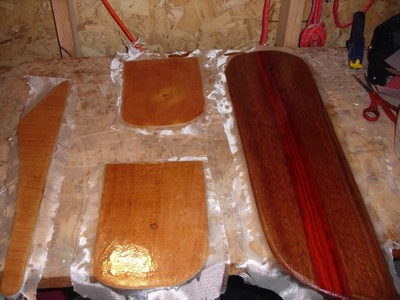
  •  Both are fiberglassed.

    Both are fiberglassed.

  •  The decks are epoxied onto the amas.

    The decks are epoxied onto the amas.

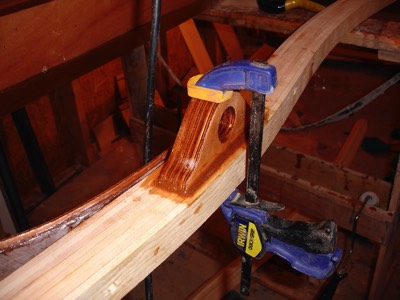
  •  8/14/08 - The aka spacers are assembled.

    8/14/08 - The aka spacers are assembled.

  •  The leeboard gets a fill coat of epoxy on both sideas at once.

    The leeboard gets a fill coat of epoxy on both sideas at once.

  •  The amas are sanded smooth.  Here you can see the difference pre and post sanding.

    The amas are sanded smooth. Here you can see the difference pre and post sanding.

  •  8/15/08 - The amas are sanded and ready for fiberglass.

    8/15/08 - The amas are sanded and ready for fiberglass.

  •  Glass cloth is laid out.

    Glass cloth is laid out.

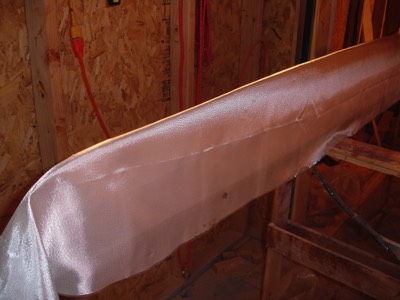
  •  One ama is fiberglassed.

    One ama is fiberglassed.

  •  The aka spacers are sealed with epoxy.

    The aka spacers are sealed with epoxy.

  •  The other ama is fiberglassed.

    The other ama is fiberglassed.

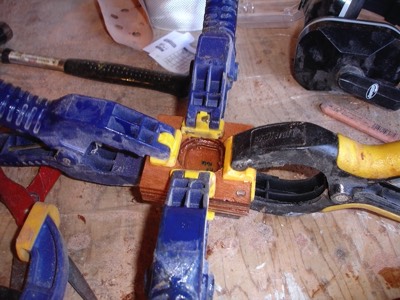
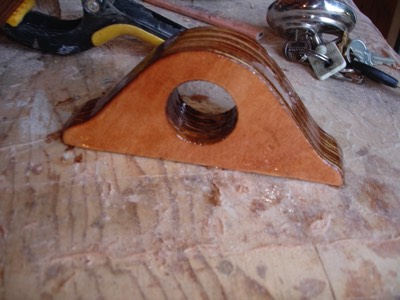
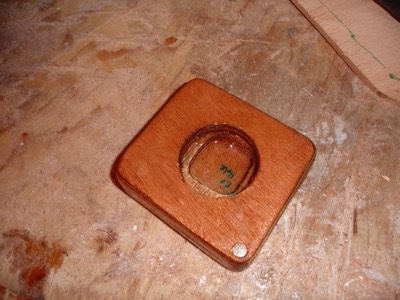
  •  8/16/08 - The mast step is assembled.  The hole is irregular because the mast has a rectangular piece at the bottom.

    8/16/08 - The mast step is assembled. The hole is irregular because the mast has a rectangular piece at the bottom.

  •  The hole is cut for the mast in the mast partner.  It is also sealed with epoxy.

    The hole is cut for the mast in the mast partner. It is also sealed with epoxy.

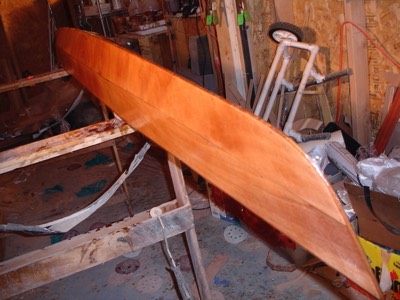
  •  Both amas get a couple fill coats of epoxy.  The white line is not a scratch, it is a discolored section of the plywood.

    Both amas get a couple fill coats of epoxy. The white line is not a scratch, it is a discolored section of the plywood.

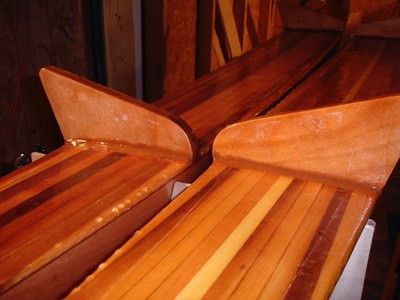
  •  8/17/08 - The aka spacers are attached to the akas.

    8/17/08 - The aka spacers are attached to the akas.

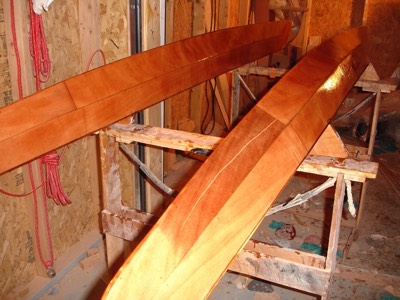
  •  8/18/08 - The bulkheads are reinforced with epoxy fillets.  This completes the construction of the amas. I only have to sand and varnish them.

    8/18/08 - The bulkheads are reinforced with epoxy fillets. This completes the construction of the amas. I only have to sand and varnish them.

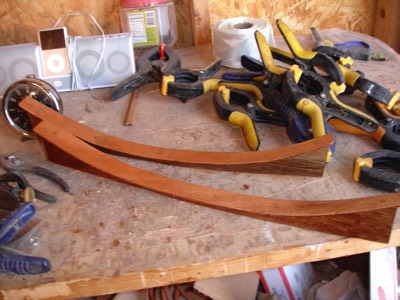
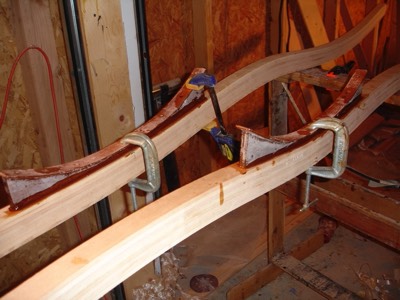
  •  The mast partner is attached to the forward aka.

    The mast partner is attached to the forward aka.

  •  The mast step is sealed with epoxy.

    The mast step is sealed with epoxy.

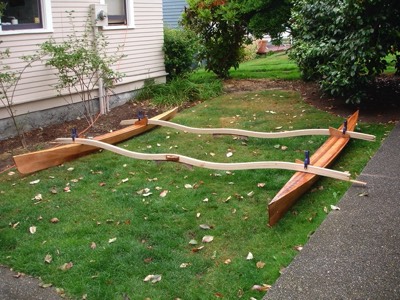
  •  8/19/08 - The akas and amas are laid out.

    8/19/08 - The akas and amas are laid out.

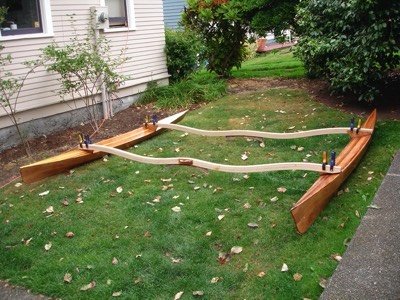
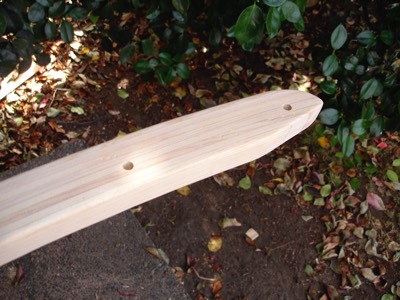
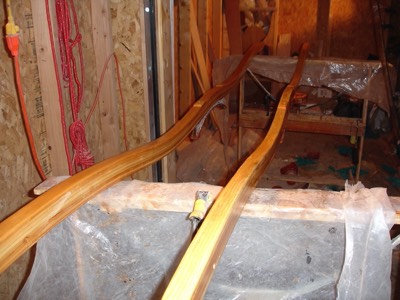
  •  The akas are trimmed to their proper length.

    The akas are trimmed to their proper length.

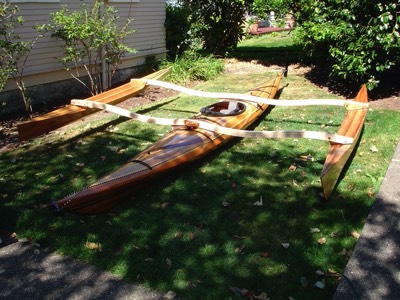
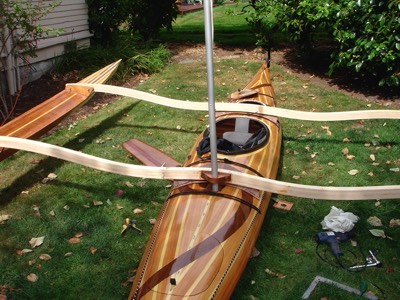
  •  After holes are drilled for bolts in the amas they are put together and laid on the kayak.

    After holes are drilled for bolts in the amas they are put together and laid on the kayak.

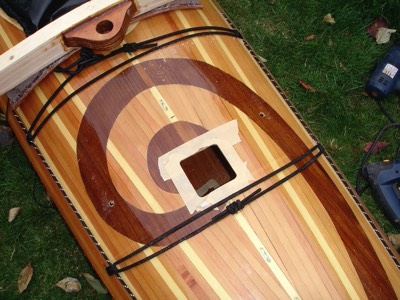
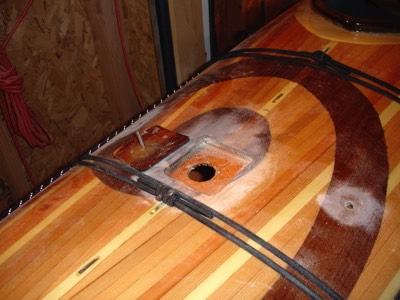
  •  A hole (gulp!) is cut in the kayak for the mast.  This hole will act like a tiny hatch.  The hatch lip has a round mast sized hole.

    A hole (gulp!) is cut in the kayak for the mast. This hole will act like a tiny hatch. The hatch lip has a round mast sized hole.

  •  The mast is test fit onto the boat.

    The mast is test fit onto the boat.

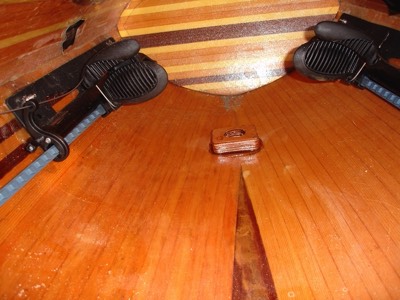
  •  The mast step is installed.

    The mast step is installed.

  •  The akas are sanded smooth.

    The akas are sanded smooth.

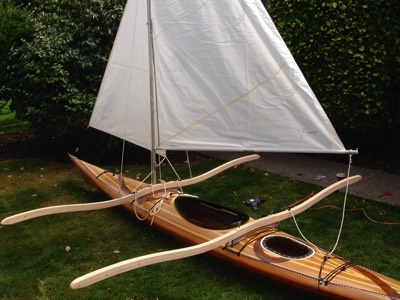
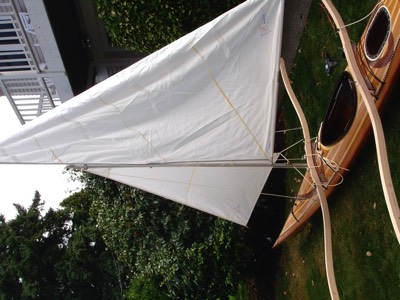
  •  8/22/08 - The sail rig is set up!

    8/22/08 - The sail rig is set up!

  •  All the fittings for the halyards and sheets are installed onto the akas.

    All the fittings for the halyards and sheets are installed onto the akas.

  •  The akas get the first seal coat of epoxy.

    The akas get the first seal coat of epoxy.

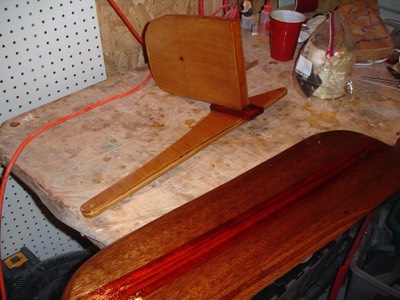
  •  9/28/08 - A new rudder that will work with a tiller is being built.

    9/28/08 - A new rudder that will work with a tiller is being built.

  •  The rudder and other pieces are ready for fiberglass.

    The rudder and other pieces are ready for fiberglass.

  •  Everything has fiberglass on one side.

    Everything has fiberglass on one side.

  •  9/29/08 - The wood for the tiller is fiberglassed.

    9/29/08 - The wood for the tiller is fiberglassed.

  •  10/3/08 - All the parts are varnished.

    10/3/08 - All the parts are varnished.

  •  10/3/08 - All the parts are varnished.

    10/3/08 - All the parts are varnished.

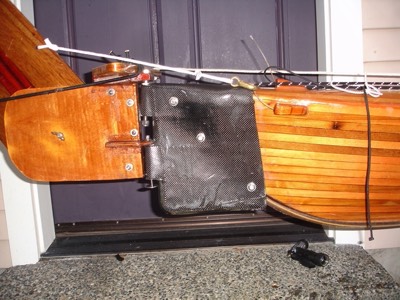
  •  12/13/08 - After some sea trials a reinforced carbon fiber end cap was built as a rudder mount.

    12/13/08 - After some sea trials a reinforced carbon fiber end cap was built as a rudder mount.

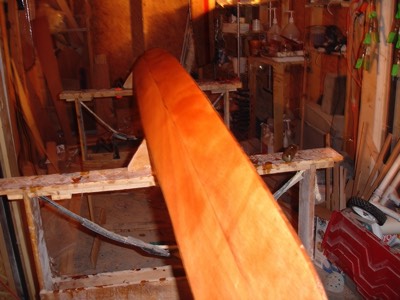
  •  8/26/08 - Everything has been sanded and varnishing has begun. A good view of the leeboard.

    8/26/08 - Everything has been sanded and varnishing has begun. A good view of the leeboard.

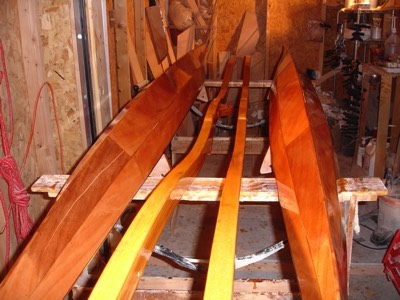
  •  The amas and akas get a couple of coats of varnish.

    The amas and akas get a couple of coats of varnish.

  •  8/27/08 - The decks of the amas and the lower side of the akas are varnished.

    8/27/08 - The decks of the amas and the lower side of the akas are varnished.

  •  8/28/08 - All the pieces are in place.

    8/28/08 - All the pieces are in place.