-
5/22/20 - The plans are delivered.
-
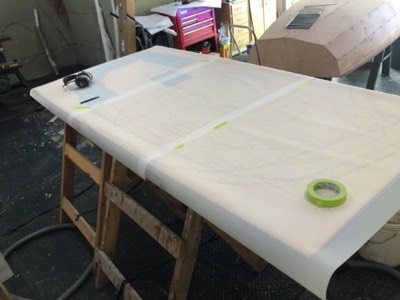
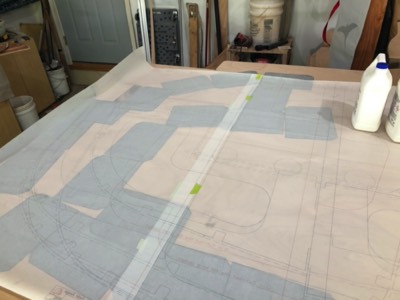
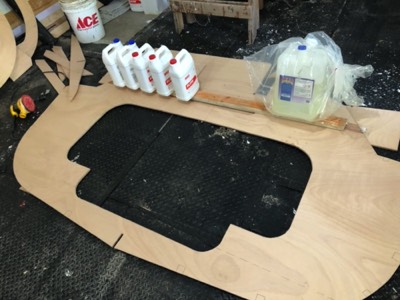
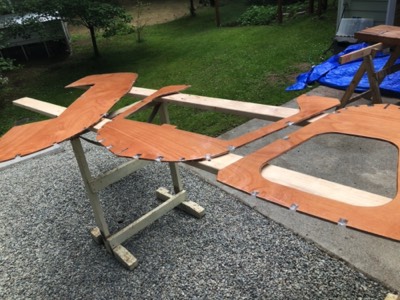
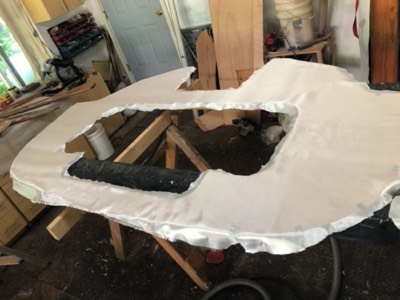
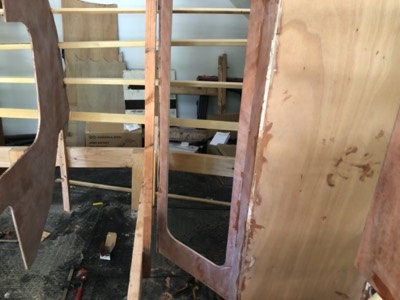
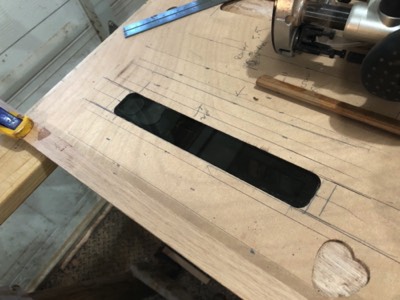
6/14/20 - Mylar bulkhead patterns are laid out on a piece of plywood.
-
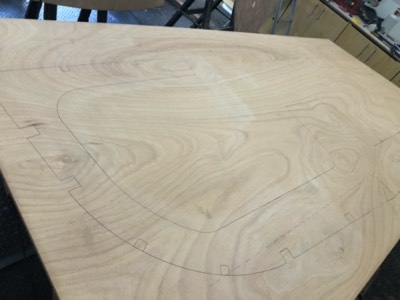
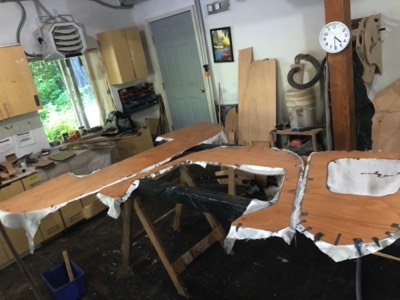
Bulkhead H is traced onto the wood.
-
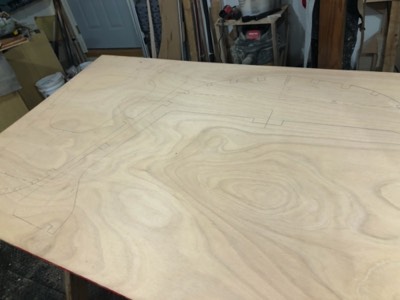
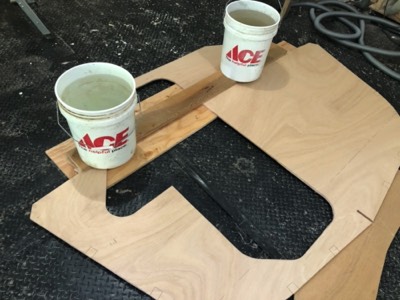
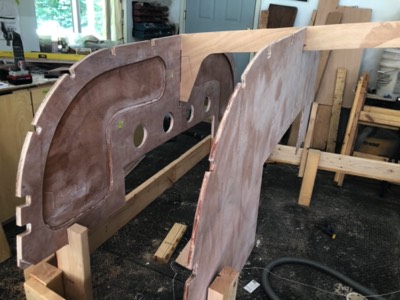
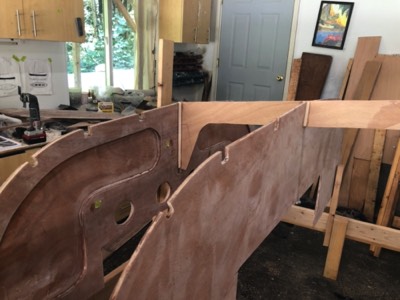
6/15/20 - Bulkheads are traced onto the plywood.
-
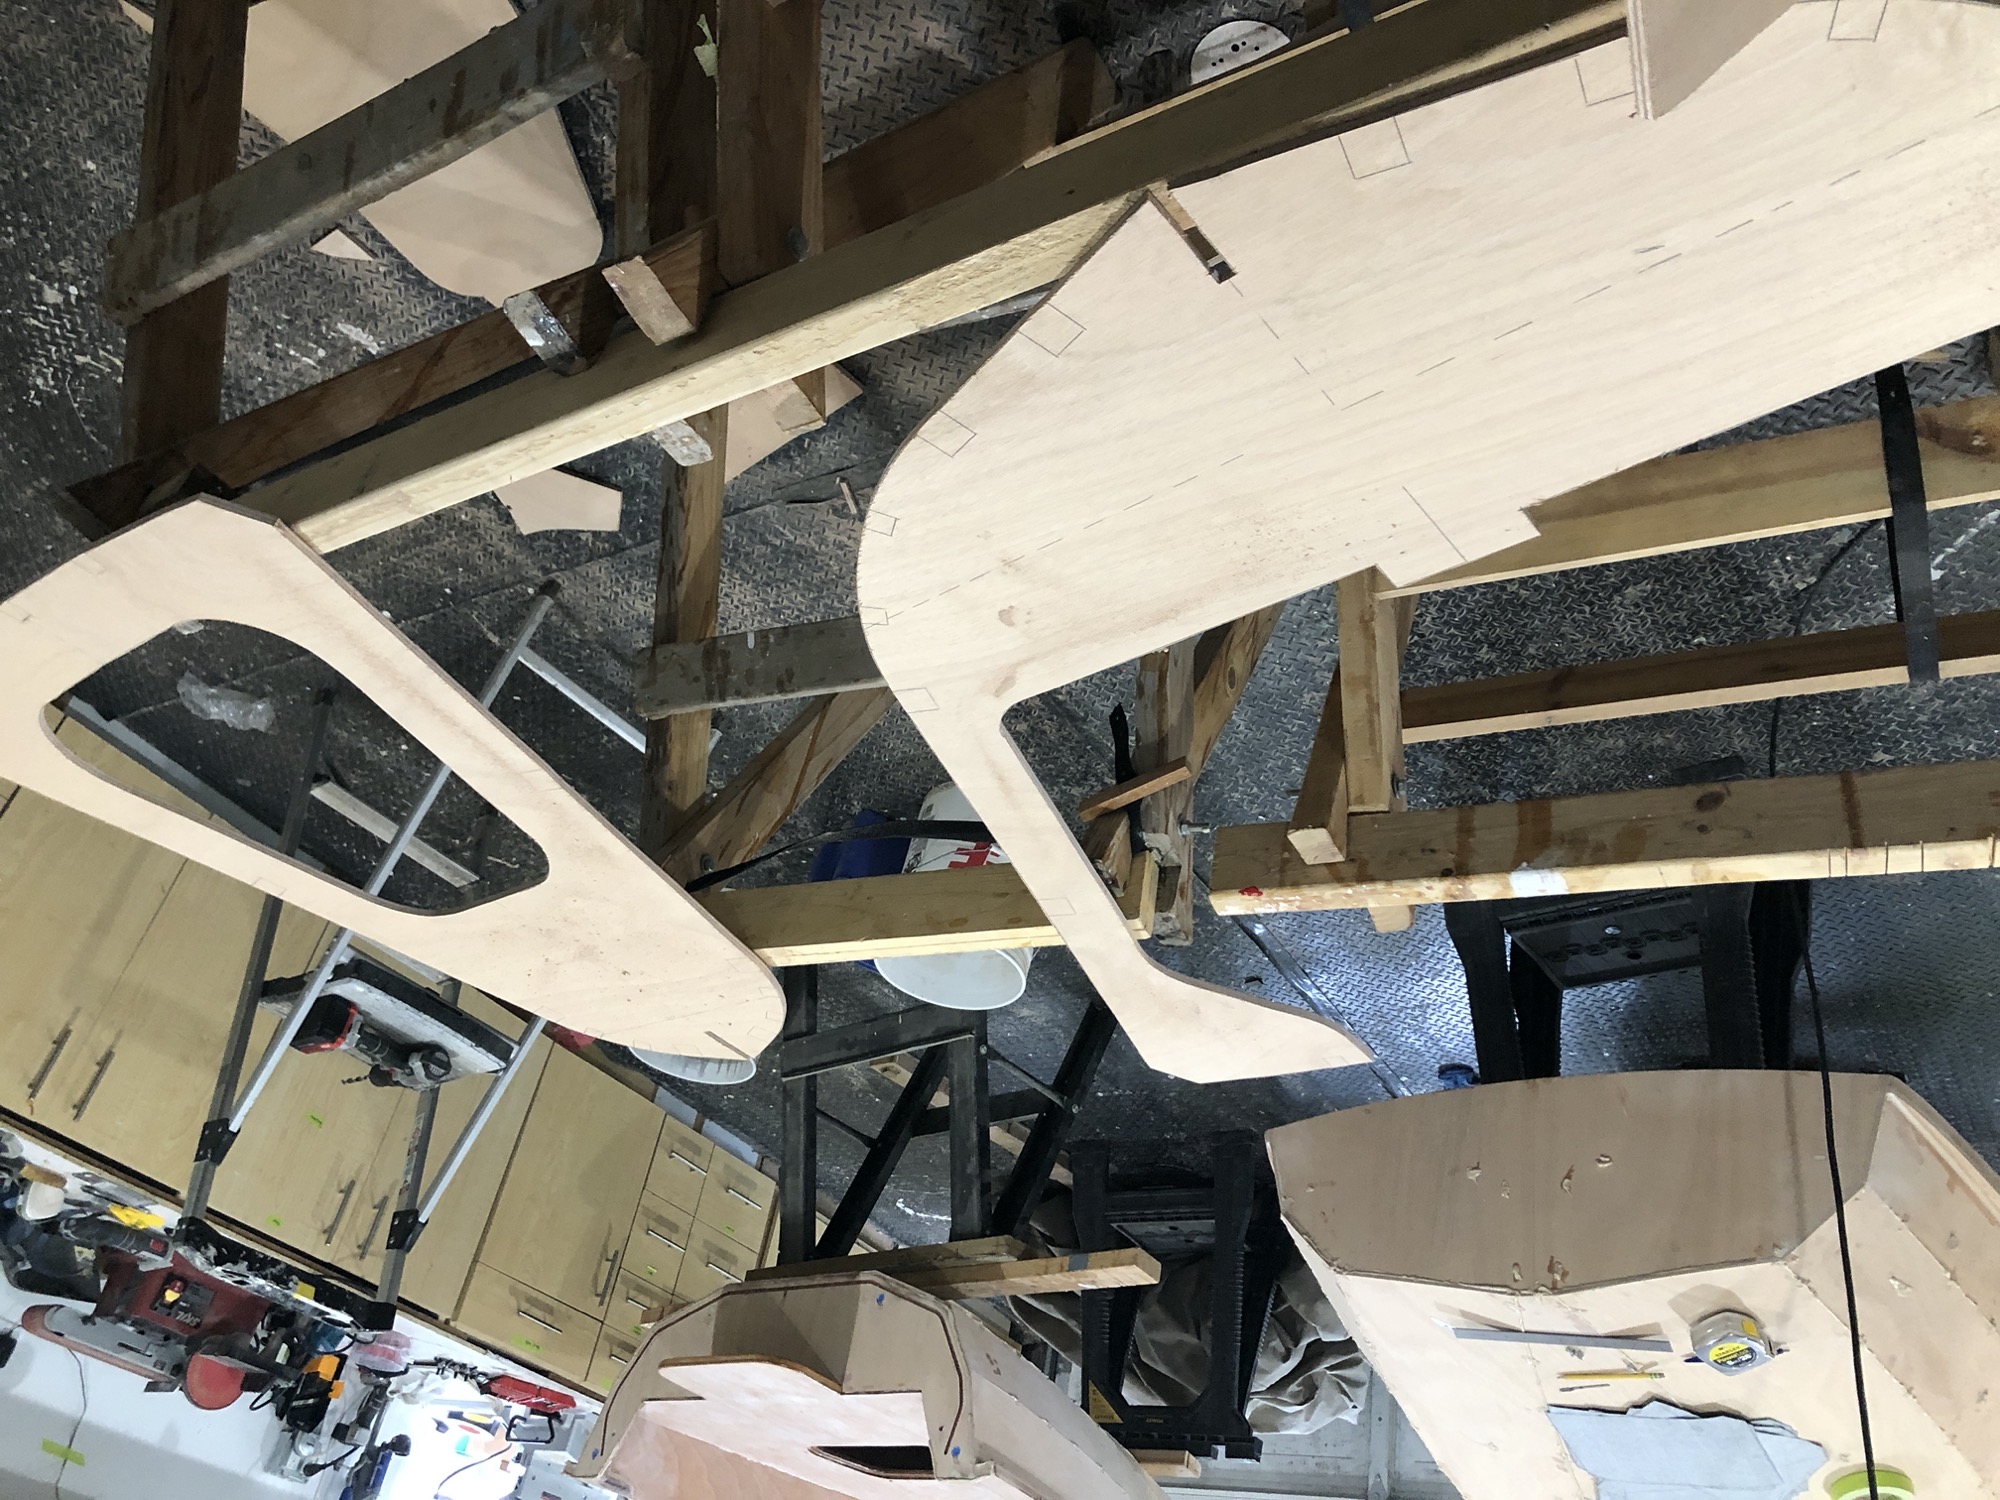
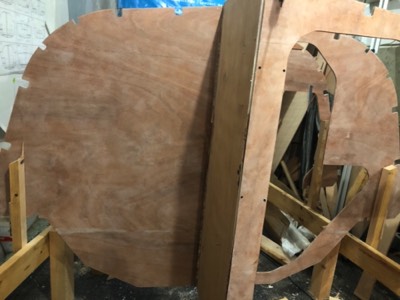
Bulkheads A and B are cut out.
-
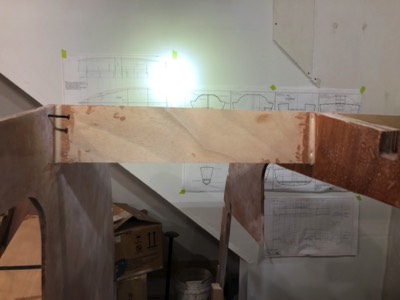
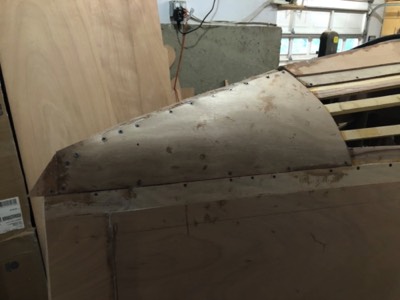
Transom doubler is cut out.
-
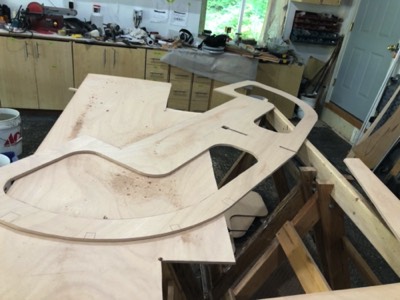
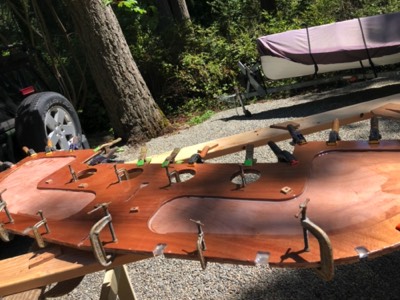
6/16/20 - Bulkhead G is traced onto the plywood.
-
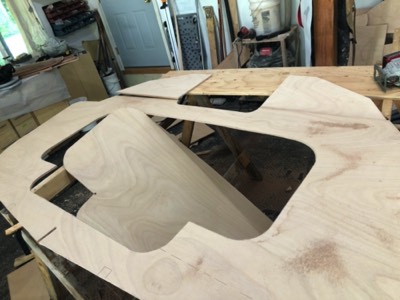
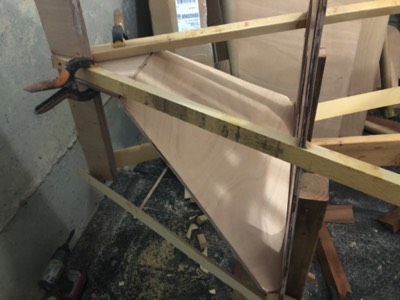
Bulkhead G is cut out.
-
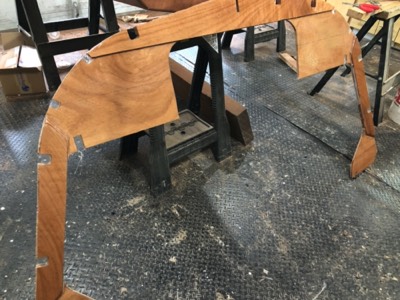
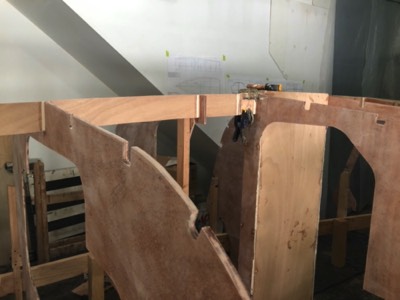
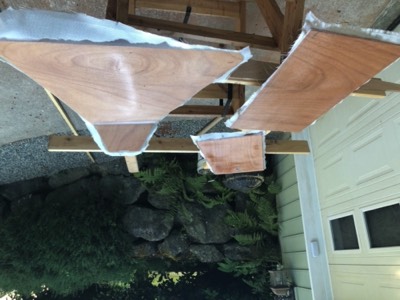
The upper pieces are epoxied to the main section.
-
Bulkhead D is epoxied together.
-
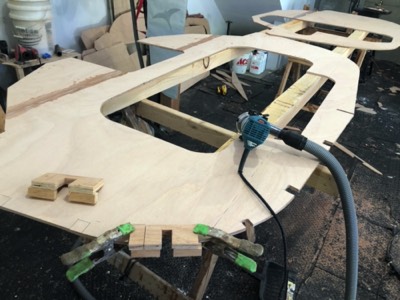
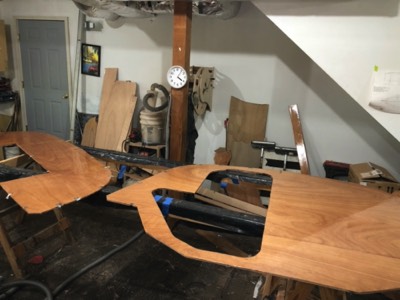
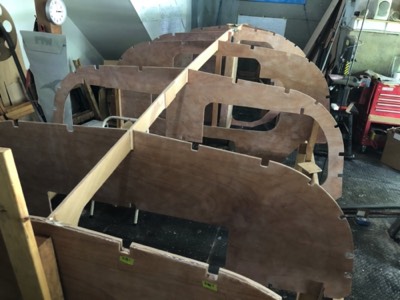
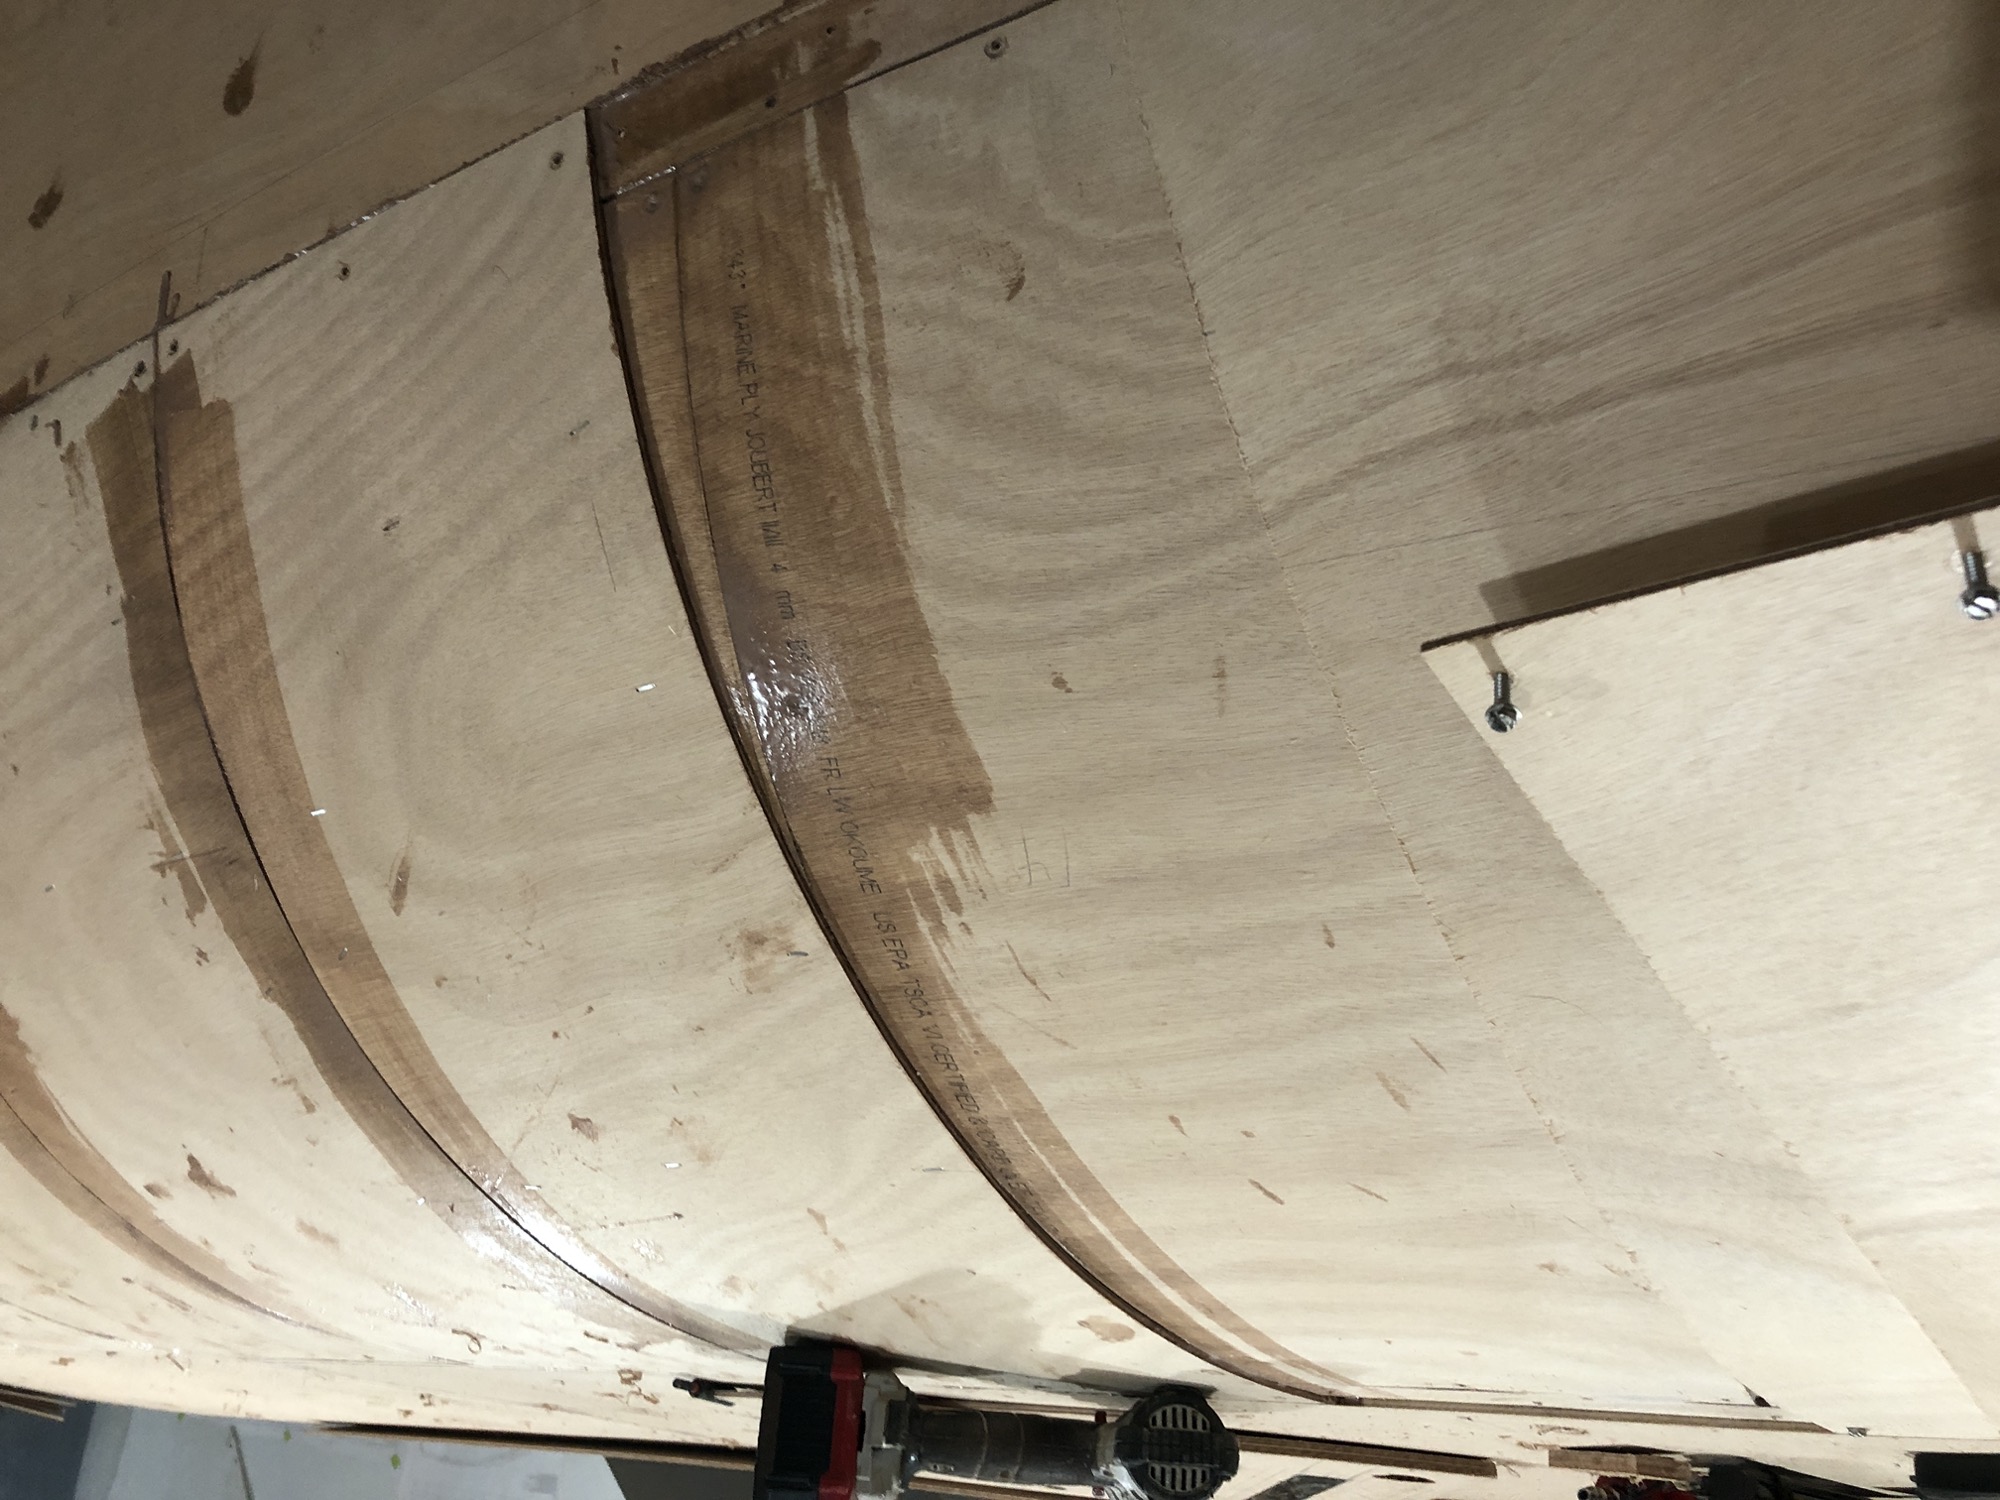
6/17/20 - Notches for stringers are routed out on all the bulkheads.
-
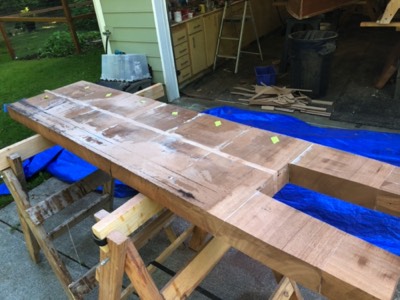
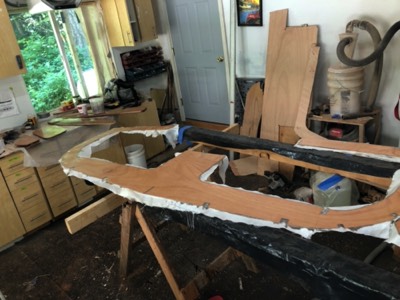
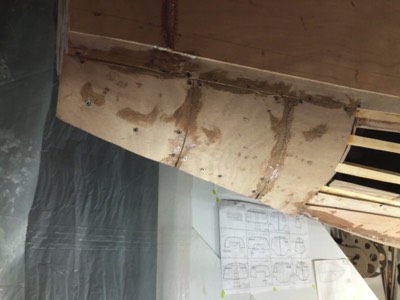
6/19/20 - The forward end of the backbone is reinforced with extra plywood.
-

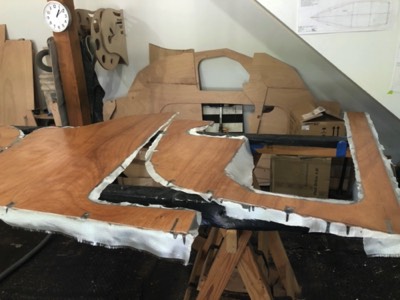
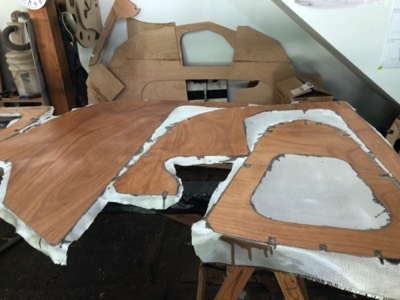
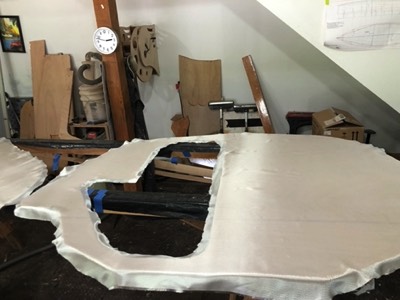
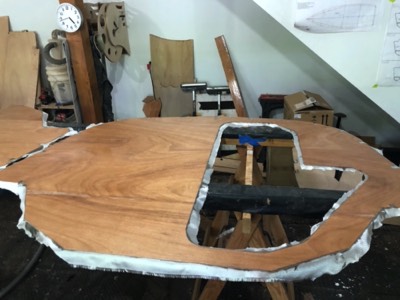
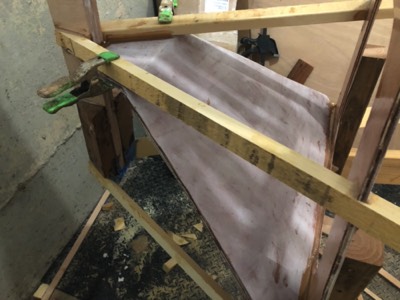
6/22/20 - The transom and doubler are fiberglassed on one side.
-
Three other bulkheads are fiberglassed on one side.
-
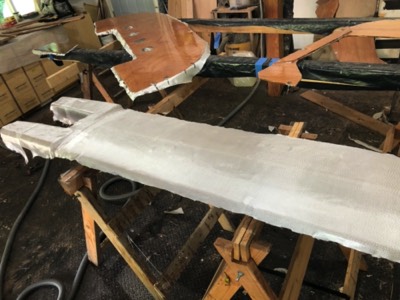
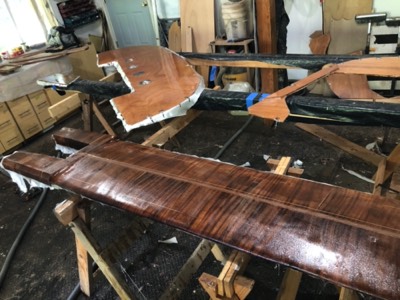
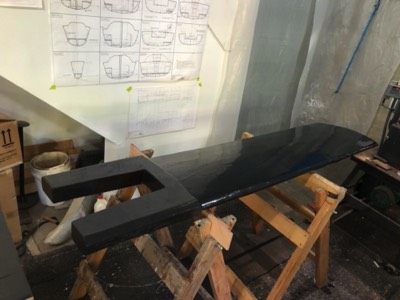
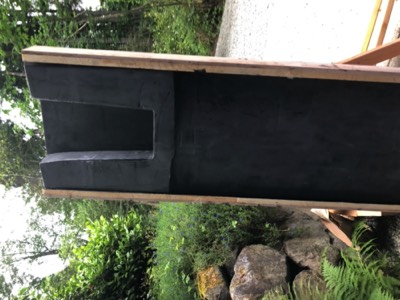
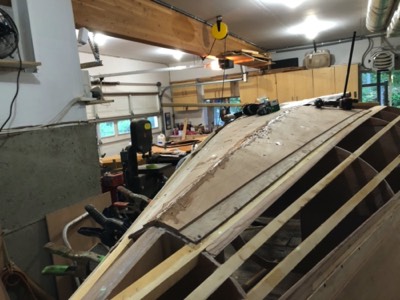
The lifing keel is ready for shaping.
-
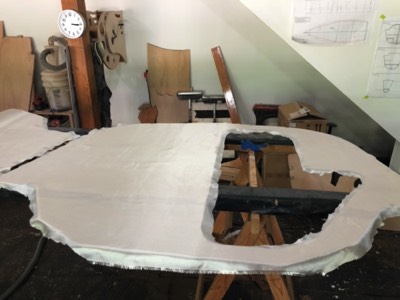
6/23/20 - Bulkheads E and F are fiberglassed.
-
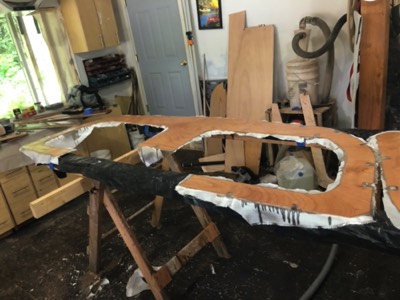
Bulkhead H is fiberglassed.
-
Previously glassed bulkheads are given epoxy fill coats.
-

Doublers are epoxed in place on bulkhead B.
-
6/25/20 - The transom doubler is epoxied to the transom.
-
Bulkheads B, E, and F are fiberglassed on the other side.
-
Flipside of bulkhead H is glassed.
-

6/26/20 - Low areas on the keel are filled with epoxy.
-
The last two bulkheads are ready for fiberglass.
-
6/27/20 - Bulkheads D and I are fiberglassed and fill coated.
-
Bulkhead C is fiberglassed.
-
6/28/20 - Bulkhead D is ready for fiberglass.
-
Bulkhead E is ready for fiberglass.
-
The glass is saturated with epoxy.
-

The glass is saturated with epoxy.
-
6/29/20 - Some parts are temporarily moved outside to make room.
-
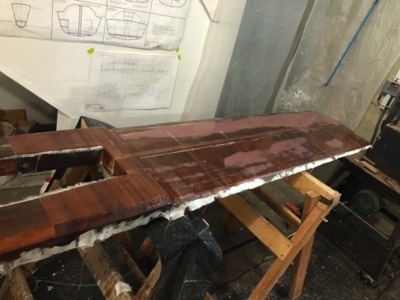
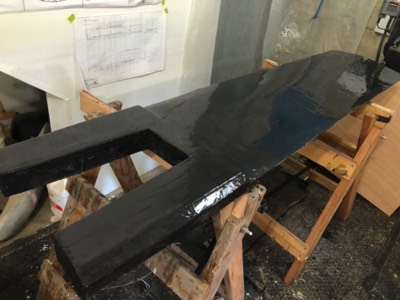
Fiberglass is laid out on one side of the keel.
-
The glass is saturated with epoxy.
-
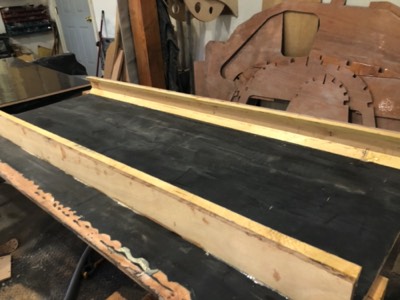
7/1/20 - The other side of the keel is fiberglassed.
-
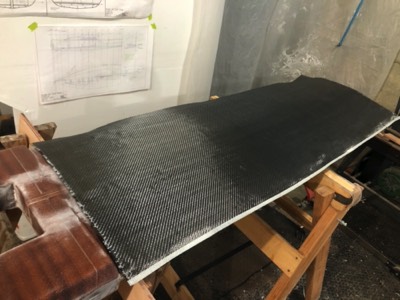
7/3/20 - Carbon fiber cloth is laid onto the keel.
-
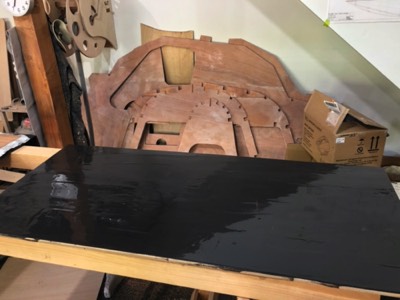
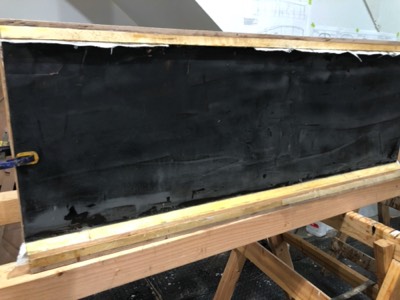
7/5/20 - The inside surface of the keel trunk is coated with an epoxy/graphite mixture.
-
The keel is coated with an epoxy/graphite mixture.
-
7/6/20 - The other side of the keel is coated with an epoxy/graphite mixture.
-
The sides of the keel trunk are epoxied in place.
-
7/7/20 - The keel trunk sides are fiberglassed.
-
7/8/20 - The keel is test fit in the keel trunk.
-
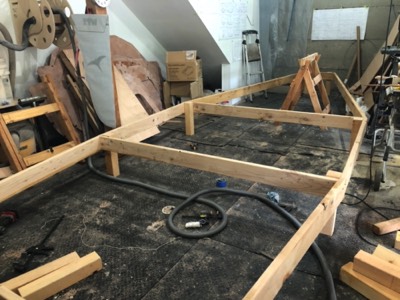
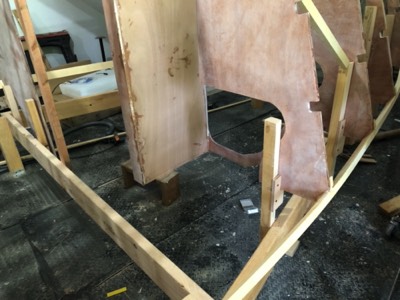
7/10/20 - The temporary frame is built.
-
Bulkheads A, B, and C are fixed into place.
-
7/11/20 - Bulkhead D and the forward backbone section are set up.
-
7/12/20 - The forward half of the backbone is epoxied in place.
-
7/14/20 - The keel trunk and bulkhead E are epoxied in place.
-
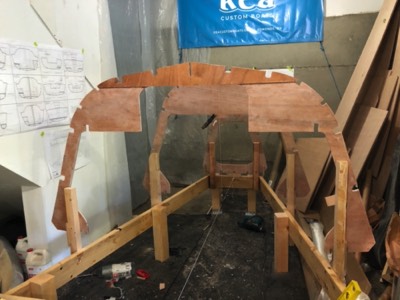
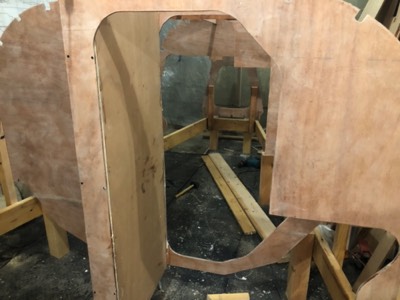
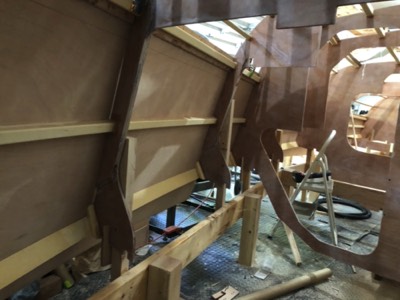
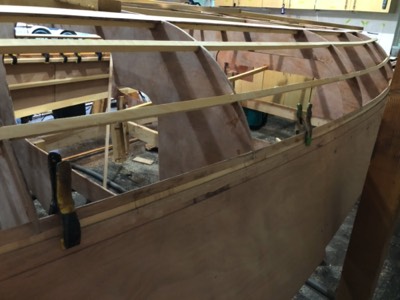
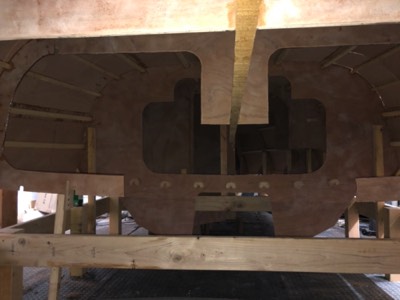
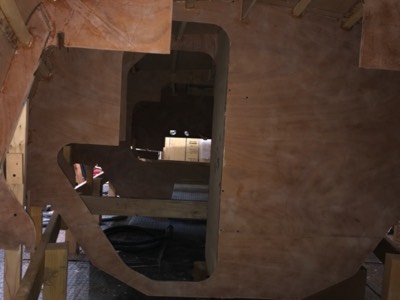
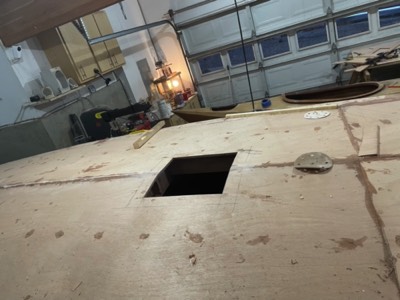
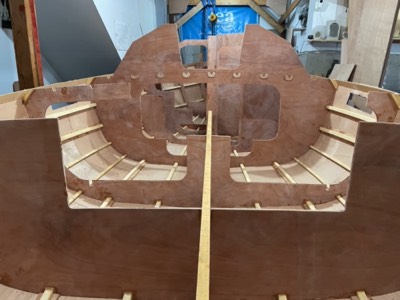
View of what will be the head compartment.
-

7/16/20 - Bulkhead F is in place.
-
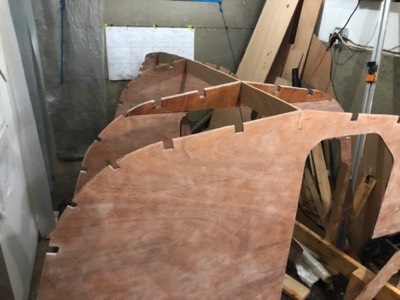
7/18/20 - Bulkheads G and H are in place.
-

Bulkhead I in place.
-
7/19/20 - The transom is fitted.
-
The transom and bulkhead I are epoxied in place.
-
Bulkheads G, F, and E are epoxied in place.
-
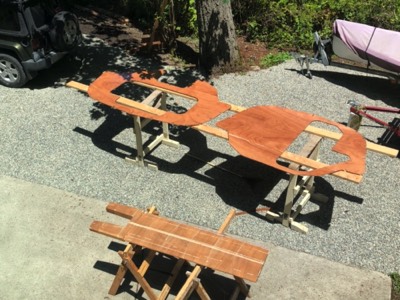
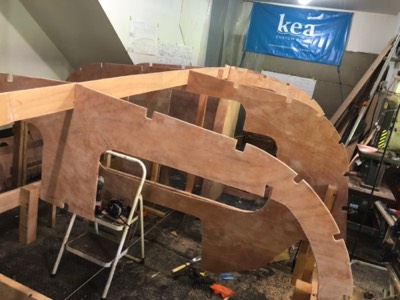
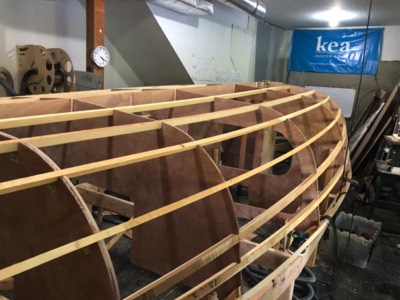
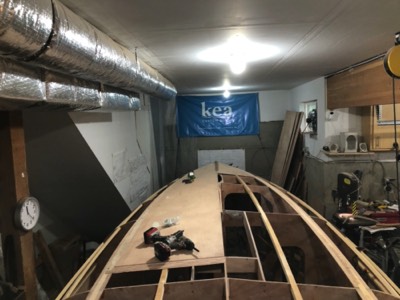
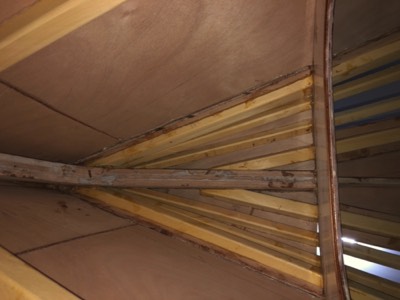
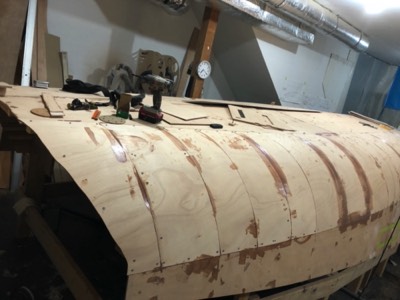
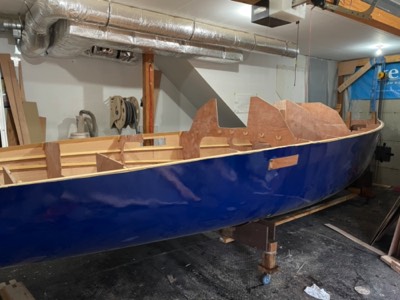
The boat is ready for stringers.
-
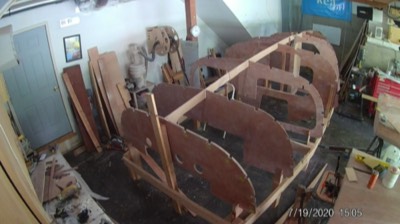
An overall view.
-

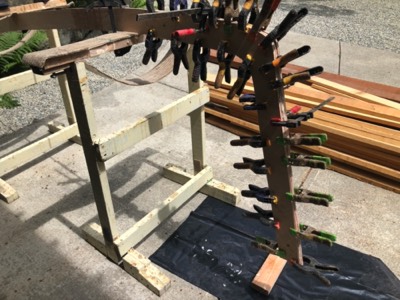
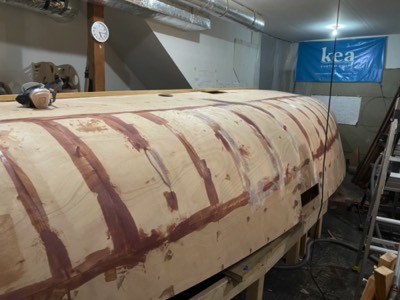
7/24/20 - Stringers are epoxied to full length using scarf joints.
-
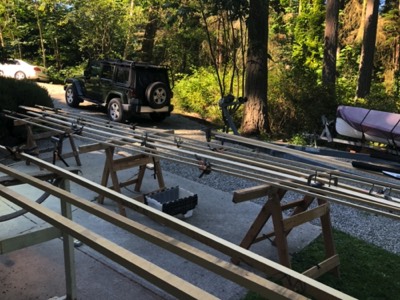
7/25/20 - The rest of the stringers are epoxied together.
-
8/2/20 - The sheer clamp (piece where the deck and hull meet) is epoxied and screwed into place.
-
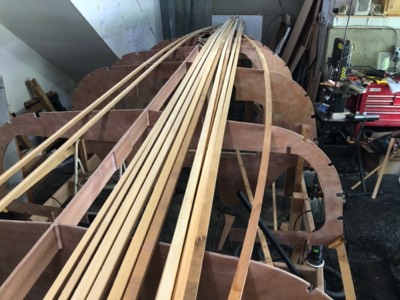
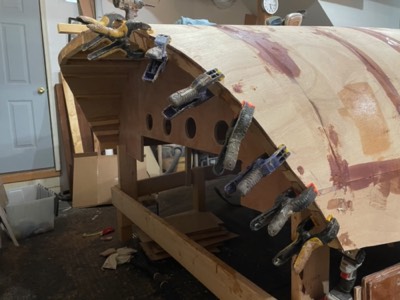
8/10/20 - The first stringer is set in place.
-
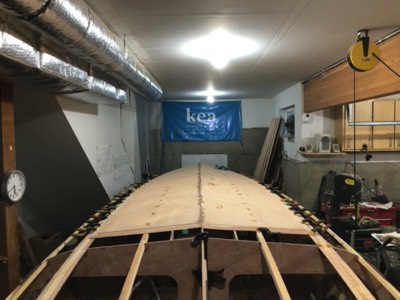
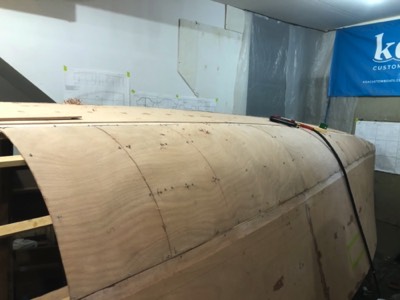
All of the stringers are in place.
-
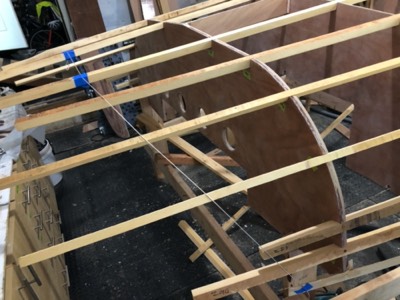
The shape of the sugar scoop is determined.
-
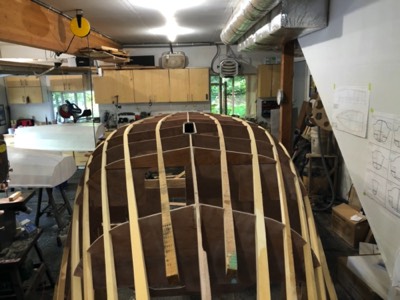
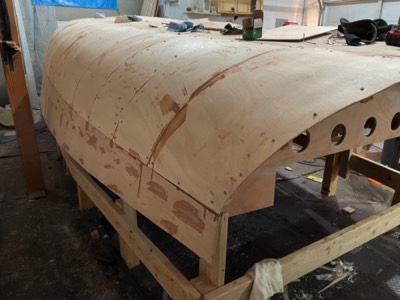
View from the bow.
-
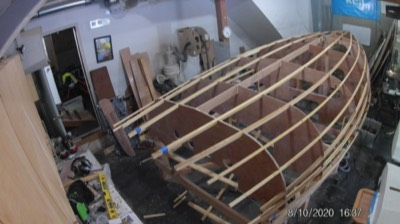
Overall view from the stern.
-
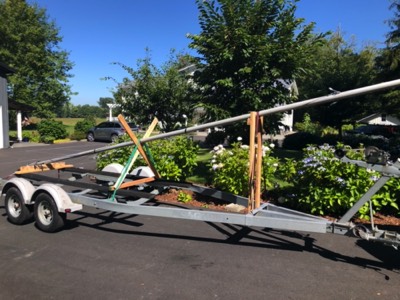
8/15/20 - The mast is transported home.
-
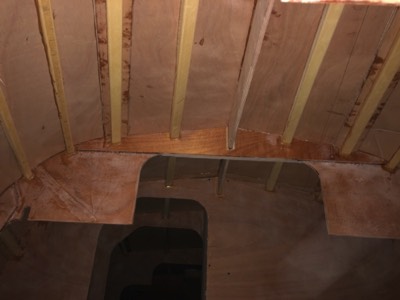
8/16/20 - The wall that holds the door into the head is wired in place.
-
8/17/20 - The anchor well floor is test fit.
-
8/18/20 - The anchor well floor is reinforced with two layers of fiberglass.
-
8/23/20 - Tangent doublers are epoxied to tangent stringers.
-

9/2/20 - The cockpit sole support stringer is epoxied in place.
-
9/5/20 - The anchor compartment shelf is epoxied in place.
-
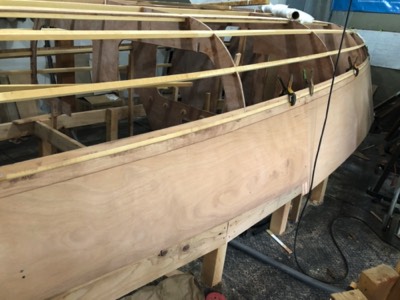
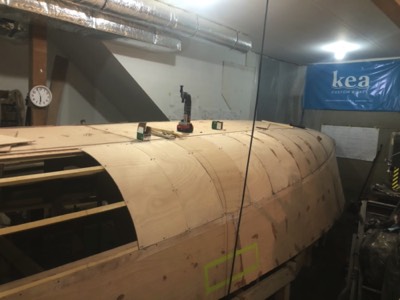
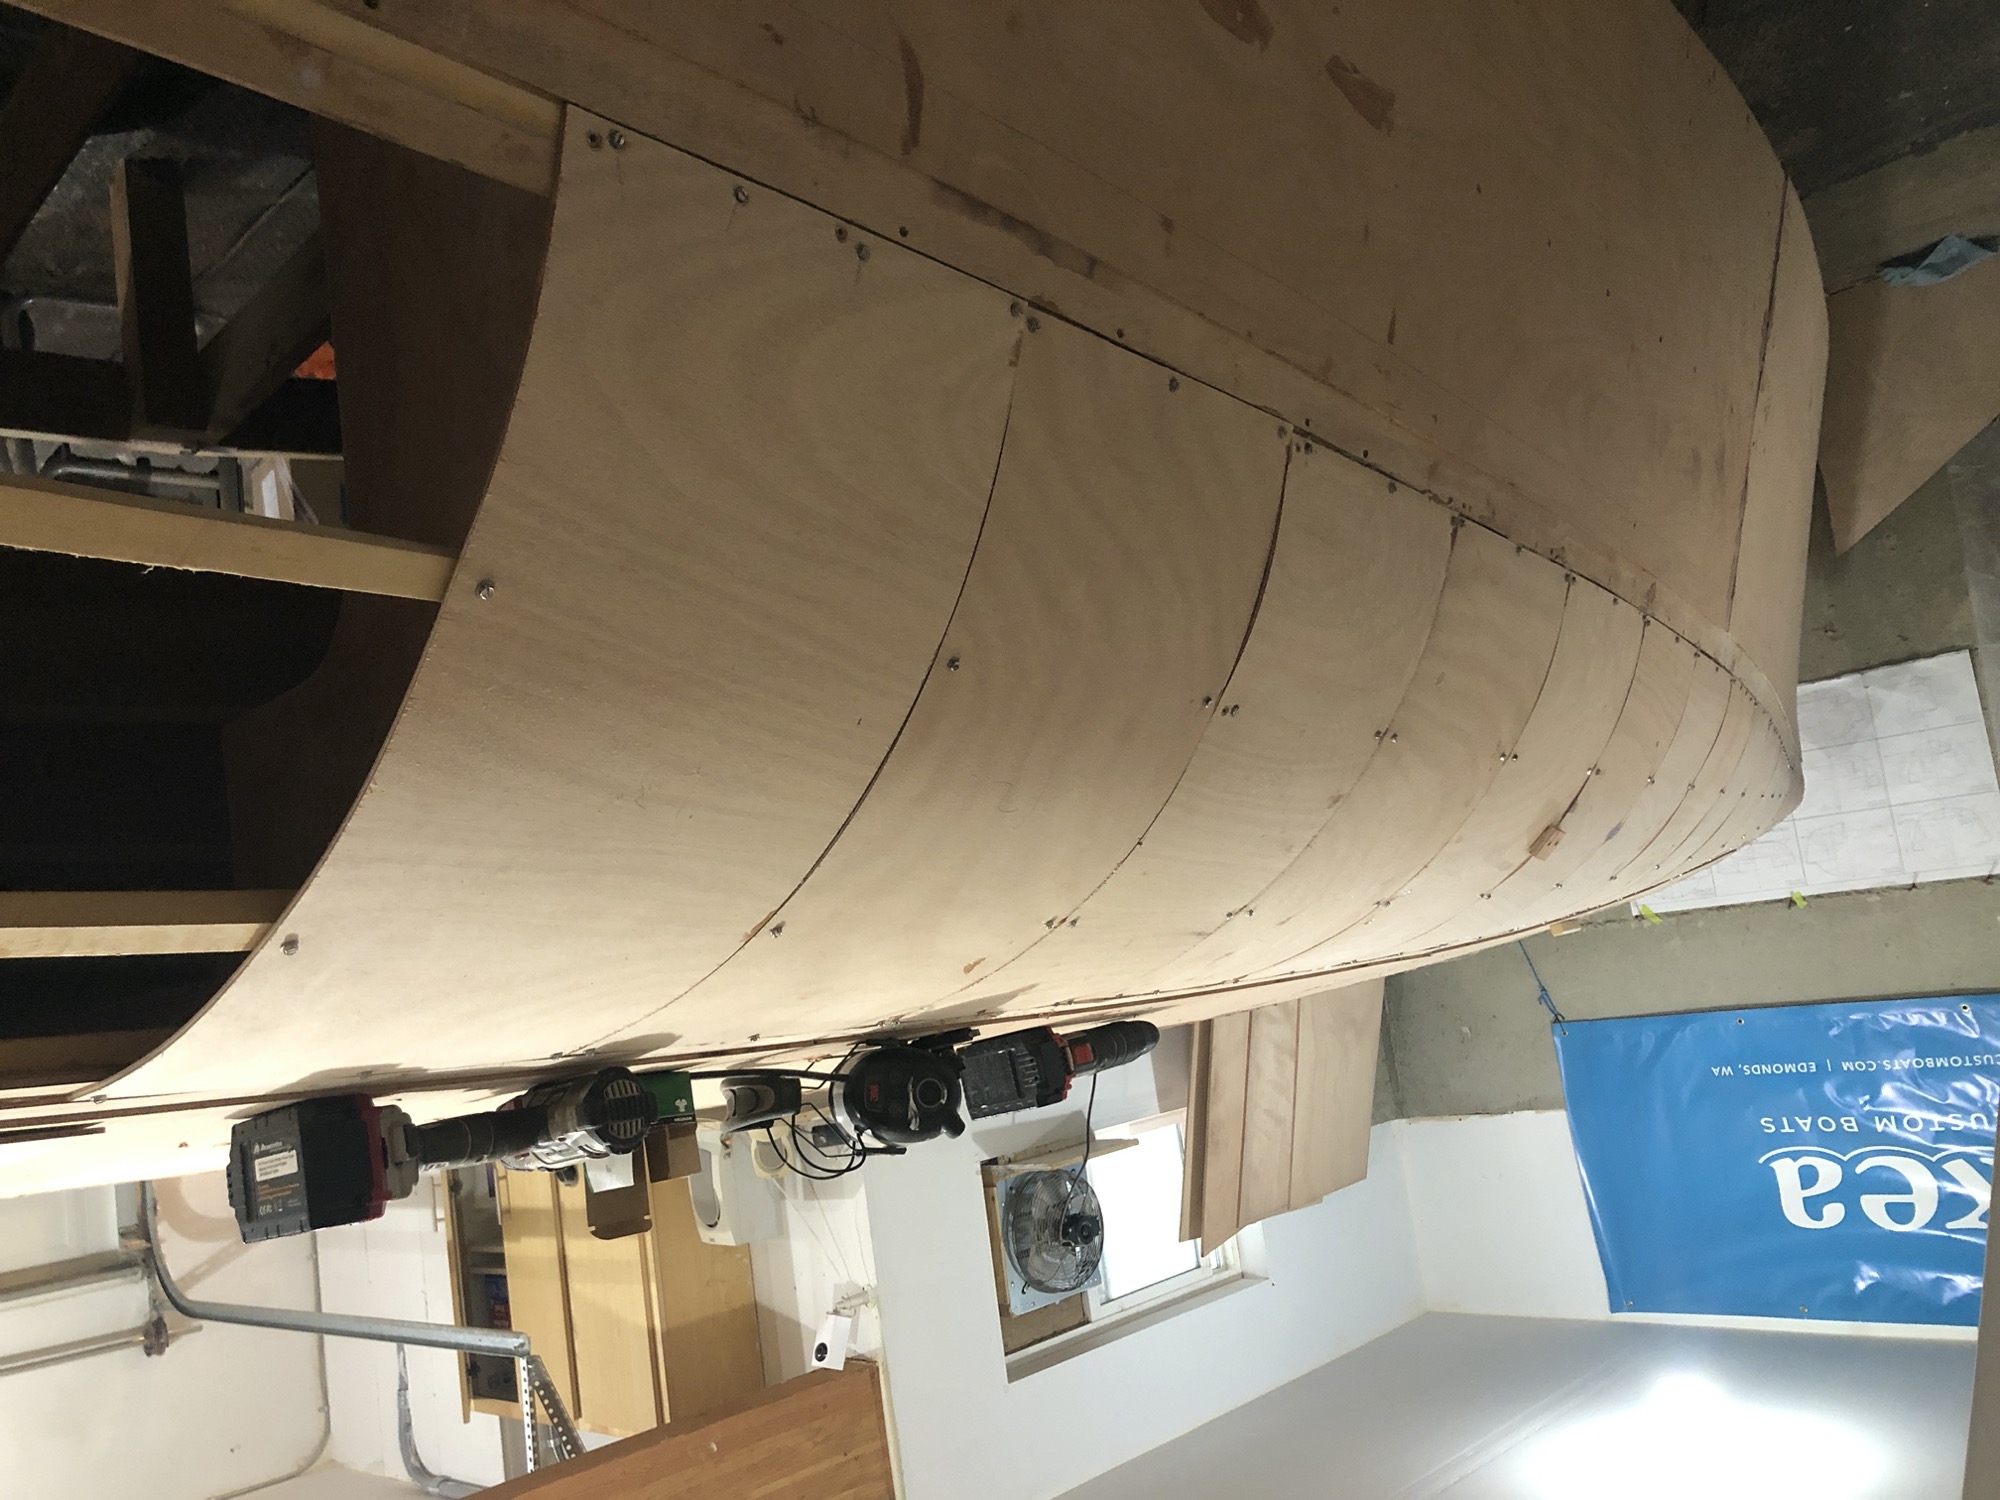
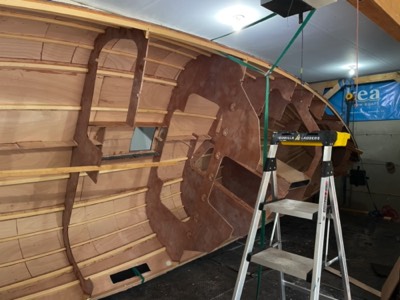
9/22/20 - Upper hull panels are fit for the starboard side.
-
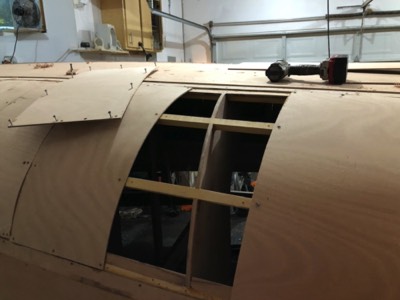
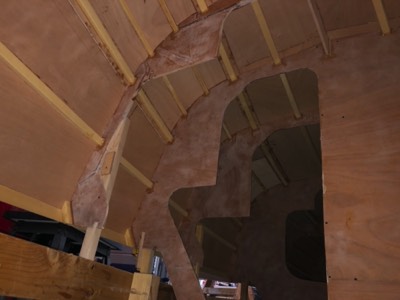
View from the inside of the boat.
-
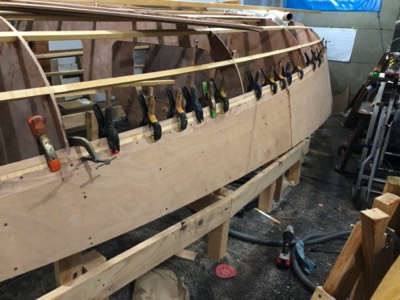
9/23/20 - The starboard side hull panels are epoxied and screwed in place.
-
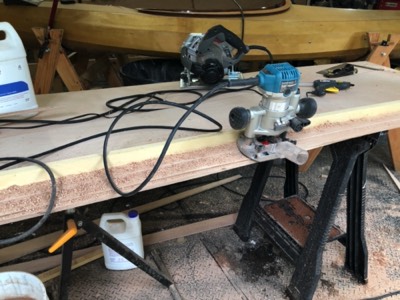
Rabbet is cut in a hull panel.
-
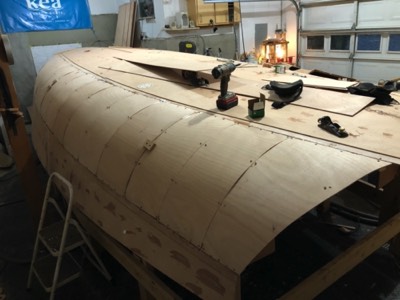
Port side hull panels are fitted.
-
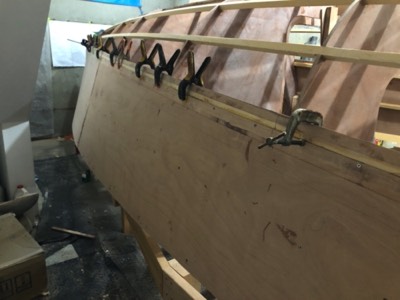
9/25/20 - Port side upper panels are epoxied in place.
-
10/2/20 - First two bottom panels are epoxied in place.
-
10/7/20 - The starboard middle bottom panel is test fit.
-
Both middle bottom panels are epoxied in place.
-
10/9/20 - The last two hull bottom panels are epoxied in place.
-

View from the port side.
-
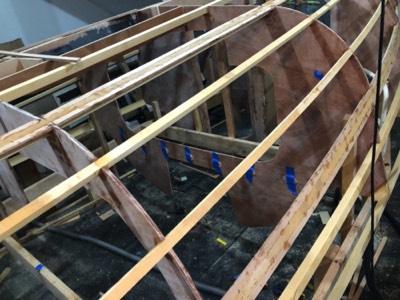
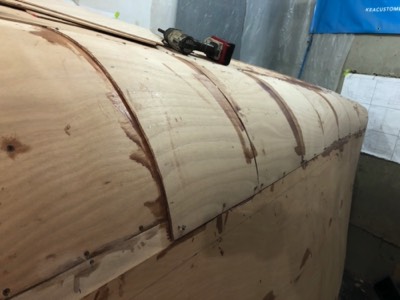
10/13/20 - The first layer of the radius chine panels is begun on the port bow.
-
10/13/20 - Starboard side.
-
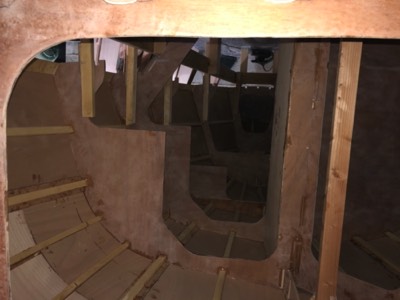
View from inside the bow.
-
10/14/20 - The first layer of radius panels are test fit on the port side.
-
The first section is epoxied in place.
-

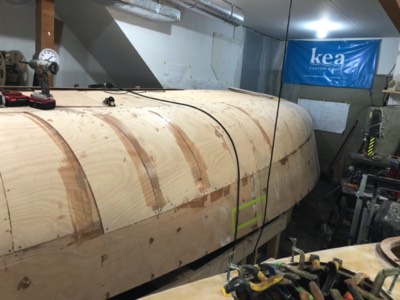
10/17/20 - The entire first layer of radius panels are epoxied on the port side.
-
10/18/20 - The starboard side panels.
-
10/19/20 - One final panel to fit.
-
All the starboard panels of the first layer are epoxied.
-
View from inside.
-
Overall wide angle view.
-
10/20/20 - The second layer for the port radius section is going on.
-
10/22/20 - Several more pieces are epoxied in place.
-
View of the interior from the v-berth looking aft.
-
View of the hull bottom.
-
Different angle.
-
View from the port quarter berth looking forward.
-
10/23/20 - A test piece for mounting flush windows.
-
A section of the second layer is removed in preparation for epoxy.
-
The entire port side radius is done.
-
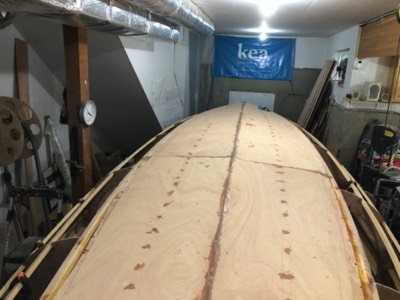
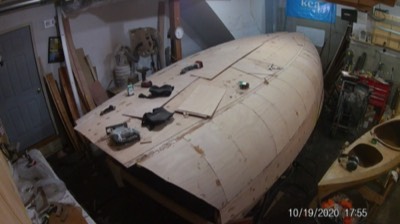
10/25/20 - Adding the hull panels is complete!
-
11/7/20 - The first hull window is cut out.
-
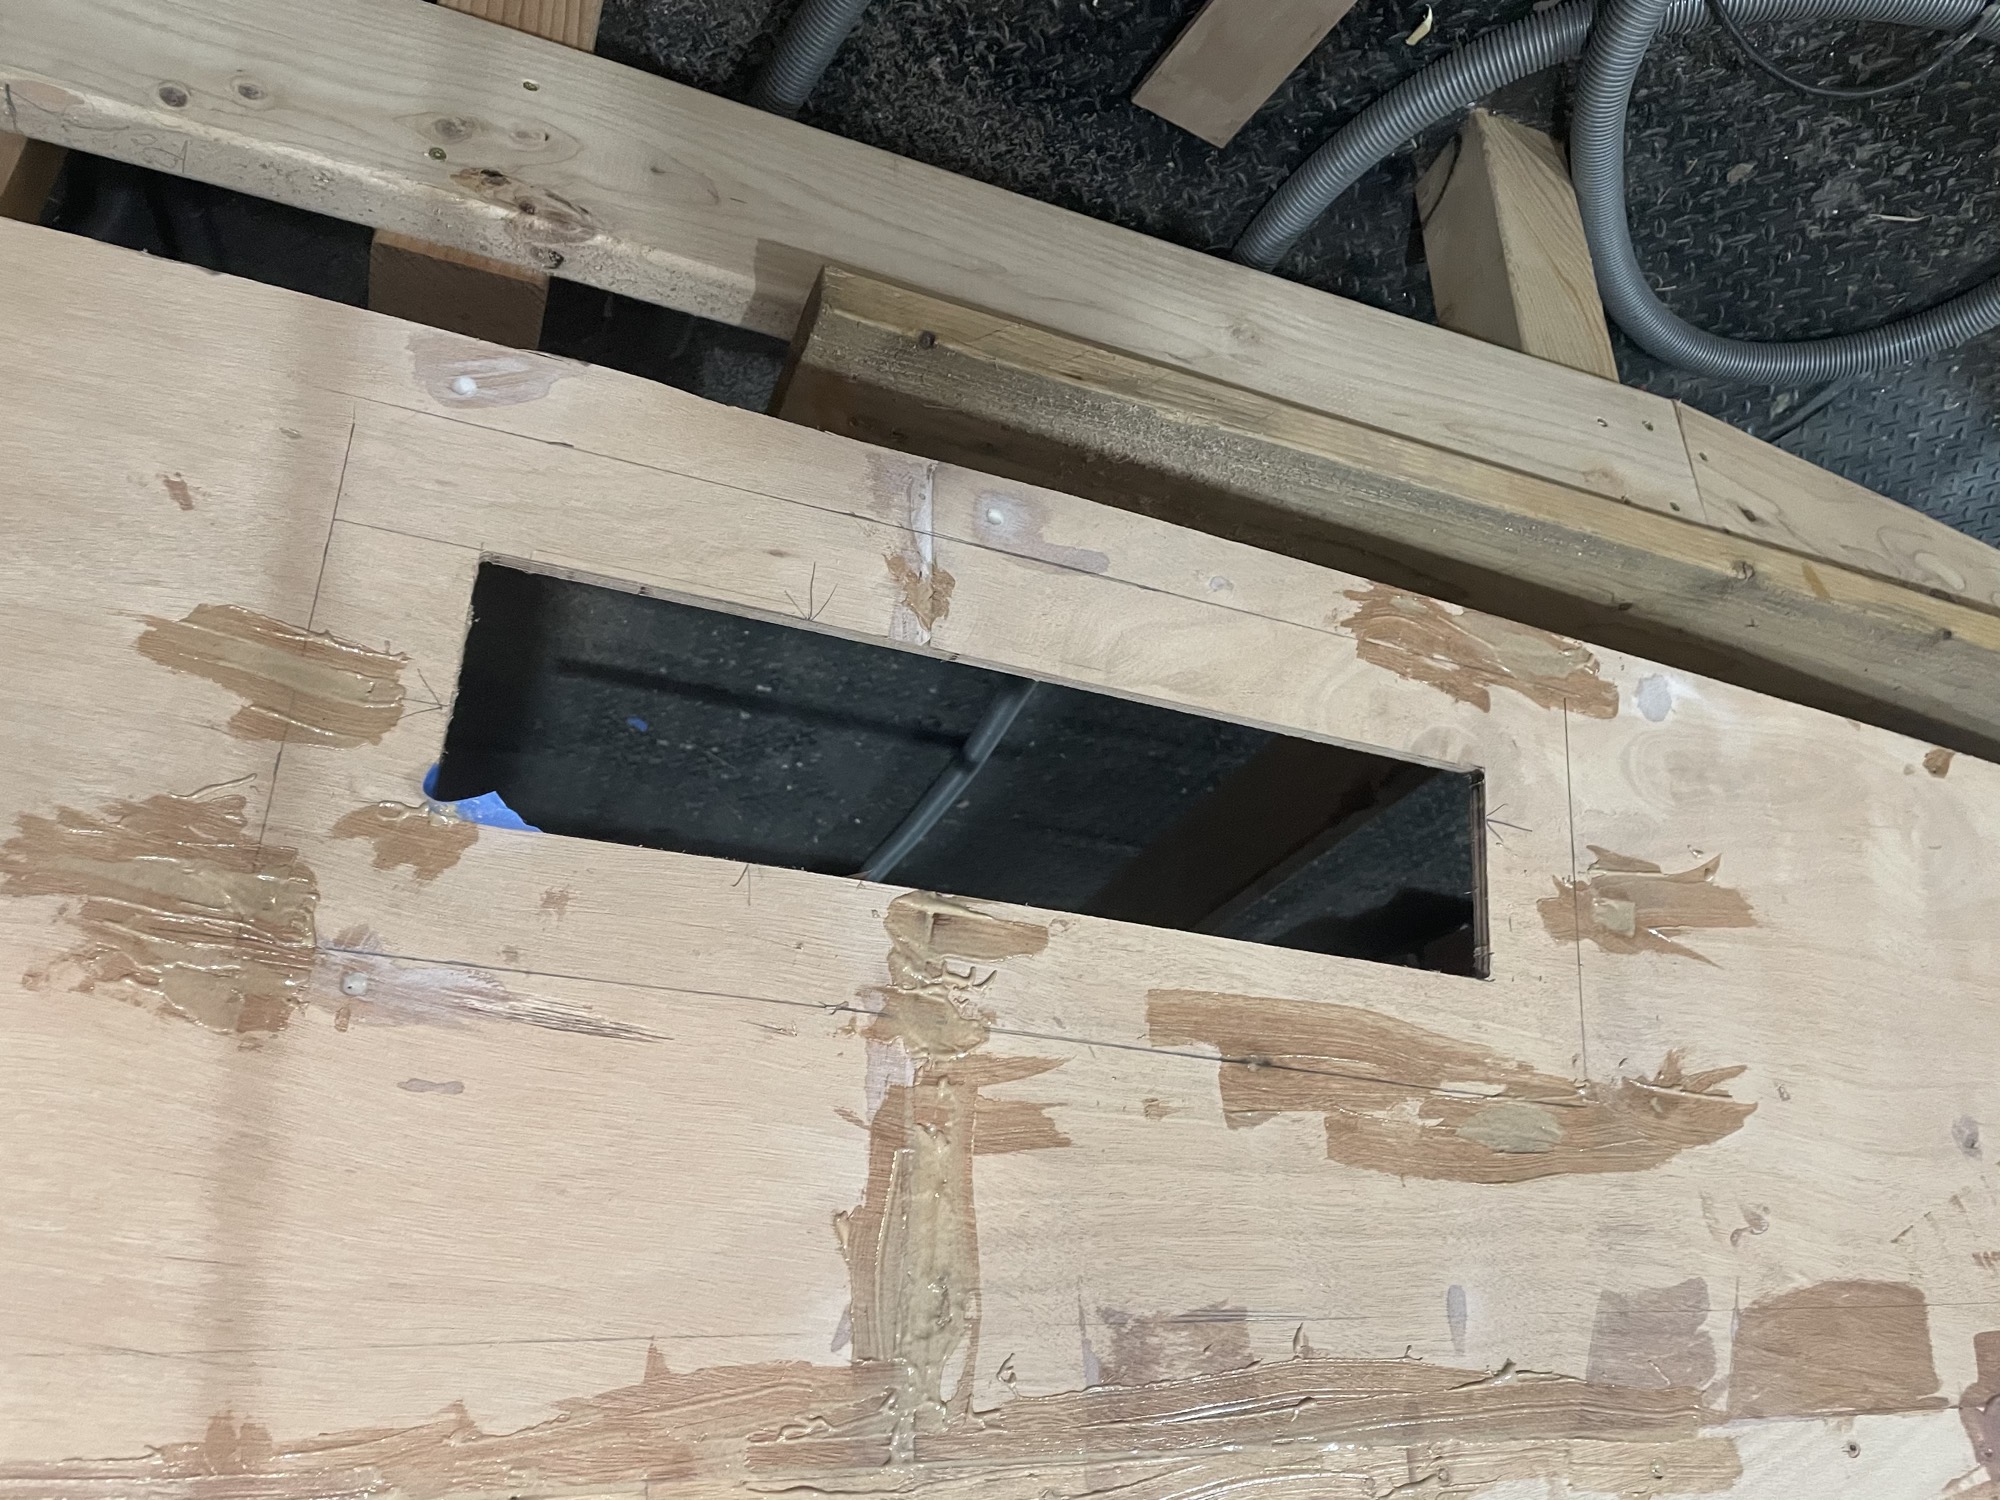
The hole for the retracting motor is cut out.
-
11/10/20 - Gaps are filled with epoxy.
-
Spacer pieces are epoxied in at the end of the sugar scoop.
-
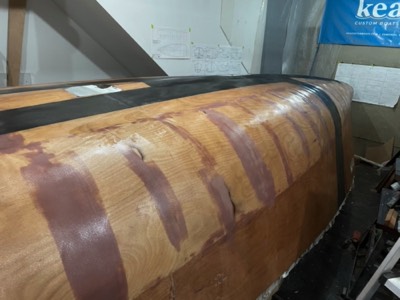
12/7/20 - Unidirectional carbon fiber is epoxied to the hull to increase the hull stifness.
-
Extra reinforcment around the chainplate and mast step areas.
-
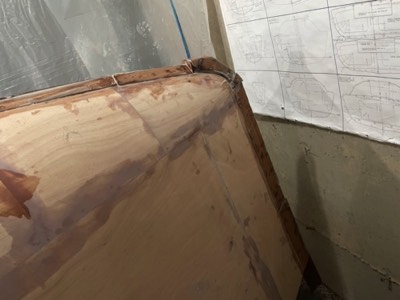
12/8/20 - Mahogany pieces are epoxied on the bow stem as an extra protection against low speed collisions.
-
11/9/20 - The stem pieces are sanded smooth.
-
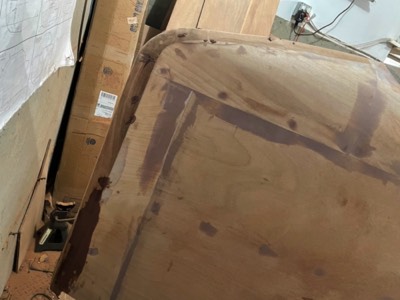
12/10/20 - The bow is sanded smooth.
-
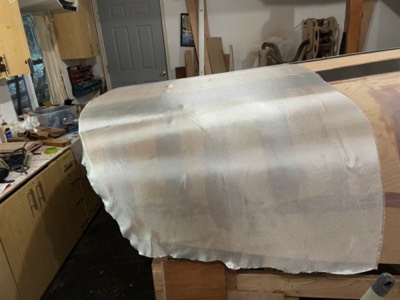
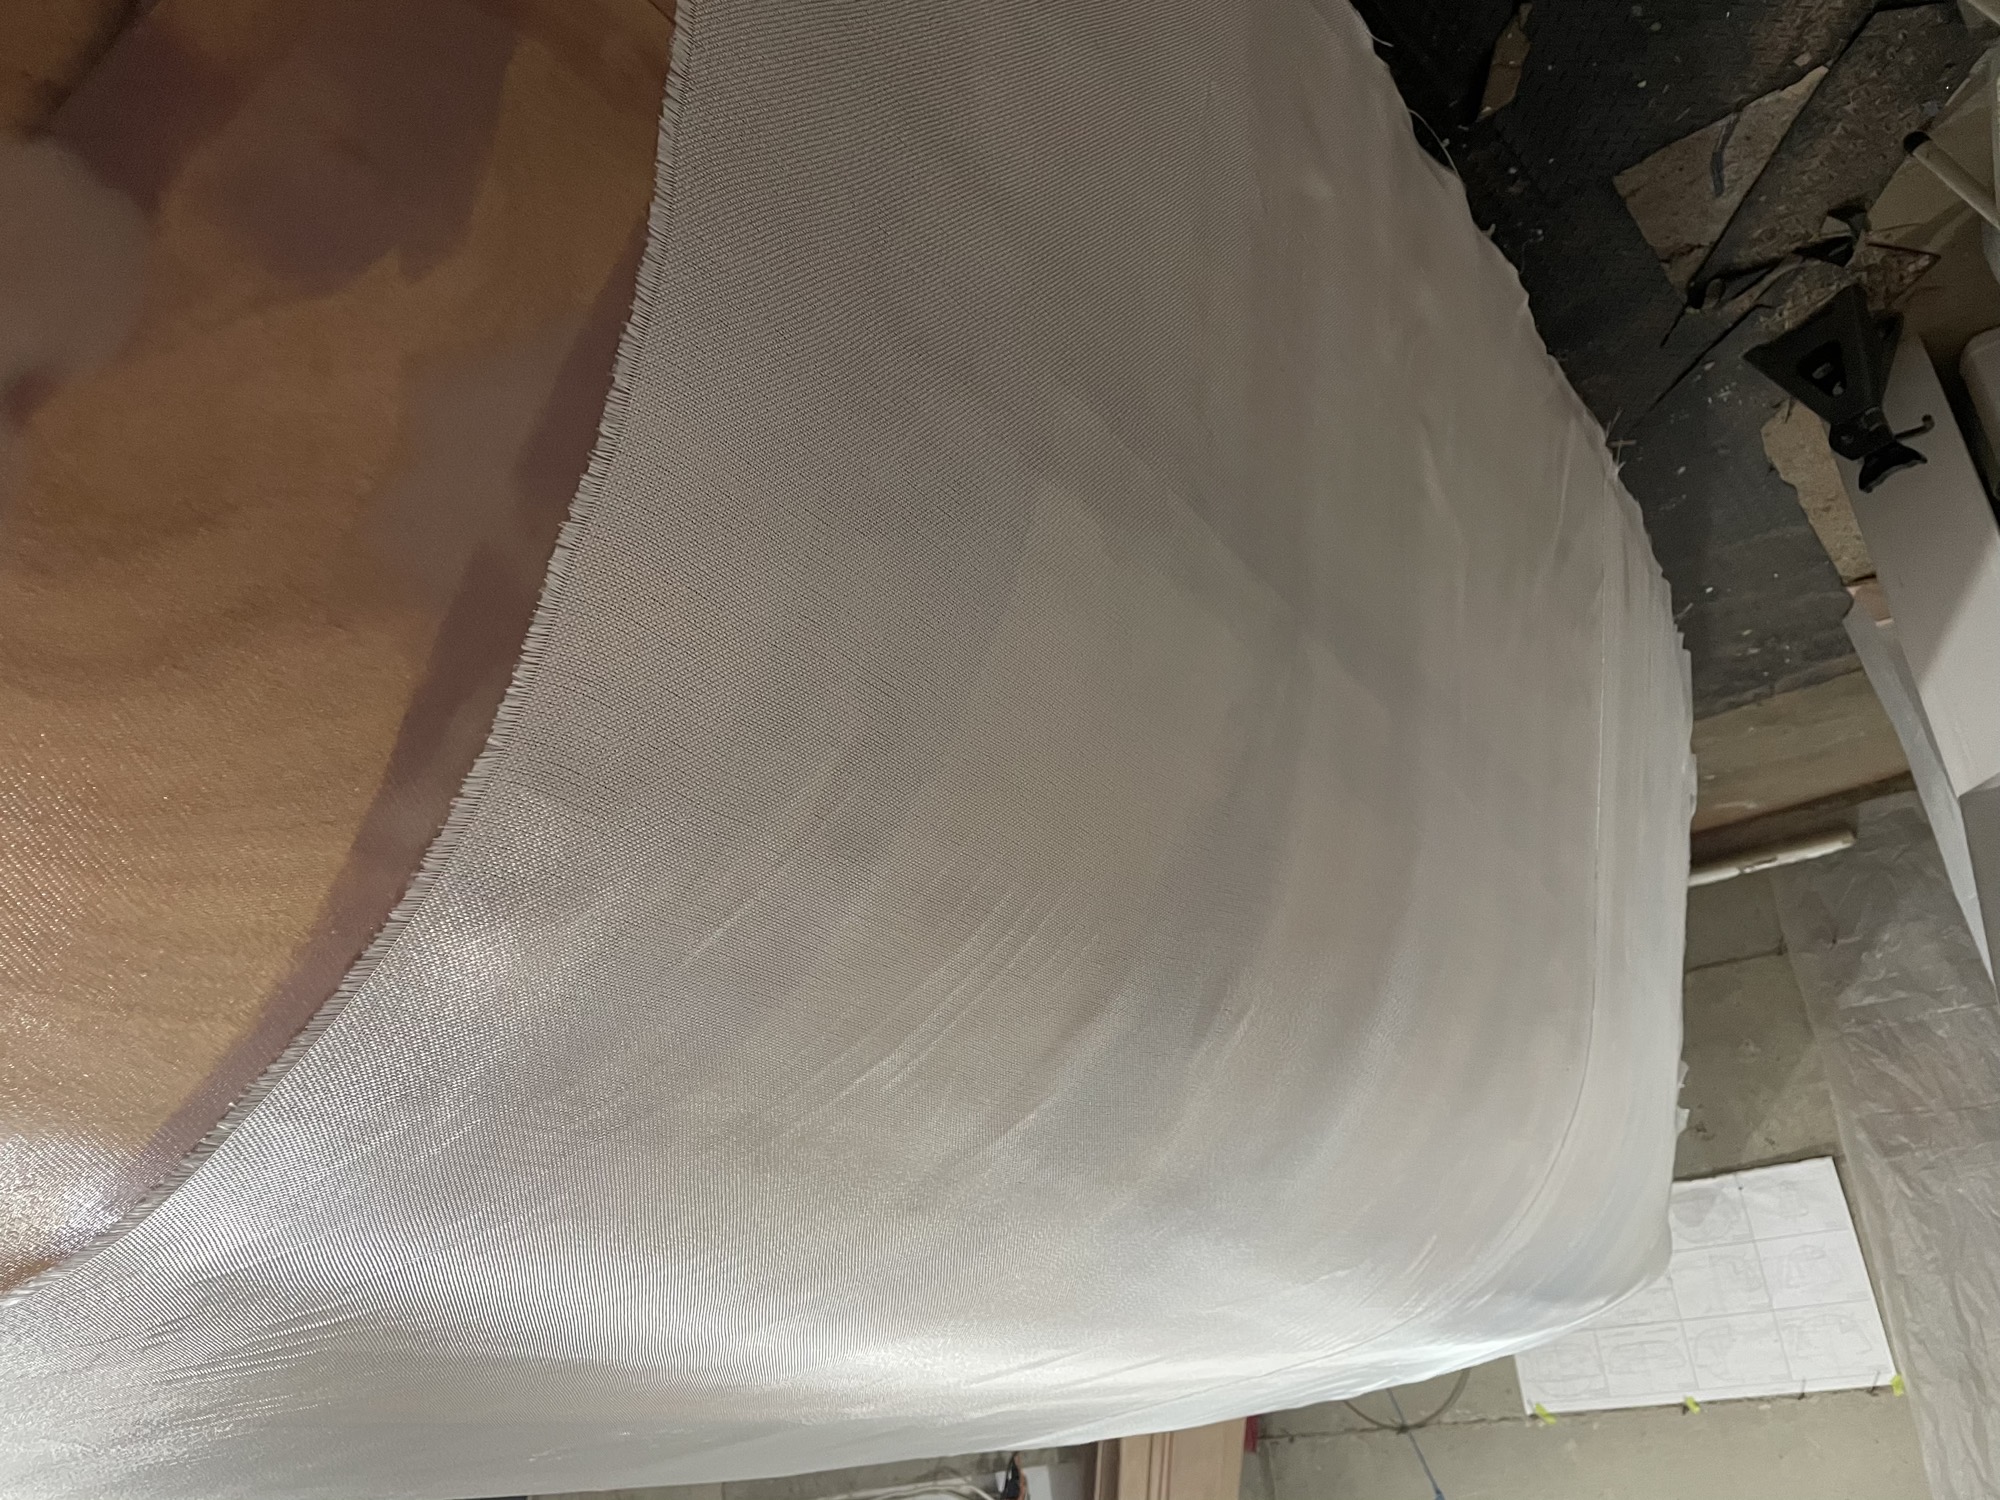
12/11/20 - The first section of fiberglass cloth is laid on the hull.
-
Saturated with epoxy.
-
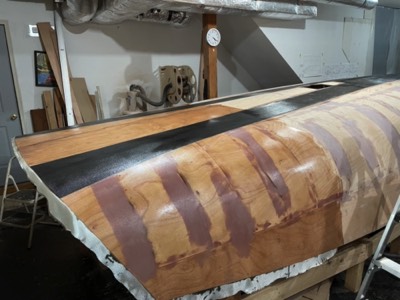
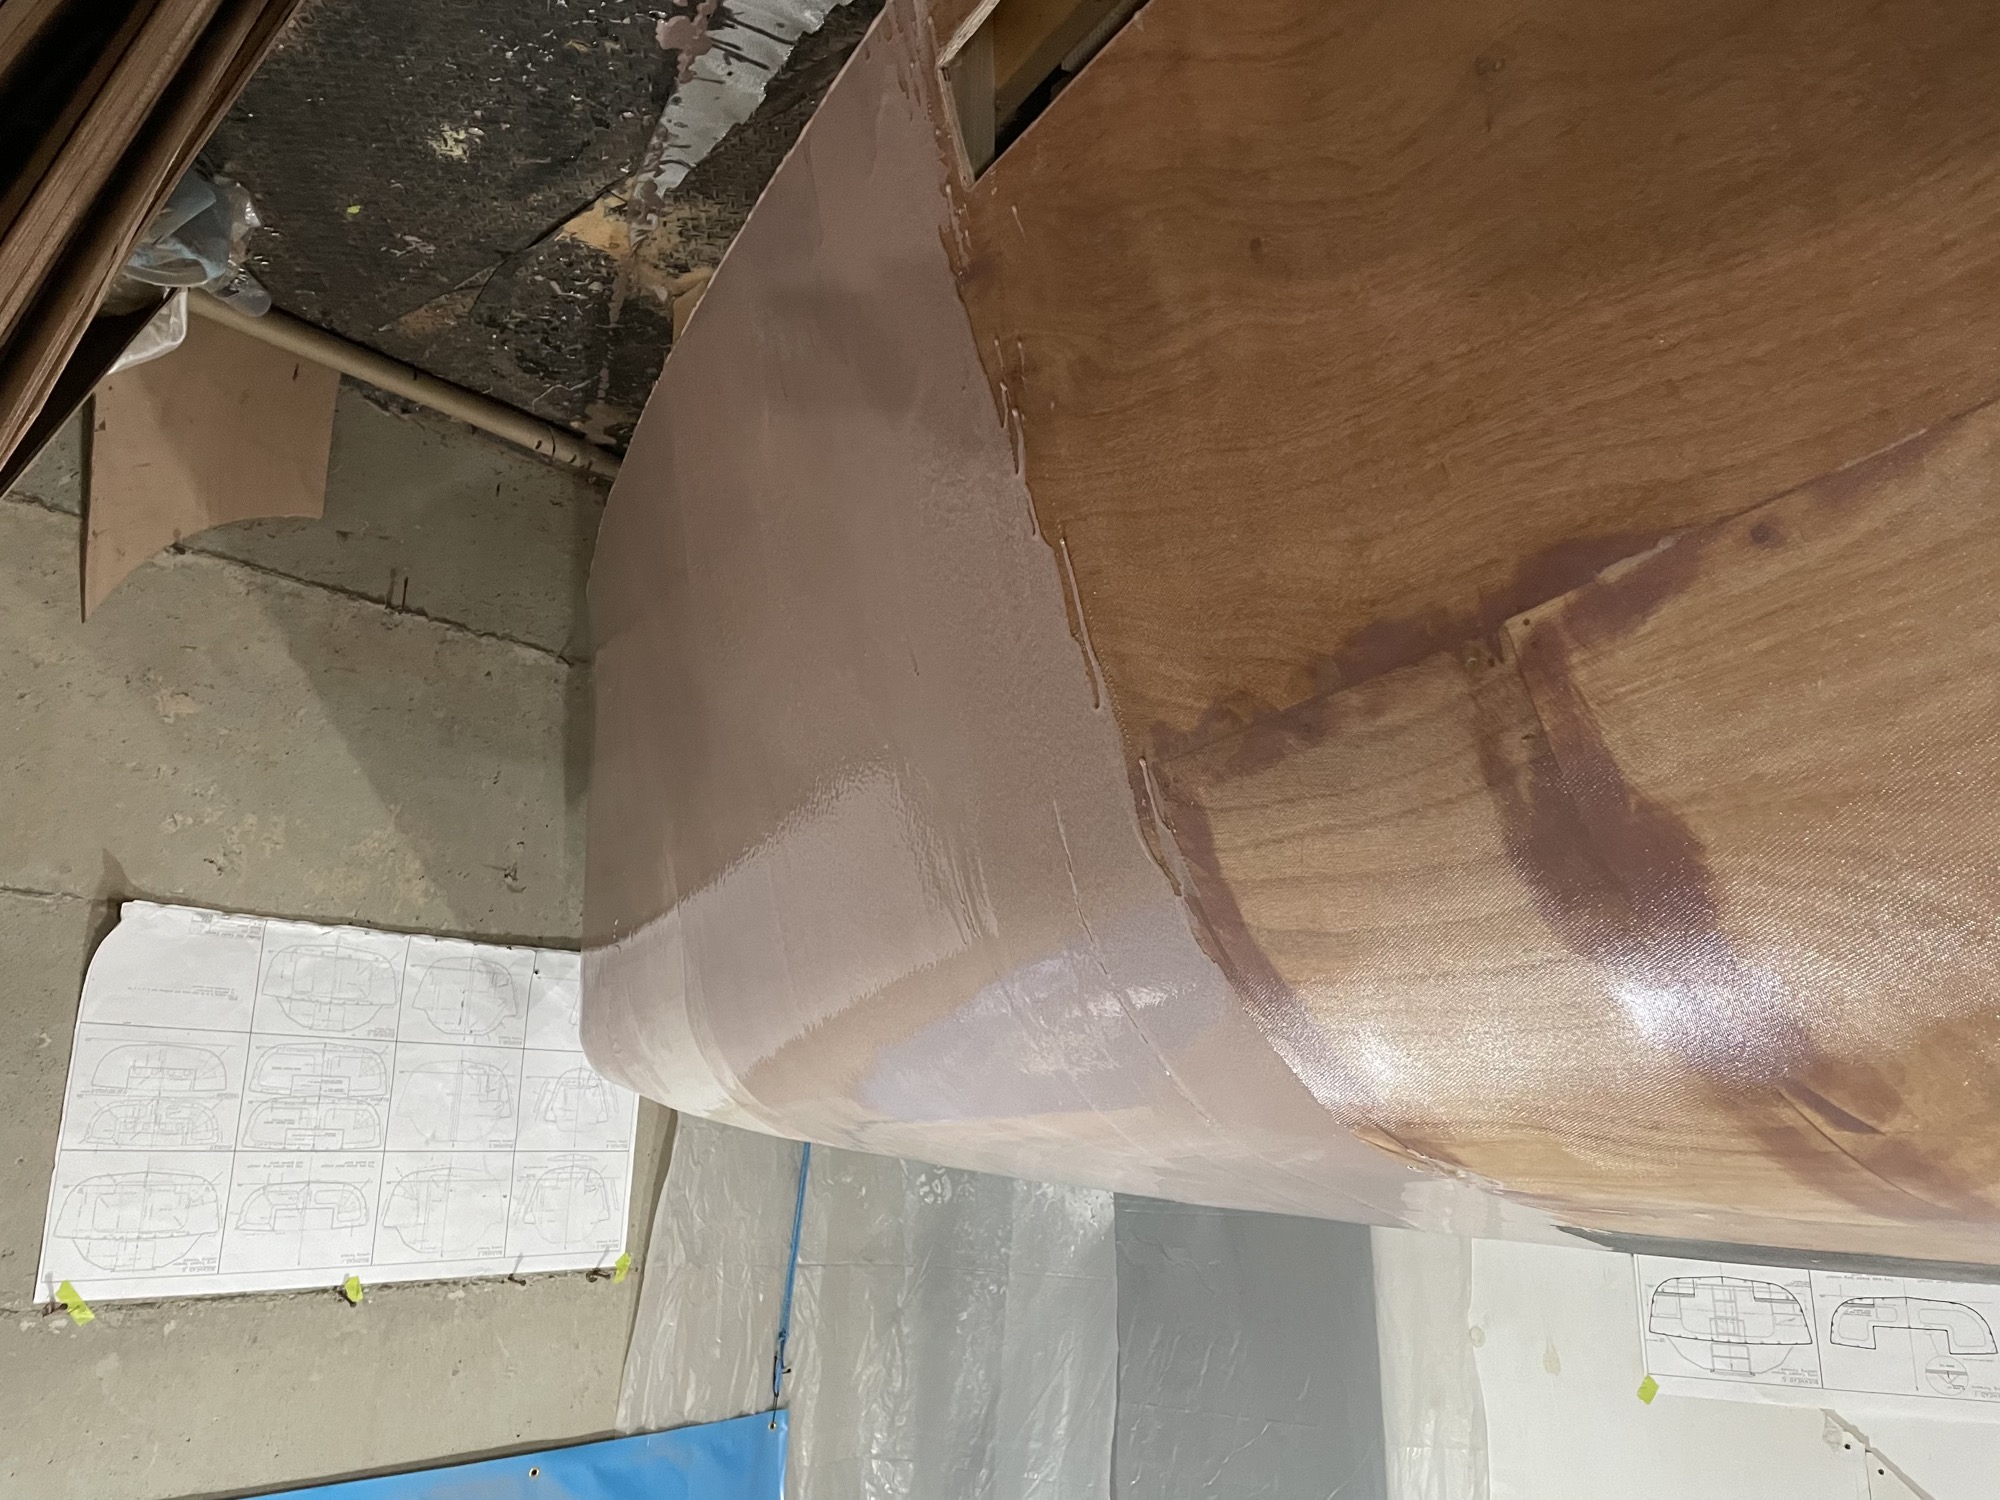
12/12/20 - The section section of the hull is fiberglassed.
-
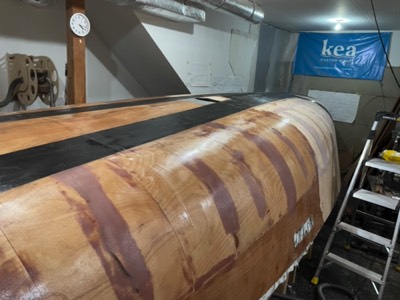
12/15/20 - The rest of the hull is ready for epoxy.
-
12/17/20 - The rest of the fiberglass is saturated with epoxy.
-
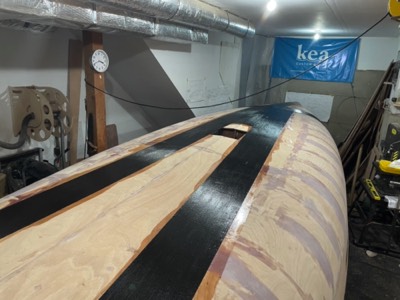
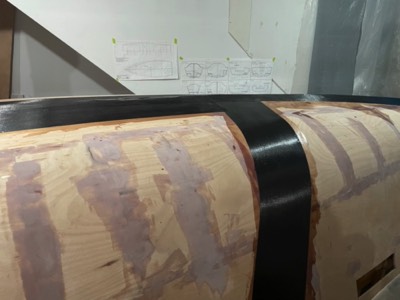
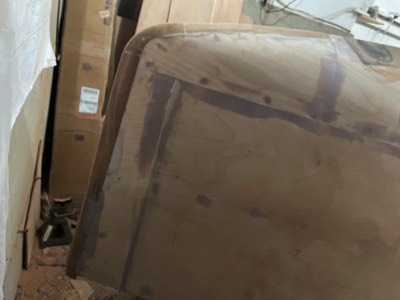
12/19/20 - Filling the weave of the fiberglass has started.
-
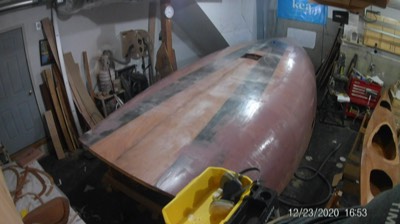
12/23/20 - Hull construction is complete! Sanding and paint is next.
-
12/27/20 - Finish sanding has begun!
-
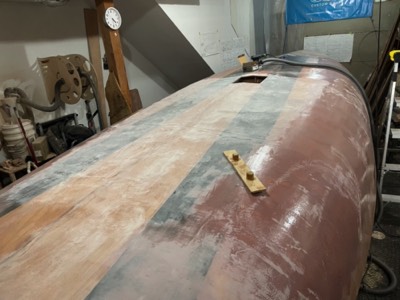
12/31/20 - Sanding of the bottom and port topsides is done.
-
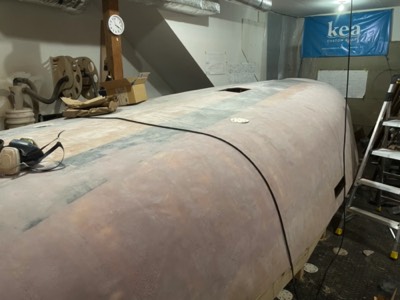
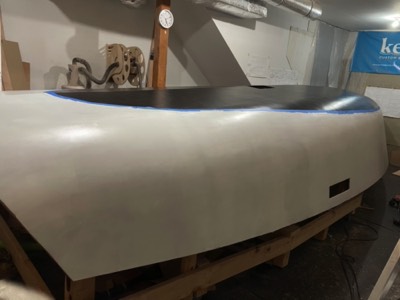
1/7/21 - The bottom is ready for primer.
-
1/8/21 - The area below the waterline is given two coats of primer.
-
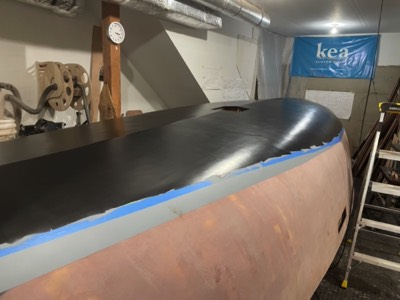
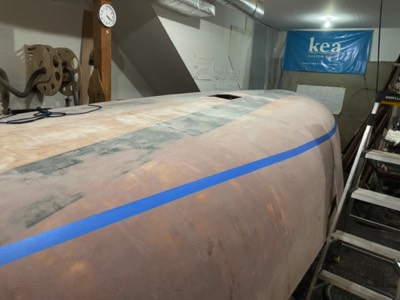
1/11/21 - After several coats of primer, the first coat of copper free bottom paint is applied.
-
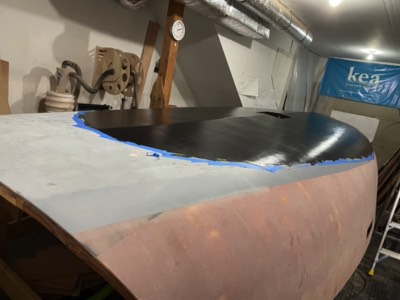
1/14/21 - Three coats of bottom paint have been applied.
-
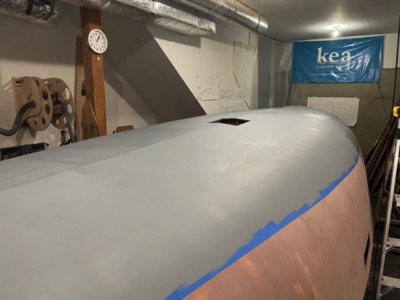
1/16/21 - First coat of topsides primer is applied.
-
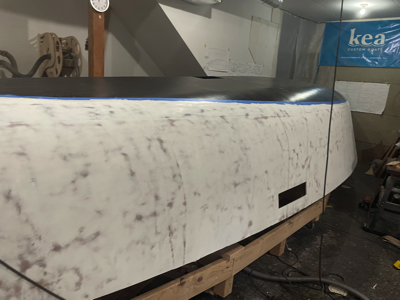
1/18/21 - The primer is sanded.
-
The first coat of Interlux Perfection is applied.
-
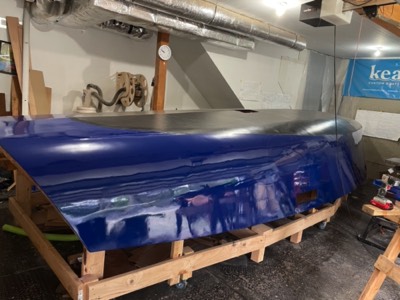
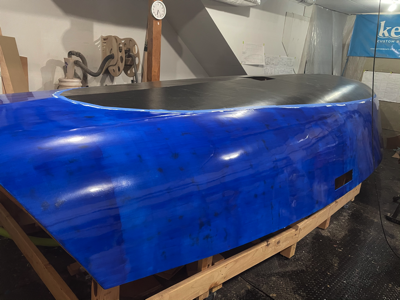
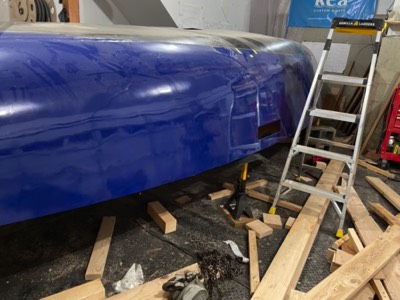
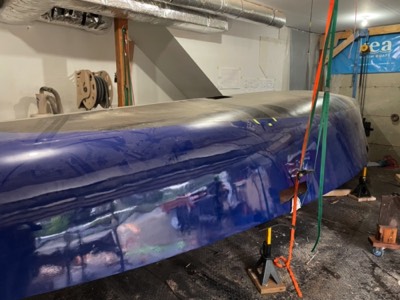
10/19/21 - Several coats of paint have been applied.
-
1/23/21 - The strongback is dismantled out from underneath the boat.
-
The aft hoisting mechanism for the hull turning is set up.
-
1/24/21 - Everything is ready for the turning.
-
Halfway through the process.
-
Turned over and settled in on the cradles.
-
See the next gallery for interior build photos.


